- Your ultimate guide to travel photography
Your ultimate guide to travel photography
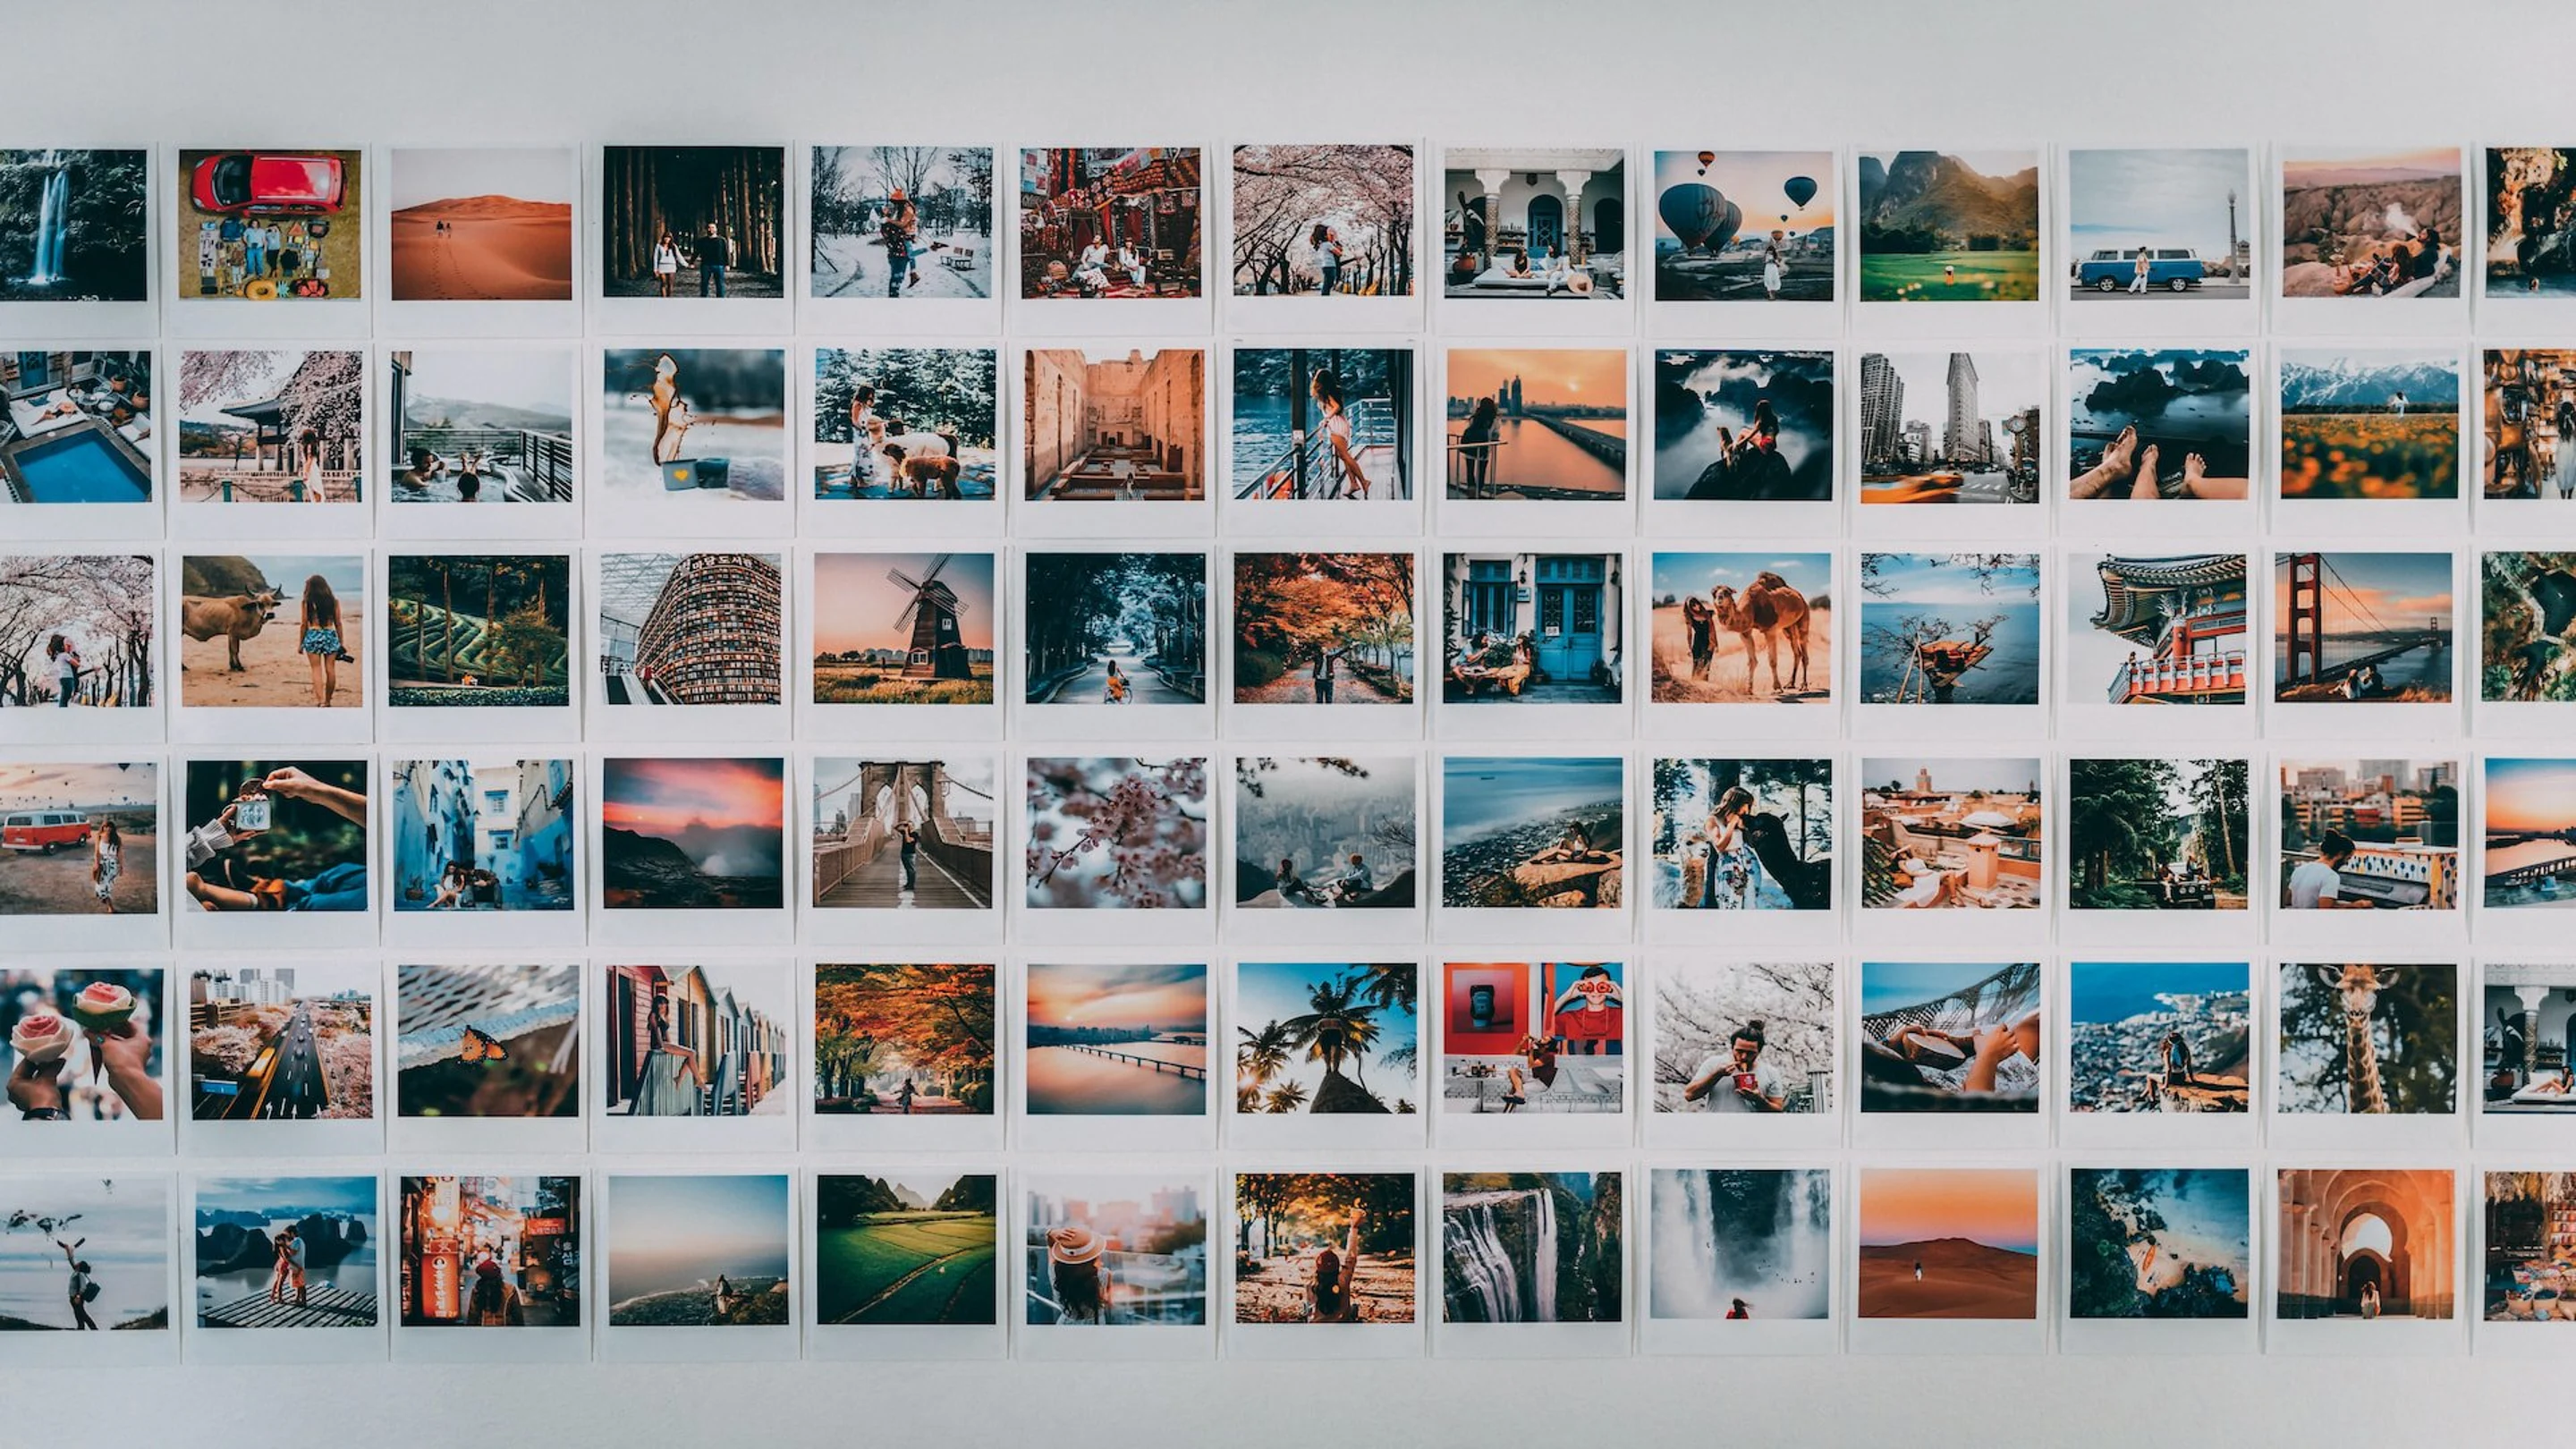
Travel photography is perhaps one of the most beautiful subjects to shoot. Whether you’re trekking arid mountains, visiting a hidden waterfall, or simply traipsing around a foreign city, there is something magical about being in a new place — so why wouldn’t you try to capture that magic, within a photo?
Every place you visit is unique, has different lighting and elements, and a degree of spontaneity attached to it. If you’re about to launch into your next adventure, or would simply like to start gaining the skills required for travel photography, you’ve come to the right place.
The article below provides you with easy-to-follow travel photography tips that will allow you to shoot like a professional in no time.
Travel photography tip #1: Understand your subject
The first question to answer, is what you want to shoot? Travel photography is a vast subject. Do you have a knack to photograph people and make them feel comfortable? Are you more of a tree lover who longs to get lost in the wilderness? Are you the urban-type who can find inspiration in dark, out-of-the-way alleys? Or do you thrive in remote lands getting to know other cultures? Here’re some tips to put your subject in focus.
How to photograph landscapes
From deserts to rain forests, from the Alps to the Appalachian mountains, landscapes come in every shape and size. One great tip to approach this type of travel photography is to figure out a way to convey the emotion that nature instills in you. Let’s say that you want to photograph the rugged Pacific coastline in Big Sur, California. In an ideal world, you would shoot on a day and at a moment when the tide is high, the surf is intense and the waves crash against the cliffs with all their power, creating a contrasting crest of foamy white and spraying mist.

Image via Canva

Image via Canva

Image via Canva
How to photograph cities and monuments
Each city has its own personality and flavor. Learn about what makes them unique and well-known. And then try to capture three aspects that define the city or town: its skyline, landmarks and the people who live there. That will give you a bigger picture.
For monuments or public buildings, think about what would be the best light, angle, etc, to communicate the historical or civilian essence of that landmark. It is always a good idea to include people in the picture, to give a sense of the scale of the monument.

Image via Canva

Image via Canva

Image via Canva
How to photograph people
Ideally engage with the person you want to photograph, chat for a few minutes and then ask for their permission. Learning to say “hello’ in their language will help. And try to avoid very touristic areas, because the locals there may be tired of being asked once and again.

Image via Canva

Image via Canva

Image via Canva

Image via Canva
How to photograph different cultures
Like the visual explorer you are, you may be lured by countries and people a world apart from yours.
- Earn the trust of your subjects. Photojournalist Marcus Reichmann(opens in a new tab or window), a regular contributor to National Geographic, Greenpeace Magazine and Leica Fotografie International (LFI), says(opens in a new tab or window) spending time is necessary to earn the trust of your subjects: “For a particular story, I spent three or four years with this family, and of course, over time, you gain more trust. I couldn’t have done a picture like this on my first day. So in the very beginning, I had a lot of talks with them. And then, slowly, you start to become braver… You have to take small steps toward such an intimate moment.” It’s also important to ask for permission, and clearly communicate what you’re wanting to use the image for.
- Be honest. Reichmann continues, “I think as a photographer you just have to be honest. You have to take pictures of things that really, really interest you. Not just because you want to make money with it, or the industry asks for it – you really have to have an interest. And I think that’s really important for the people that are your subjects – that they feel your honesty.”
- Be intuitive. Acclaimed photographer Graciela Iturbide(opens in a new tab or window) began photographing people in Mexico back in the early 70s – first the Seri Indians in the Sonoran Desert, then the Juchitán(opens in a new tab or window) people in Oaxaca. She embedded herself in these communities, building a level of complicity between her and her subjects. Her approach is intuitive. Asked what inspires her as a photographer, she replies(opens in a new tab or window), "I am interested in what my eyes see and what my heart feels. The camera is just a pretext for knowing the world.”
- Tell your story with five senses, says Whitney Tressel, a hybrid travel photographer and photo editor who also teaches in National Geographic’s Student Expedition courses. “It’s about visually showing a sense of place. That can be literally taken as landscapes or architecture, but it can also mean the people there, or the different cultural traditions, or the different ways of life (…) I like to, in my mind, go through all five senses. Take shots that feel like you can smell what’s going on.”

Image via Canva

Image via Canva

Image cia Canva

Image via Canva
Travel photography tip #2: Do your research
Researching the area you are about to visit in advance will help you prepare for your travel shoot, so you can make the most of your shooting day.
Research your topic
Award-winning travel and editorial photographer Susan Seubert(opens in a new tab or window) has photographed more than 30 feature stories for National Geographic Traveller. She speaks highly of research and preparation to get the best shot with YTravel: “Just as you spend hours, online, searching for the best hotels and restaurants, you should know the best spots for picture taking. It’s great to wander, but knowing the best vantage points for the shooting is very important… In between trips, I’m constantly reading guidebooks, doing Google image searches, contacting locals for insider info – all of this is extremely important to make a good picture story. I’m always looking for hidden gems.”
Scout and prepare for your location
Once you have decided on a location you need to visit it a few times prior to your shoot to find out what time of day you can get the best light, how to reach certain areas, when it will be less crowded. Check how the weather will be when you’re planning to shoot, or if you need a permit to access or photograph in that location. What’s your first impression? Most likely you’ve seen the place before in many pictures from other photographers. Now, you have to make it yours.
Be spontaneous
This could be a way to run into less predictable shot opportunities. With 25 years of experience traveling across the globe as a photographer and writer for National Geographic and other publications, Robert “Bob” Caputo(opens in a new tab or window)suggests(opens in a new tab or window), “Get lost. Wander down alleys. Sit in cafés and watch life pass by. Don't eat where the tourists do, but where you see locals. Just set off down a street and see where it leads. Look around the bends, over the rises.”
Get lost. Wander down alleys. Sit in cafés and watch life pass by.” Robert “Bob” Caputo
Arrive early and stay late
As an outdoor photographer, light is your best friend. Get up early to seize the “golden hour” right after sunrise – if you stay late, you can catch it again before sunset, before city lights go on. It’s that soft, warmed-toned light that creates interesting, elongated shadows. Those “non-peak” hours will be also ideal if you want to avoid seeing people in your shot.
Travel photography tip #3: Be patient and experiment
You need to click the shutter thousands of times to get the perfect capture. It’s a matter of practice and patience. You have to wait for the right light, for the crowd to leave, for the tide to come up.
And then you should practice and experiment with all the variables that lead to the perfect shot.
Composition
First, ask yourself which are the key points of interest in the shot. What is your subject? Then apply the rule of thirds, a guideline that suggests that an image should be pictured on a grid that divides it into nine equal parts and that the key points of interest should be placed along these lines or their intersections, to create more tension in the image, instead of just placing it in the center of your viewfinder.

Image via Canva

Image via Canva

Image via Canva
Focus
Control your focus point to remove distracting elements in your photos and pick out your subject. Combine this with an understanding of the depth of field, and you’ll be able to focus on different elements in an image to change the story you’re telling.
Exposure
When your image is too bright you risk losing all the detail, or if it’s too dark you can’t make out anything in the shadow areas. The best way to avoid this is by helping your camera to expose for a correct middle gray, by making sure you always meter for a tone that sits between the darkest and brightest areas of your image. This is why it’s important to learn how to use your camera in manual mode.
Manual mode
Before turning your camera to manual, know the relationship between ISO, aperture, and shutter speed and how to adjust these settings. Play with the aperture to have more control over the depth of field. Use the shutter speed dial to control motion. ISO will allow you to manage difficult lighting situations and image noise.
Travel photography tip #4: Carry your camera, tripod, and notebook
Pack up a notebook to record whatever you learned from your location scouting and the valuable information that local people may give you. A lightweight tripod wouldn't add up to your heavy equipment. And your camera. Remember that good travel photography is not about owning the latest gear, but about your talent to capture the world in a way that resonates with us all. It’s about emotion and meaning, not technique.
Travel photography tip #5: Don’t overedit your images
Editing software tools will allow you to add another layer of perfection to your image by adjusting it. But don’t overdo it. Use it to crop the shot, adjust exposure, tweak the brightness of colors, sharpen certain elements, soften others, add contrast, or emphasize shadows.
Travel photography tip #6: Identify your unique style
If you are thinking about making a career out of your love for travel photography here’re some tips:
- Your style
Define your niche, your subject, and your visual style. What type of travel photography do you want to master? What could you bring to the table that makes people say “Yes, I know who shot that.” If you’re a beginner here’s more of Travel Photography Tips(opens in a new tab or window).
- Your website and social platforms
Build a portfolio online so you can share it easily with peers and potential clients. It will take some time to curate a collection of photographs that you’re proud of enough to share. And then, take advantage of digital media platforms to connect with colleagues and followers. You could include a blog in your website and create an Instagram account – where you could tag organizations or publications that you would like to reach.
- Your potential clients
Start local, approach local businesses like hotels, tour operators that could improve their website photos. Try sites that post gigs like freelancer.com and stock library companies. Then, when you have a good body of work, approach the editors of photography publications. Do your research first. Make sure that the story you’re pitching is in line with the type of articles they publish, relevant, and timely.
We hope these tips have been helpful and encourage you to get out and snap stunning pics. You can find inspiration and references in Canva’s hundreds of curated travel photographs(opens in a new tab or window).

Written by
Marta Marcos


