- 30 spectacular sunrise shots that will inspire you to wake up with a camera in hand
30 spectacular sunrise shots that will inspire you to wake up with a camera in hand
Have you ever wondered if sunrise looks better than sunset? As far as photography is concerned, the two are mostly visually indistinguishable. However, taking photos at dawn does have some practical advantages over shooting at dusk.

Photo by Alexandre Crousette
Waking up early may require some commitment, but it gives you plenty of time to take photos even after sunrise. Apart from that, you also don’t have to worry about crowds as much since most places aren’t as busy at this time. Furthermore, if you’re obsessive about chasing the perfect light, perhaps it would help to know that the sky looks more vivid in the morning since there aren’t as many pollutants in the air.
If you’re still not convinced, then take a look at these 30 beautiful images guaranteed to motivate you to start the day with a camera in hand:
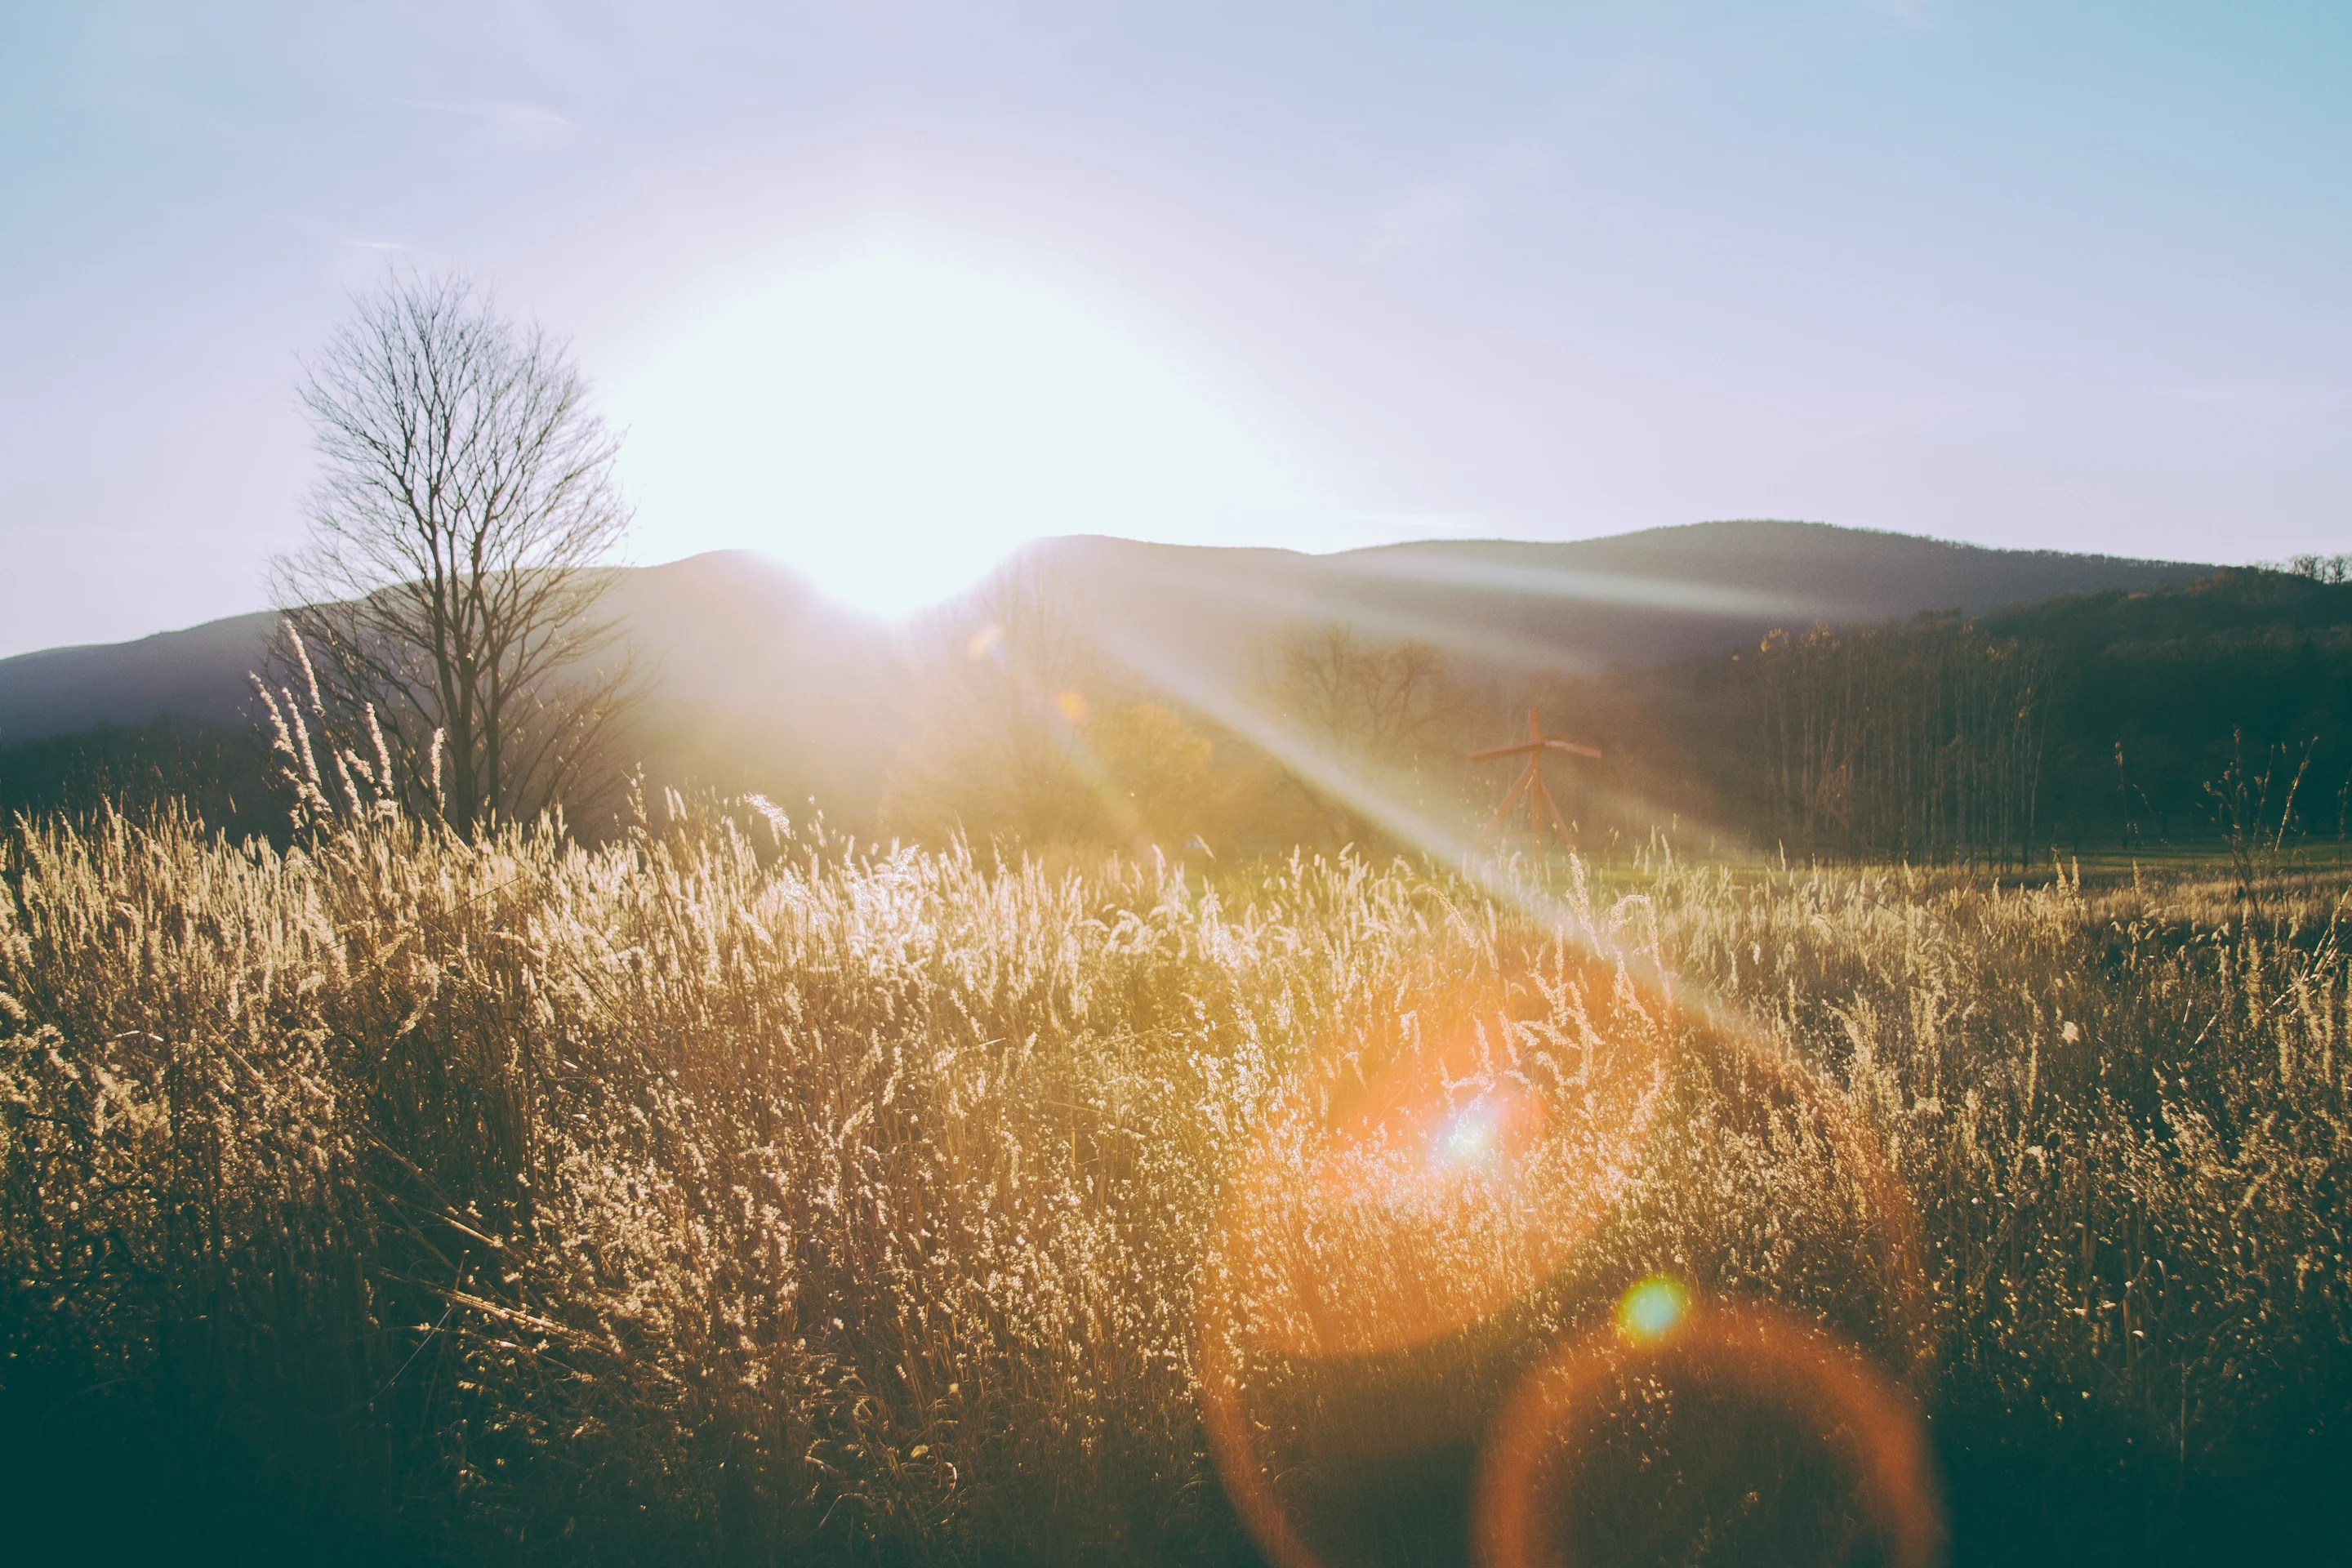
Landscapes
One reason landscape photographers prefer shooting at sunrise over sunset is the presence of fog. These low-lying clouds transform sceneries into dreamy realms. If your image looks flat and rather uninspiring, perhaps all you need is a bit of mist to make it look magical.

Photo by Tim Marshall

Photo by Christoffer Engstrom

Photo by Justin Bisson Beck
Since you don't always get fog in the morning, check the forecast to know when to go out. When the difference between the dew point and the air temperature is below 2.5 degrees Celsius, you're likely to encounter fog.
You can always take pictures of landscapes at any shutter speed, but if you want them to look more dramatic, shoot with long exposure times (about 1/15th or slower) to make the thin wisps of fog more prominent.
Reflections
Reflections work well for landscape photos since they provide viewers a different perspective of certain places. The perfect moment to capture them is when the sun is low on the horizon. The soft light coming from the sunrise makes it easier to photograph details such as the textures of clouds and even land features.

Photo by Derek Liang

Photo by TJ Kolsnik

Photo by Ruston Youngblood
Before shooting, scout for locations with calm bodies of water shielded from the wind to ensure the reflections of the sky appear crisp. Even a tiny bit of turbulence will interrupt the effect, so it would help to shoot in fair weather. Choose aperture priority and select a small aperture between f/18 to f/22 to keep everything sharp.
Wildlife
Most animals are active, making these some of the best times to shoot wildlife. Whether you want to capture animals’ silhouettes against the sky or take detailed pictures, sunrise provides the best lighting to help you create the image you want. Although it takes a lot of discipline and patience to sit and wait in remote locations with your camera, there’s nothing like seeing the forest come alive with all sorts of creatures at the break of dawn.

Photo by Casey Horner

Photo by Ray Hennessy

Photo by Chris Sabor
To avoid disturbing your subject, shoot from a safe distance using a telephoto lens. When shooting wildlife, select a large aperture (between f/1.4 to f/2.8) if you want to make the background blurry, and a small aperture if you want to include the scenery. To freeze action, you need to set your shutter speed to 1/500th or higher.
Blue Hour
Blue hour occurs about twenty minutes before the sun fully rises or sets. Since the sky is mostly dark during this period, it’s a perfect opportunity to take long exposure shots of celestial objects still visible on the horizon. Apart from capturing stars, extending exposure time also makes clouds appear more ethereal.

Photo by Manuel Meurisse

Photo by Jordan Steranka

Photo by Viktor Vasicsek
Using long-exposure settings during the daytime typically requires the use of ND filters on your lens to block extra light. But since there isn't much ambient light to work with during the blue hour, the good news is you may not have to use them at all. Simply choose a slow shutter speed (between 5 to 20 seconds) and click away.
Portraits
Ever wonder why many photographers prefer shooting during the golden hour (the moment that comes after the blue hour at sunrise and preceding it before sunset)? It’s because the soft and warm light coming from the sun makes people’s skin appear more vibrant. Since the sun is still low in the sky, you also won't encounter stark shadows that make portraits look unappealing.
Apart from excellent lighting, shooting early in the morning also allows you to pose your subjects in locations that would otherwise be filled with people any other time. Photographers who choose to work during sunset often deal with big crowds that make shooting difficult.

Photo by Oliver Easton

Photo by Andrew Ly

Photo by Joshua Harris
Shooting portraits often involves a shallow depth of field. Blurry backgrounds forces the eyes to focus on the person, so always keep your aperture between f/1.4 and f/2.8.
Plane Windows
Watching the sunrise is an entirely different experience when you’re thousands of miles above sea level. Apart from having a clear view of the horizon, you also get to witness the enchanting moment the sunlight hits the clouds. Even though photos of plane windows inundate social media these days, they will never lose their charm because they’re just simply mesmerizing.

Photo by Morre Christophe

Photo by Connor Limbocker

Photo by Caleb Woods
To make shooting behind the window easier for you, set your camera to aperture priority and select an aperture size between f/18 and f/22. When it’s dark and you want to take photos of the city lights, choose a high ISO value to compensate for the lack of light. Just remember not to exceed ISO 800 to avoid grainy images. Also use manual focusing since your lens might accidentally focus on the window and not the view outside.
Silhouettes
If your sunset image is devoid of any interesting visual elements, you can never go wrong with adding silhouettes in the foreground. They not only break the blankness of the sky, but they also contribute to the overall mood of the photo.
Silhouettes work particularly well if you want to provide visual clues about the location you're photographing. For instance, you can include palm trees to suggest that the image was shot in a tropical setting. And if you want to add a human element to your landscapes, you can always add human forms in your pictures as well.

Photo by David Hoffmann

Photo by Austin Mabe

Photo by Oscar Ivan Esquivel Arteaga
To capture silhouettes, use spot metering and direct your lens towards the brightest spot in the horizon. Once you’re exposure is locked, point your camera back to your subject and click the shutter. Since your background is brighter, your subject will end up underexposed (which is what you’d want in this situation).
Streets
If you want to see how streets look like when they're empty, then get up early and explore your area at dawn. Even the busiest cities look different in the morning. Apart from the roads and the sidewalks not being as crowded, you can often have tourist spots and famous landmarks all to yourself.
The light coming from the sun in the morning also produces appealing shadows when it hits buildings and other obstacles. If you compose your shot properly, they can add depth and dimension to your photos.

Photo by Mike Wilson

Photo by Roos Oosterbroek

Photo by Björn Grochla
If you’re shooting people, use a wide aperture to isolate them from the background. When photographing buildings, select a small aperture to keep every detail sharp. For both purposes, Aperture Priority is often the best choice.
Beach
If you want a front seat view of the morning light show, then you need to head to the beach. The vast expanse of the ocean creates an unobstructed view of the horizon, making it an excellent spot for photographing the sunrise.

Photo by Paula May

Photo by Ryan Loughlin

Photo by Jörg Angeli
Wake up early to watch the dark sky transform into a golden horizon. As the sun rises, you're guaranteed to get a different photograph every minute you press the shutter. Just make sure you change your settings accordingly as more light becomes available.
To avoid unnecessary guesswork with your settings, select aperture priority instead. Once you’ve chosen your aperture (preferably between f/18 and f/22), your camera will automatically set the shutter speed for you.
Cityscapes
You may be tempted to take cityscape photos in the middle of the night, but in reality, photographing buildings during the blue hour when the sun's still below the horizon is much more ideal. Why? Because it's still dark enough to capture the lights from the windows even though the sun’s already out.

Photo by Ethan Ou

Photo by Matteo Catanese

Photo by Peter Nguyen
Photographing during the blue hour also makes the horizon look less boring. If the sky looks plain without stars or clouds, just wait for the sun to rise enough to add a splash of color in the background.
Depending on the situation, aperture priority is often the best setting to use when shooting cityscapes. To make sure the buildings are sharp, choose a small aperture and just select a high ISO value up to 800 to make sure the image is not underexposed.
Learning to work in the morning will make you much more productive. Once you try it, you’ll realize you’ll get the same results without having to deal with situations many photographers encounter at dusk. So go ahead and start setting your alarm clock early. It’s a small sacrifice to make to achieve the perfect shot.

Written by
Chad Verzosa


