- Photographing mist and fog: 25 atmospheric examples and how to shoot them
Photographing mist and fog: 25 atmospheric examples and how to shoot them
Mist and fog are wonderfully atmospheric and dreamy phenomena to photograph. They can be poetic, romantic, haunting, and quietly spectacular. But they can also be challenging and unpredictable.
Mist and fog move constantly, can disappear in an instant, and have a very ephemeral quality that can easily result in flat, bland images. Capturing them perfectly take a lot of practice and experimentation, which is why the process can be so rewarding for the photographer willing to study their qualities and adopt a patient, exploratory mindset.

Photo by Alexander Milo
So what are the most helpful techniques photographers can use to capture great images of mist and fog? Well, here, we will cover the basic conditions in which mist and fog differ and go through some key aesthetic considerations, illustrating each point with inspiring imagery.
01. Understand mist and fog
Mist and fog are both clouds that are less dense than the ones you see in the sky. While many tend to interchange the terms, they actually differ in density and longevity and, most importantly, visibility. Because mist is less dense than fog, it lasts shorter and allows visibility as far as 2 km. Meanwhile, you might be able to see only as far as 1 km in fog.

Photo by Zachary Domes
While they do differ, their effects in photographs are the same, so for this article, we will only be looking at the different types of fog to help determine the best places and times to capture them.
The thin and distinctive band of mist seen in the image below is called radiation fog. It’s the stuff that forms on clear days in low-lying areas such as valleys. It begins to disappear when the sun appears and the temperature rises.
Also called sea fog, advection fog usually appears in coastal areas when warmer tropical air passes over a cooler body of water. It requires some wind and can linger for days.

Photo by Gabriela Palai / StockSnap
Valley fog, also called upslope fog, can stay around for days, but of course, that can be difficult to predict. It develops when mountains or hills prevent dense, moist area from rising.

Photo by Sebastian Unrau
The last type of fog is steam fog, which occurs when water vapor mixes with colder air, so it often appears as delicate little wisps of vapor rising from a lake or river. In winter, it can last all day, but it most often disappears soon after sunrise.

Photo by Tanja Schulte
02. Plan Your Shoot
As with other genres of photography, planning your shoot is important in capturing mist and fog. Without a plan, time and effort could be wasted. Weather, location, camera settings, and gear are especially important factors to consider in your shoot.
Weather
Because mist and fog can quickly dissipate, timing is important to get right. Weather forecasts are excellent for planning purposes. Most weather sites specifically predict mist, but if the one you’re using doesn't, just keep an eye on the predicted visibility.

Photo from Pixabay
Location
It also always pays to properly scout any location to find the ideal vantage point in shooting with mist and fog. In general, many of the common challenges of capturing mist and fog can be avoided by getting up high and choosing an elevated vantage point (such as from a mountain peak or a drone). This will help you break free from shooting within the thickest fog cover. It also means that the sharper surroundings can be used to provide perspective and contrast.

Photo by Carlo Yuen
Exposure
Conditions may change very quickly, and a camera will often be confused by the diffused light, so you need to know how to manually set exposure. Familiarize yourself before the shoot by trying out different exposure settings in varied light conditions.
Gear
Aside from your camera, a long lens, a tripod, and wet-weather gear will be useful in capturing mist and fog. Those using an SLR camera will find a wider angle useful. Otherwise, bring a long lens to emphasize the depth of the image. A tripod, meanwhile, will come in handy if you want to play around with exposure settings. And you will need wet-weather gear, including something to clean the lens with, when it gets wet.
03. Enhance colors and details
Mist and fog act as a giant diffuser, so contrast and color will often be quite low, and this can easily make images look a bit lifeless. You need to look at the things that you can adjust to liven them up.

Picture by Albrecht Fietz
Exposure
It may be tempting to use just a fast shutter speed and hand-hold the camera, but with a tripod, you have the option of using a slower shutter speed too. Mist moves slowly, so a long exposure can be used to capture its movement and create a striking contrast of blurred and static elements. This will also create the impression of a dense fog. Alternatively, a faster exposure can very clearly differentiate the mist from clear surroundings. Play around with exposure settings for varied effects.

Photo from Pixabay

Picture by Stijn te Strake
Color
Further, there is precious little color in many misty scenes, so it’s important to keep an eye on the auto color balance. Auto white balance (AWB) is best when trying to capture the cool blue of an early morning. If unsure, just try out different settings. The best bet, however, is to shoot in RAW, so you can post-process your photos without losing too much detail.

Photo from Pixabay
Lighting
In fog and mist, you can also expect to find only little light, which will consequently soften contrast—sometimes, a little too much. To add contrast, shoot in a location with the light in or near the edge of the frame. Apps such as the Photographer’s Ephemeris are also very handy for predicting where the light will fall at various times of the day.

Photo by Neven Krcmarek
Note that mist and fog look particularly good when illuminated from behind, and one of the most spectacular lighting effects can be seen when the sunlight is strong enough to peek through a thin mist and create shadows. In cityscapes, street lights and advertising boards can be used as great sources of color and light.
04. Compose the image creatively

Photo by Carmine De Fazio
It is all too easy to get caught up in the technical demands of shooting mist. In creative terms, the most exciting part often lies in composing the image. The primary challenge here is to avoid a flat or washed out look in the image, which you can do by exploring some of the following:
Layering
The strongest images of mist and fog usually have a strong sense of depth, which is created by thinking of the image in terms of layers. This layered effect can be created by including elements of interest very close to the camera, in the middle ground, and in the background. A long lens can also be used to strengthen this impression.
Silhouetting
Mist and fog will often reduce the color, details, and textures of objects to mere outlines. This is why misty images can often look dull, but this effect can also be used to introduce a lot of drama and contrast to the image. Just expose for the highlights and create pin-sharp dark silhouettes. Have a look at the surfers in this image, for example.
Contrasting
Subjects with contrasting textures can also add a flair to your photos. For example, including rough edged cliffs or even boulders within the frame will emphasize the soft, watery texture of mist and fog, like in this photo by Engel:
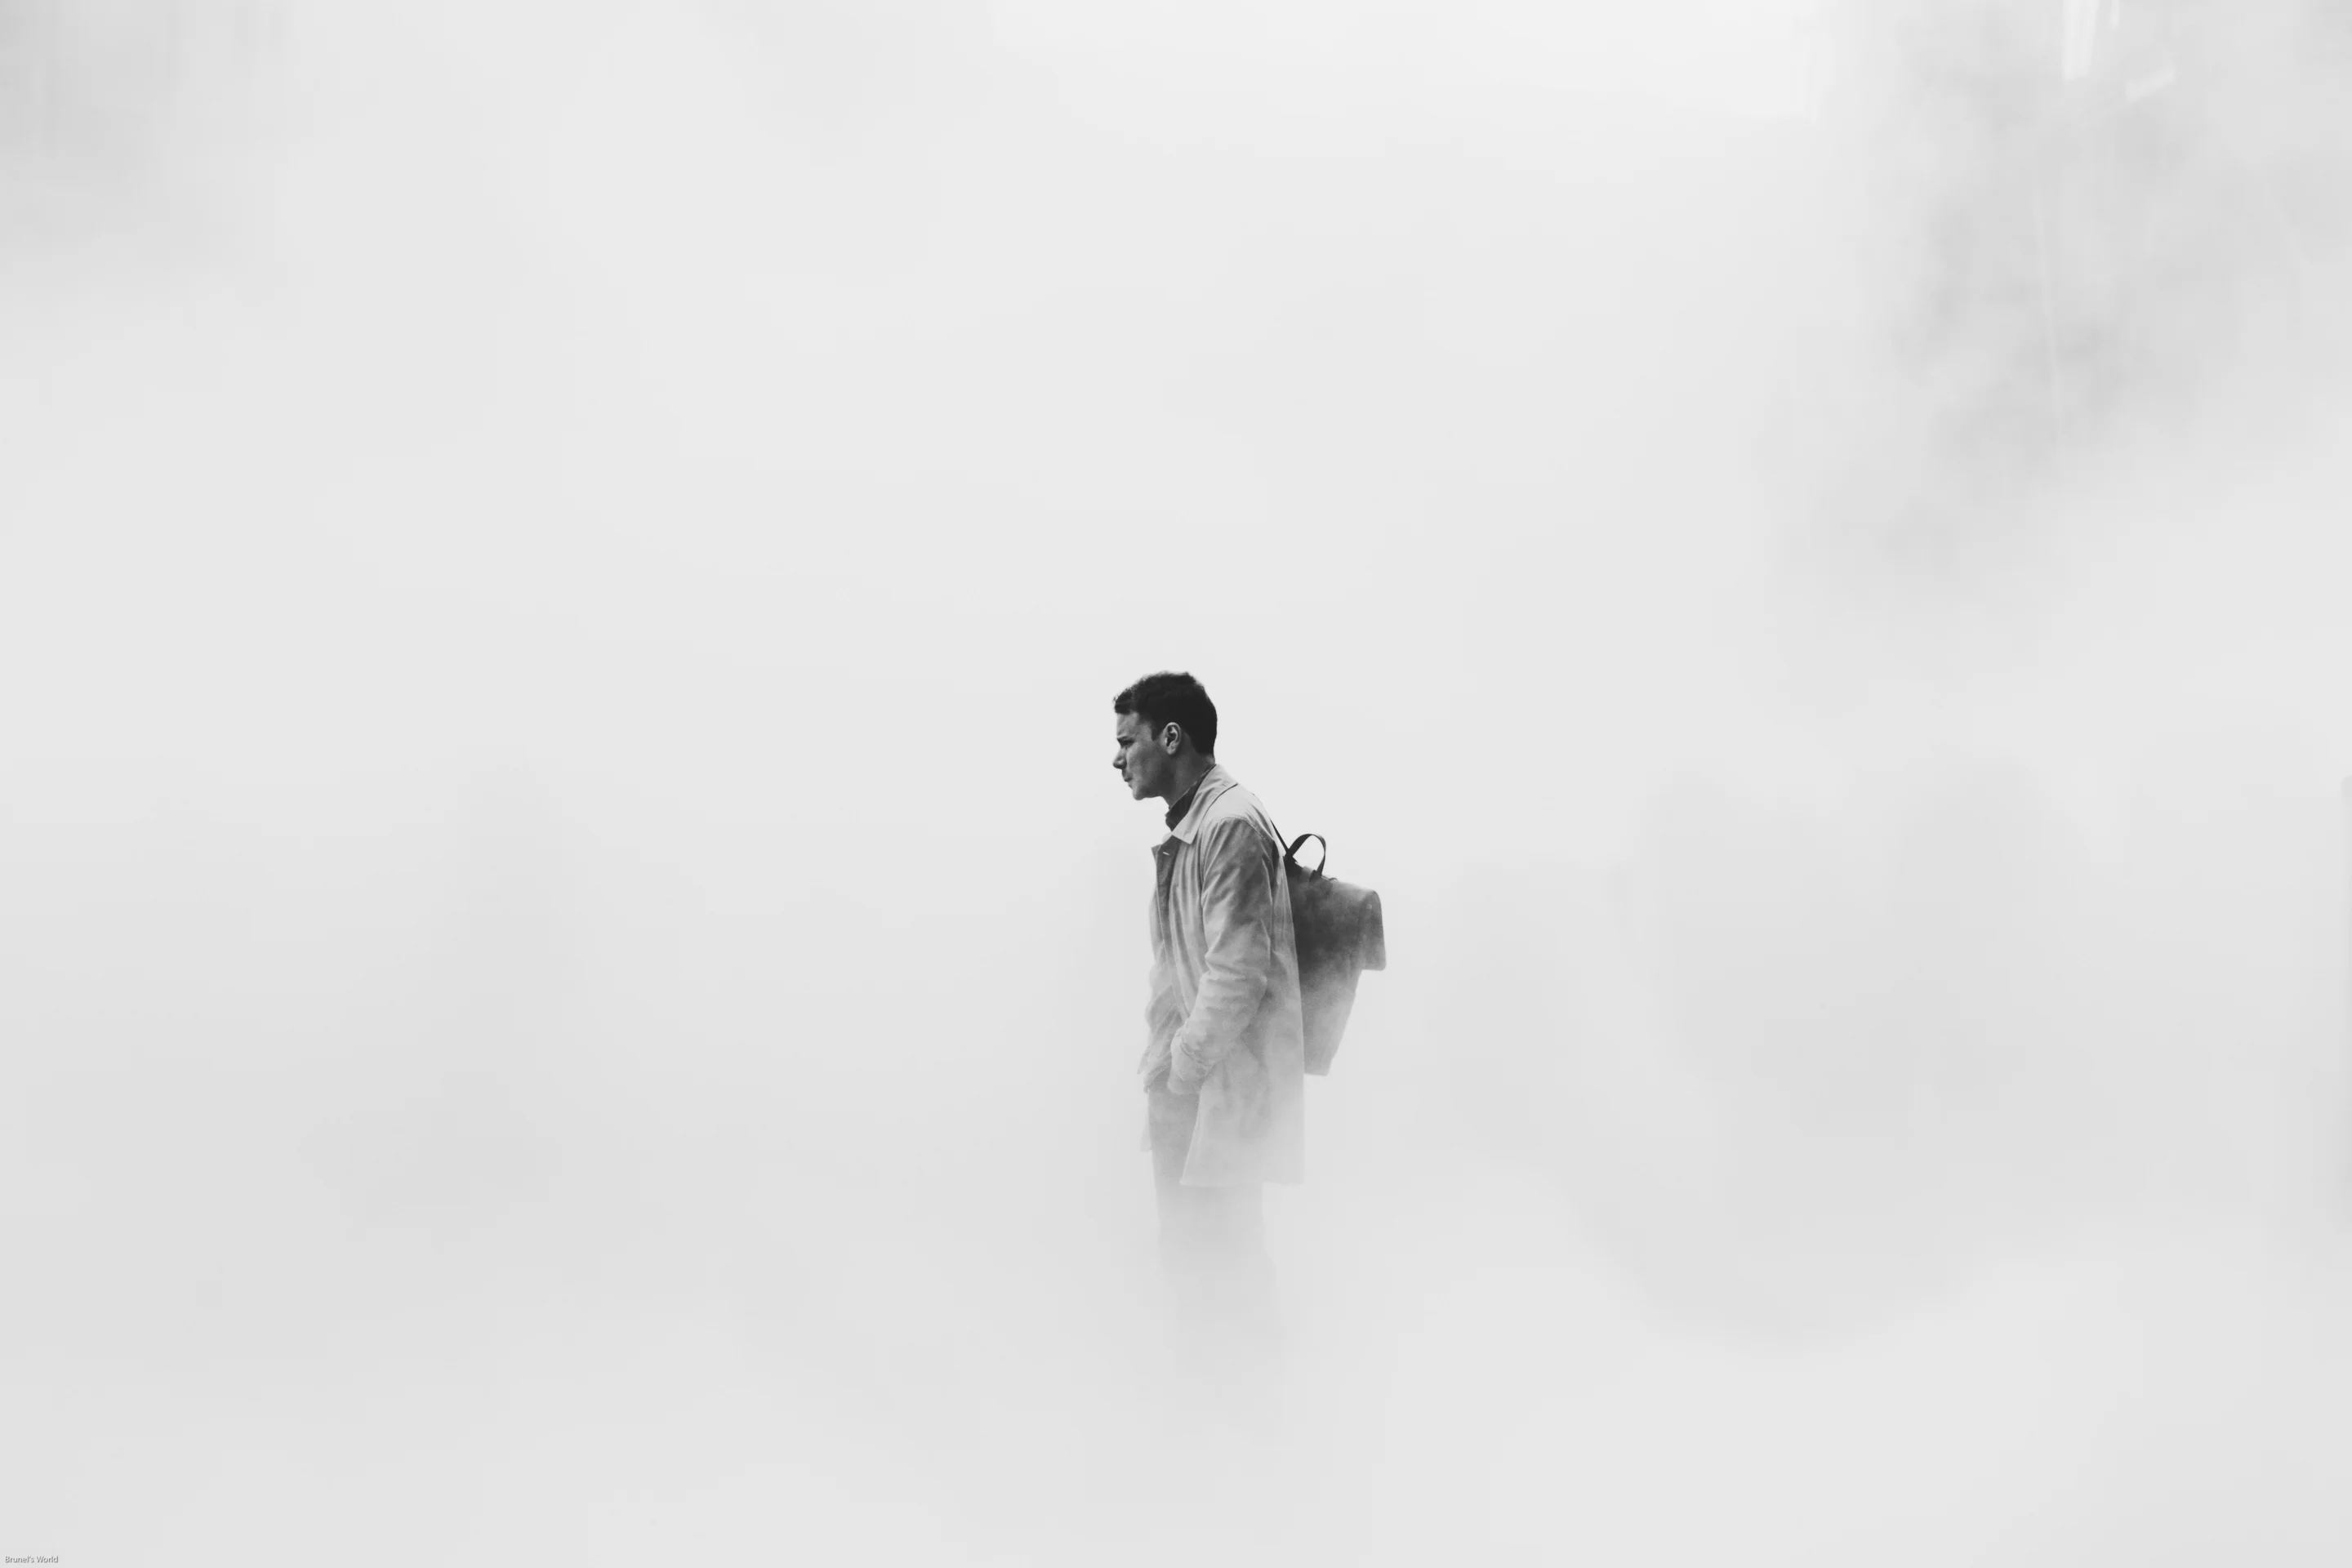
Simplifying
Finally, a misty scene doesn’t need to be crammed with information. In fact, the best thing about mist and fog is that they force the photographer to use large areas of white space and embrace the delicate power of a minimalist aesthetic. A misty scene may even provide inspiration for a semi-abstract image.

Photo from Pixabay

Photo by Fabian Irsara
05. Post process photos
Despite all best efforts, most images will still need some post-production work to increase contrast and color. If using Lightroom, work with the sharpening and dehaze filter. Also try playing around with saturation, contrast, and sharpness. No matter what program or app you use, it’s best to work on a duplicate version of the original image because it’s far too easy to overwork the image. After all, the most appealing thing about mist is that it’s a delicate, subtle subject.

Picture by Christa Regina
Much of the time photographing mist and fog involves venturing out in the early hours of dawn, patiently fiddling around with your camera, and accepting unpredictable results, and for some, that’s what makes photography so much fun anyway—the real magic of the process.
For more inspiration check out Canva'simages of fog and mist from our stock image library.

Written by
April Fonti


