- The beginner’s guide to natural light and how to use it to take great photos
The beginner’s guide to natural light and how to use it to take great photos
Light is a photograph's key ingredient—it's literally the only reason an image can exist. Upon clicking the shutter, light enters the camera, transferring the image it hits onto the film or transforming into electric signals that then turn into the pixels in a digital photograph. Without light, there is no photograph.

Photo by Teff Theory
Before moving on to the fundamentals of photography, you first need to develop a deeper understanding of light—how it works and how to capture it, control it, enhance it, and use it creatively.
What Exactly is Natural Light?
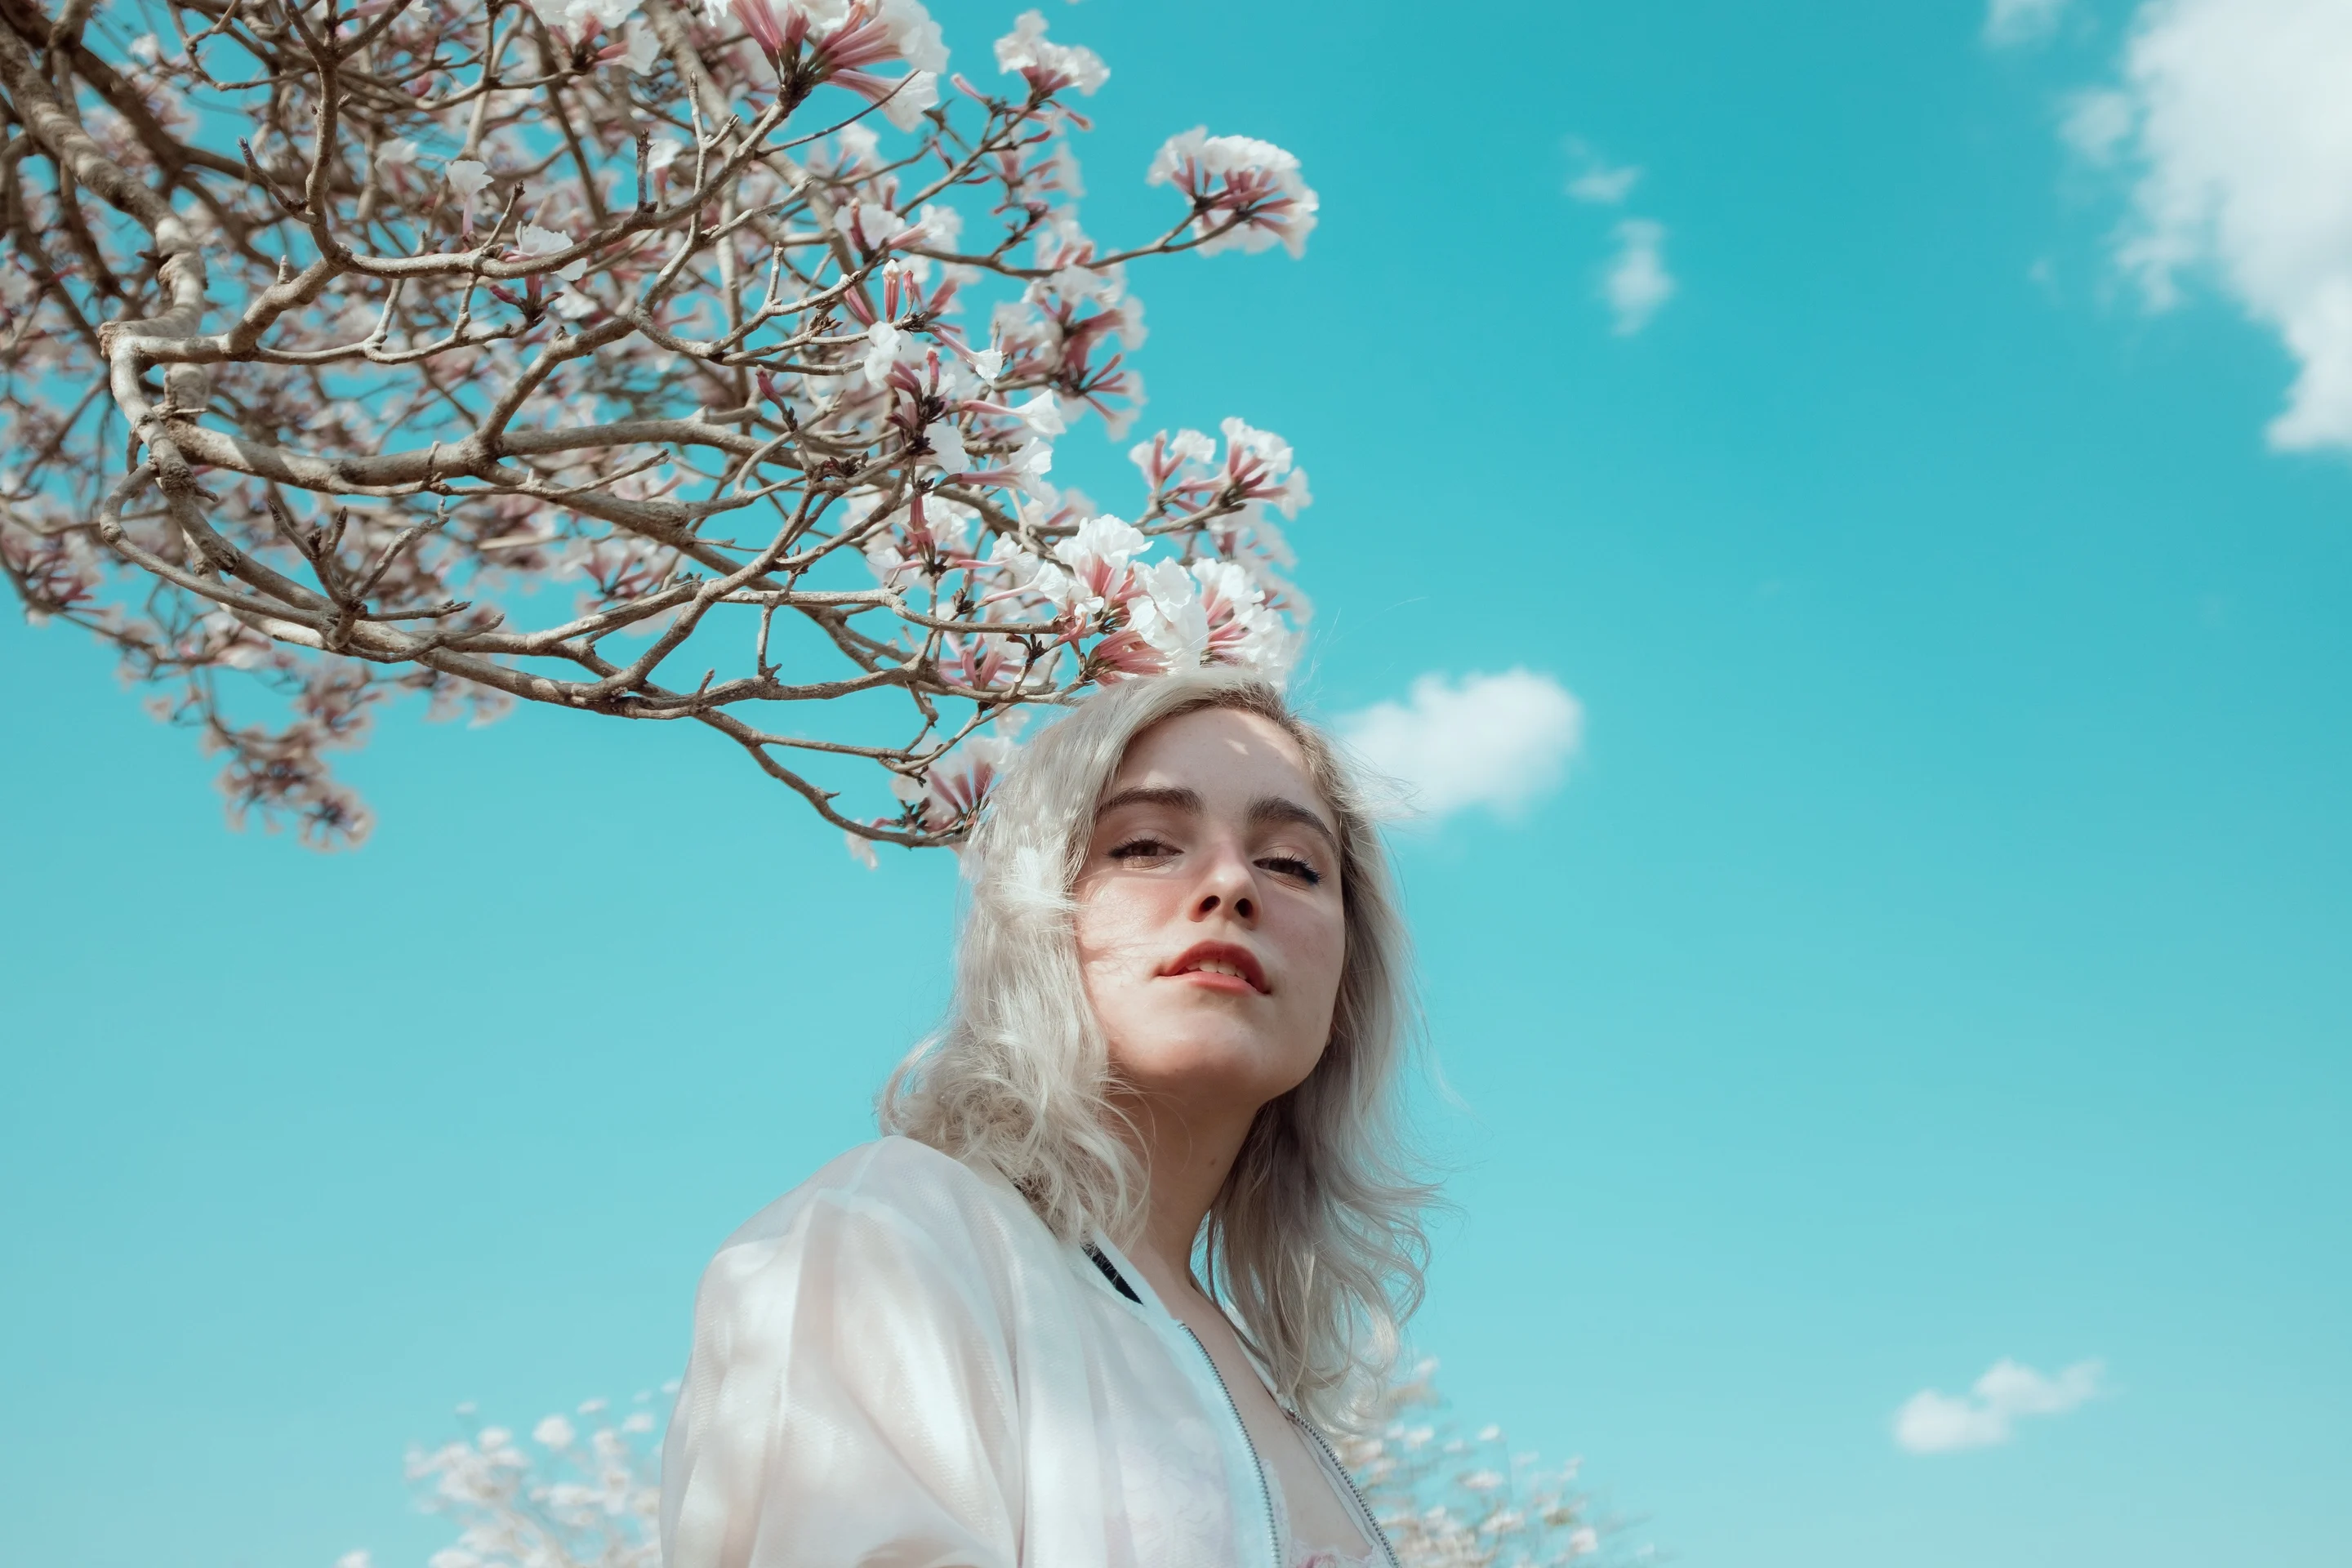
The most basic and important form of light is natural light, generally referring to any light created by sunlight.

Photo by Filipe Costa
In other instances, ambient light (meaning the available light in an environment) can be considered as natural because it isn’t directly influenced by the photographer’s lighting equipment. This usually indicates natural lighting from outside that lights up a room through a window.

Photo by Toa Heftiba
Natural light is abundant (so you get to practice consistently, free of charge) and, by paying attention to certain factors such as how the sun behaves throughout the day and in different weather conditions, you will learn to see light better, maximize its potential, and apply the basic techniques in any genre of photography.
What are the Characteristics of Natural Light?
Before learning the different types of natural light, let’s look at the four main characteristics that are used to categorize them—color, intensity, direction, and quality.
Color Temperature
Color temperature refers to the various shades of color that are produced by different light sources.


Photos of New York in cool vs. warm light by Nicolas Jehly
It is measured on the Kelvin scale, from the cooler, blue-tinged end of the spectrum to the warmer, reddish-colored end.

Photo by Cryhavok
Color temperature changes throughout the day, depending on the time and the amount of clouds in the sky. At dawn, the sky appears light blue. At sunset, the sky appears orange (this is what photographers refer to as the golden hour or magic light); and at dusk, the sky appears violet-blue.

Photo by Joe
Intensity
The intensity of light is a measure of its harshness or brightness and determines how much light is present in a scene. Intensity is sometimes referred to as “quantity of light.”
You can estimate how intense light is based on the balance between shadows (the darker areas of your image) and highlights (the lighter areas of your image). This distinction between highlights and shadows is known as contrast.

Photo by Andrea Lohmann

Photo by Raphael Angelo
Light is usually most intense at noon when the sun is directly overhead. Contrast at noon, therefore, is high and tends to make shadows more pronounced. On the other hand, light and contrast are less intense early in the morning or evening.
Direction
As previously mentioned, depending on the time of day, the direction of light changes due to the sun’s movement.
Given that the the sun is below the horizon at dawn and twilight, almost horizontal at sunrise, and is highest and nearly vertical midday, photographing at these different times of day produces largely different images.

Photo by Philipp Reiner
The cycle reverses towards the night with the sun medium to low in the afternoon, almost horizontal at sunset, and below the horizon at twilight and dusk.
Quality
Quality encompasses the other characteristics and can either be classified as hard/direct or soft/diffused.
The smaller the light source is compared to a subject, the harder the quality, and as the light spreads and becomes bigger, the quality also becomes softer.
These photos by Boy Hardy perfectly illustrate this:


Photos by Boy Hardy
In reality, bad light does not exist—the light is either suitable or not suitable for you. Therefore, if you're searching for good quality of light, you just need to determine the kind of images you want to create and then decide if you want to work with soft or hard light.

Photo by Rob McCarthy
What are the Different Types of Natural Light?
Based on these characteristics, we can now identify the different types of natural light. Below are some you might find useful in your photography:
Hard/Direct Light
Hard/direct light may come from the sun on a cloudless day at noon or a couple of hours before sunset.
- Color: neutral white midday, cooler early in the day, and warmer later in the afternoon
- Intensity: high contrast, producing very sharp, defined shadows and edges
- Direction: vertical to low
- Quality: hard

Photo by Graham Hunt
Hard light offers many possibilities to create striking images. For instance, you can create interesting images by photographing shadows that fall away from your subject like what photographer Graham Hunt does in the photo above.

Photo by Martino Pietropoli
On the other hand, you can also incorporate the shadows that fall directly on your subject like in this photo by Jeslyn Chanchaleune.

Photo by Jeslyn Chanchaleune
Soft/Diffused Light
On the other hand, soft/diffused light may come from the sun on an overcast or cloudy day or as the sun starts to set. Snow, fog, air pollution, or a shaded area can also soften the light in a scene.
- Color: cooler in the day, warmer later in the afternoon, and cool pastel at twilight, dawn, and dusk
- Intensity: low contrast, softening light and dark areas and producing mild shadows and soft edges
- Direction: low to below horizontal
- Quality: soft/diffused

Photo by Bank Phrom
You can create magnificent photographs by finding some open shade, such as under a tree or a tent, to photograph your subject in. Below, observe how photographer Allef Vinicius makes use of the interplay between shadow and sunlight to softly illuminate his model.

Photo by Allef Vinicius
You can also try shooting from different angles, especially with your subject facing the light, like in this photo by Daniel Sampaio.

Photo by Daniel Sampaio
Or try using contrasts in color or a tighter composition to amplify the appeal of your image just like Cynthia Andrewsdoes in this photo below.

Photo by Cynthia Andrews
Reflected Light
Reflected light is the result of the light source bouncing off of an object, creating a softer color cast or glow.
- Color: inherits the color of the surface
- Intensity: low contrast, filling in shadows
- Direction: equivalent to angle of reflected light
- Quality: soft/diffused

Photo by Anne McKinnell
One thing to note is that the rougher your surface is, the softer the reflected light will be. In the photo below, Eye for Ebony makes use of reflected light, allowing the warmth of the brick wall background to cascade a subtle tint onto her models.

Photo by Eye for Ebony
Window Light
If you intend to shoot indoors, window light will serve as a major source of lighting.
- Color: depends on the time of day and colors in the scene from which light might bounce off
- Intensity: depends on distance and angle of subject from the source
- Direction: depends on where the window is, but usually produces side lighting
- Quality: can be hard or soft

Photo by Annie Tritt
Window light can be modified directly by adjusting the amount of light you let in. For example, you have the option of placing a translucent material across the window to serve as a diffuser, which reduces the light intensity and helps to create softer silhouettes.

Photo by Simon Matzinger
You can also block off a section with an opaque material to enhance a darker setting, creating a moodier effect.
Dappled Light
Dappled light is the result of sunlight that has been filtered through tree leaves and projected on a nearby surface. It casts interesting shadows on your subject and could make your image more compelling.
- Color: depends on the time of day
- Intensity: depends on distance of filter from the subject—the closer the filter, the higher the contrast
- Direction: best shot in the morning and late in the afternoon, mid to near the horizon
- Quality: can be hard or soft

Photo by Sophia Jane
This kind of light tends to be a bit scattered, so some photographers prefer to avoid or "fix" it. But like with every other kind of natural light, it can still be utilized in many creative ways.

Photo by Marco A. Gallico
Take the portrait above for example, the photographer, Marco A. Gallico, uses shadows cast by the leaves to accentuate his subject’s eye makeup while creating an image that’s both mysterious and ethereal.
Twilight
Twilight is the transition between day and night (before the sun rises and after it sets) and always has a cool color, has low contrast, and is soft/diffused.
Twilight is sub-divided into three main categories:

Civil Twilight Occurring right before sunrise or right after sunset, light at civil twilight is closest to the horizon. It is the brightest form and most intense form of twilight.

Photo by Aurora Sánchez
At this time, the color temperature of the sky is cooler and will serve as a great backdrop for your images.
Nautical Twilight
Nautical twilight draws reference from the time when sailors used stars to navigate the seas. At this point, the sky starts to darken significantly and gives off a deep blue tone. It is also known as the best time to capture moon silhouettes.

Photo by Coral Malfaz
Astronomical Twilight
During astronomical twilight, light is farther below the horizon, so the sky will get even darker.

Photo by Laurent Dormois
A tripod will help you in capturing sharp images at astronomical twilight, but at this point, you should know that you'll most likely have to rely on artificial lights.
How To Capture a Visual Story with Natural Light?
Armed with the knowledge of the different types of light, you should have a fair idea of when and where to find suitable lighting. So, how do you utilize this information to tell a compelling visual story?
When working with natural light, you have to use (not fight) what nature gives you. Worry less about being technically correct, focus more on the story tied to your images, and use the available light in interesting ways.

Photo by Madz Rehorek
After all, what makes a great photograph isn’t just acing its technical aspects, but also being able to evoke an emotional response from the viewer.
Search for your ideal light.
When thinking about your ideal light, consider the type of light you want to work with.

Photos by Felipe Galvão
Remember, light from the sun changes rapidly throughout the day based on the time, weather, and location, so you'll have to be very specific about the mood and theme you're going for and plan your shoot accordingly.
Forget “good versus bad” light because, again, light is either suitable or not suitable depending on the kind of photographs you want to create.

Photo by Oleg Oprisco
If you want to create ethereal and almost magical photographs like Oleg Oprisco, for example, use soft/diffused light.
Train your eyes to notice how light behaves (like how it falls through your windows in the morning or how it interacts with the environment or spaces you visit often) and see how each type of light can transform your picture and mold it in your favor.

Photo by Madz Rehorek
Using Light to Compose Thoughtfully
Figuring out how to create a balance between the direction of light and the position of your subject can be a bit tough, but it will certainly help in setting the mood of your photographs.
Be creative by finding the best angle for the light to hit your subject, which can typically be from the front, from the side, or from the back.
Front Lit
A subject is front lit if the light is behind you and is directly hitting your subject.. Light coming from this direction will partially or fully eliminate shadows.

Photo by Tanja Heffner
Side Lit
A subject is side lit if the light hits the subject from the left or right side, adding drama and emphasizing texture.
This photo of the oldest resident elephant in Manila Zoo shot by Philippine-based photojournalist Jilson Tiu. Observe also how the presence of shadows when the subject is lit from the side creates depth.

Photo by Jilson Tiu
Backlit
Conversely, a subject is considered backlit if the light is coming from behind the subject, which can produce a glow, silhouette, shadow, or light flare.

Photo by Roger Brufau Vilella
In this playful photo by Roger Brufau Vilella, the sun behind the young girl produces a flare adding a whimsical effect to the shot.
Note, however, that while light flares can be used in creative ways, it can also damage your camera’s sensor if not used carefully.
Choose the best setting for your camera.
The relationship between the light present in your scene and your camera settings are very important. If you want to the best quality of light present, it's advisable to either shoot in manual or aperture priority (Av) mode.

Photo by Ryan Hafey
Manual mode will give you full control over your camera settings, which allows you to make adjustments based on the light you are given. For example, adjusting your white balance allows you to alter the color temperature of your shot from warmer to cooler and vice-versa.
Meanwhile, Av mode will allow you set a specific aperture value while the camera selects a shutter speed to match it. This will result in proper exposure based on lighting conditions.
Bonus tip: Always shoot in RAW file format—capturing all image data recorded by the camera sensor. Because no information is compressed, this will allow you to produce higher quality images. If your memory card is not large enough, get another one that’s at least 32GB.
Know when to work with reflectors, diffusers, and flags.
The point of using reflectors, diffusers and flags is to help enhance or modify natural light.
Reflectors allow you to fill in backlight by directing more light towards your subject. They are affordable and come in a five-in-one kit that provides gold, silver, and white reflective surfaces, as well as black and translucent surfaces. You can also make your own reflector by using a plain white cardboard to bounce light in any direction you want.

Photo by Frankie Cordoba
In the above photo by Frankie Cordoba, a reflector bounces light back in the specific direction of the subject.
A diffuser, on the other hand, is a translucent surface that can be placed between the light source and your subject to soften transitions between shadows and highlights.

Photo by Jared Sluyter
Finally, a flag is anything that blocks some of your light. You can use a black surface or even your subject as a flag.
Don’t let the weather put you off.
One thing you can be sure of is that when it comes to natural light, it is rarely consistent due to the unpredictable changes in weather. A sunny day can suddenly turn cloudy and dull, and while you might find this frustrating, simply understanding how the weather affects light will leave your better prepared to work around it.

Photo by Layton Diament
For example, a passing storm can scatter cloud formations across otherwise clear skies, producing more dramatic, darker landscapes that evoke serenity or even bleakness.

Photo by Vitaly
A rolling fog can also transform the sky into a giant, natural soft box (a photographic lighting device used to reduce harsh shadows and spread light evenly).

Photo by Eduardo Oropeza
A gloomy day can also add a dramatic effect to your photos, just like it did in this snap taken by Colin Robertson a misty morning in Windsor Great Park.

Photo by Colin Roberts
How is Natural Light Used in Different Photography Genres?
Natural light can be used in any genre of photography but applies slightly different techniques.
Portrait
Portrait photography is typically about capturing people and could either be candid (as in travel/street photography and photojournalism) or staged (as in fashion photography).

Photo by David Uzochukwu
Soft/diffused light is the most flattering for portrait photography, but just because hard/direct light creates dramatic shadows, it doesn’t mean you cannot use it to create stunning photos.
For instance, look at this portrait by Elias Williams where he sets off the harsh light of the sun by using side lighting.

Photo by Elias Williams
You can also play with colors cast by reflected light by placing your subject close to any colored surface. In the photo below, Loren Joseph uses the soft reflection of the pink wall to both complement the color of and bounce light onto the outfit of her subject.

Photo by Loren Joseph
Window light is also a great type to of light to use in portraiture because you can easily adjust the quality, quantity, and even the color of the light.

Photo by Nguan
Bonus tip: For a smoother background, consider using wide aperture values.
Documentary
Documentary photography refers to the chronicling of events, environments, and everyday life. This is one of the easiest and cheapest genres of photography to explore.
When you’re documenting, you don’t have the luxury of moving your subject around or using reflectors and diffusers. Instead, you have to use work around the characteristics, such as color and intensity, of the light that is available to help create photos that evoke emotions and convey your ideas.

Photo by Mohammed Elshamy
For instance, the warm colors placed on a cool colored background in this photo by Mohammed Elshamy(opens in a new tab or window) put the focus on the women working in brick depots in South Sudan. Warm colors(opens in a new tab or window) are suggested to evoke happiness, energy, warmth, change, intensity, anger, frustration, romance, intensity, and life.
On the other hand, cool colors are suggested to evoke feelings of health, tranquility, calmness, serenity, truth, wealth, spirituality, and wisdom but also loneliness and misery as in this photo of a refugee below by Marko Drobnjakovic(opens in a new tab or window).

Photo by Marko Drobnjakovic
Many photojournalists also depend on contrast—light and shadows—to set mood and add dimension to photos.

Photo by Sune Engel Rasmussen
See how the light that falls on the face of this Afghan soldier looking out for Taliban fighters in the field brings out his apparently wrought emotion. The shadows help emphasize this emotion by putting a viewer’s focus on the important parts of the subject.
Landscape
Landscape photography is about capturing a scenery. In this genre, your composition is often the only thing within your control. This means that you’ll spend a lot of time chasing the light—be patient.

Photo by Even Tryggstrand
Be very observant about the changes in quality or direction of light over time, so you can decide how to best shoot the scene.
For instance, at midday, the light is usually harder and could emphasize details especially when you find the right angle.
Side lit landscapes under hard/direct light create interesting shadows and can emphasize details.

Photo by Shoayb Hesham Khattab
Meanwhile, backlighting landscapes particularly at sunrise or sunset create beautiful silhouettes.

Photo by Eric Rubens
Front lit landscapes are one thing to avoid because the minimized shadows result in flat photographs.
You might also observe that soft/diffused light created by an overcast day, fog, mist, or even air pollution and haze makes for some of the most awe-striking landscape photographs because of how it preserves color and texture.


Photos by Kilian Schönberger
Food Photography
Great food photography often uses window light because it creates soft/diffused light that tends to make everything on a plate look more appetizing, again by highlighting details and textures.
When photographing food indoors with natural light, you can soften light by placing a white material opposite the window, placing food between it and the window.
For example, to take this mouthwatering photo of the salad, food photographer Jenny Woodward placed a wooden board on a table by the window, used a baking pan as her background, and used tin foil to reflect light.

Photo by Jenny Woodward
Outdoors, shoot under a shaded area such as a patio or a tree. This is also a great time to utilize reflectors and diffusers to either fill in shadows or soften light.

Photo by Matt Armendariz
Wedding Photography
Technically, weddings can be classified under documentary photography, but, as we all know, it’s in a league of its own. Shooting a wedding with just natural light can be tricky especially if it is held indoors with inadequate light.
What you can do indoors is look for reflected light. Consider where the light is coming from and look for light-colored surfaces such as dresses, walls, and and curtains.
You can also use window light, which most churches have lots of. Window light will also provide endless opportunities to take wonderful portraits not only of the bride and the groom but also their family and guests.

Photo by Madeline Broderick
If you’re lucky enough to be shooting outdoors in great weather, thank your stars. In this situation, remember that you’ll most likely be working with direct or diffused sunlight, so prepare accordingly.

Photo by Elizabeth Ladean
Some Best Practices
When working with natural light, you need to know that the odds won’t always be in your favor. The weather can turn on you at anytime, and the quality of light can go from soft to practically non-existent in a blink of an eye.
In such cases, you need to be prepared. Here are a few tips from professional photographers:
- Mitchell Kanashkevich, travel/cultural/documentary photographer, 2015 Travel Photographer of the Year for people/faces category, writer, and educator:
“Look at the different types of natural light as tools in a tool-set. None of the ‘tools’ are good or bad, just right or wrong for what you’re trying to communicate.”

Photo by Mitchell Kanashkevich
- Joshua Dunlop, photographer and founder of Expert Photographywebsite
“A common mistake in beginner photographers is to think that they can’t go out shooting when it’s raining or overcast for fear of bad photos. This is a myth. Overcast lighting is much easier to work with and can produce equally interesting photos.”

Photo by Joshua Dunlop
- Charles Hildreth, fashion/portrait/beauty photographer
“There are never any certainties. It’s about adapting to what you’re given. The best you can do is to understand how light looks at different exposures, and the only way to find what you like is to shoot.”

Photo by Charles Hildreth
- Simon Bray, contemporary landscape photographer
“Some days you’ll have warm and yellow light, whereas on others, natural light will possess a blue tint. This is where using white balance comes into play. You can use the settings to adapt to the conditions in order to achieve the tone of light you desire.”

Photo by Simon Bray
- Digby Fullam, street photographer
“It’s very easy for street photos in cloudy weather to sometimes lack a bit of drama and punch. If you’re someone who shoots colour street photography you can use colour to its maximum potential to help inject some drama into your photos.”

Photo by Digby Fullam
Now, it’s your turn.
Get up, go out, and shoot!
Like Johann Wolfgang von Goethe once said, "Knowing is not enough, we must apply”.
We all know that the best kind of photographer is one who photographs consistently, experiments, and keeps learning. Be that kind of photographer. Become a student of light—be aware of it, observe it, and use it to create magic.

Written by
Ginikachi Eloka


