- Stay sharp: 15 foolproof tips to avoid blurry photos
Stay sharp: 15 foolproof tips to avoid blurry photos
A sharp, crisp image is something that most photographers strive for, yet it’s something that isn’t always easy to achieve.
While blur is a stylistic choice for some, it can ruin your photo when it’s unintended. There are a number of reasons your photos may be turning out blurry — the most common being camera shake, poor focus, and moving subjects. We’ve listed some tips to help you avoid blurry shots and shoot tack-sharp photos.

Photo by Joseph Greve
01. Keep Your Hands Steady
Shooting handheld makes you more prone to camera shake. There are a number of ways to keep your hands steady while shooting.

Photo by Artem Sapegin
To keep your arms stable, use both hands to hold the camera close to your body (tuck your elbows in for more stability) — extending your arms further than necessary will tire you out quickly and induce camera shake. You can also try propping your arms over a solid surface or leaning against a wall.
As much as possible, reduce motions that can move your camera unnecessarily while shooting. This includes pressing the shutter button too hard or lifting your finger from it too quickly. Hold your finger on the shutter button until you’re certain that the shot has been taken properly. Similarly, even your breathing can cause camera shake, so try holding your breath or exhaling slowly while taking the shot.

Photo by Redd Angelo
Make sure you’re holding your camera comfortably. Keep one hand on your camera and the other supporting your lens. Shooting handheld frequently can help you find techniques to give you the most stability, so exercise those arm muscles and shoot away.
02. Use A Tripod
One of the easiest ways to stabilize your camera is using a tripod. Make sure the tripod stands firmly on the ground (take even more care on uneven terrain) and pull out the legs completely to avoid sudden movements. The closer your tripod’s height is to the ground, the more stable it is. If you need to shoot from a higher angle, extend the thicker sections of your tripod’s legs completely first then the thinner ones if you need to elevate further.

Photo by The Nigmatic
Check if your camera is firmly secured on the tripod to avoid accidents. If you’re shooting with a long or heavy lens, use the tripod collar to mount it on the tripod instead of your camera, so that you balance the weight and avoid potentially damaging the lens mount.
Alternatively, you could opt for any stable, even surface if you don’t have a tripod on hand.

Photo by smartphotocourses.com
03. Increase Shutter Speed
Shutter speed basically dictates the amount of time your shutter is open. Using a faster shutter speed when shooting will freeze movement in an image, while slower shutter speeds will allow you to capture motion blur.

Shutter speed of 1/30

Shutter speed of 1/250
While motion blur can make a dramatic photo in some cases, you won’t be able to shoot a clear, sharp image of your subject in action with a slow shutter speed.
If you want a clear shot of a moving subject, speeds of 1/500 and up (depending on how fast your subject is) will allow you to get a sharp image without motion blur. Increase your shutter speed if your subject still turns out blurry in the image or if you’re shooting very fast motion. Prepare to shoot in good lighting (or adjust the aperture/ISO) as increasing your shutter speed can underexpose your image.

Photo by Gary Bendig
04. Use Self Timer or A Remote Control
Even the smallest movements such as clicking your camera’s shutter button can cause blurry photos. Use a self timer or remote control while your camera is mounted on a tripod (or on any stable surface) to eliminate the risk of camera shake.

Photo by Ryan Hutton
This practice will help you get a sharp shot especially when shooting with slow shutter speeds. Shooting clean, long exposure shots of the milky way or light trails in the city, for instance, will be easier to achieve with this set up.

Photo by Jake Blucker
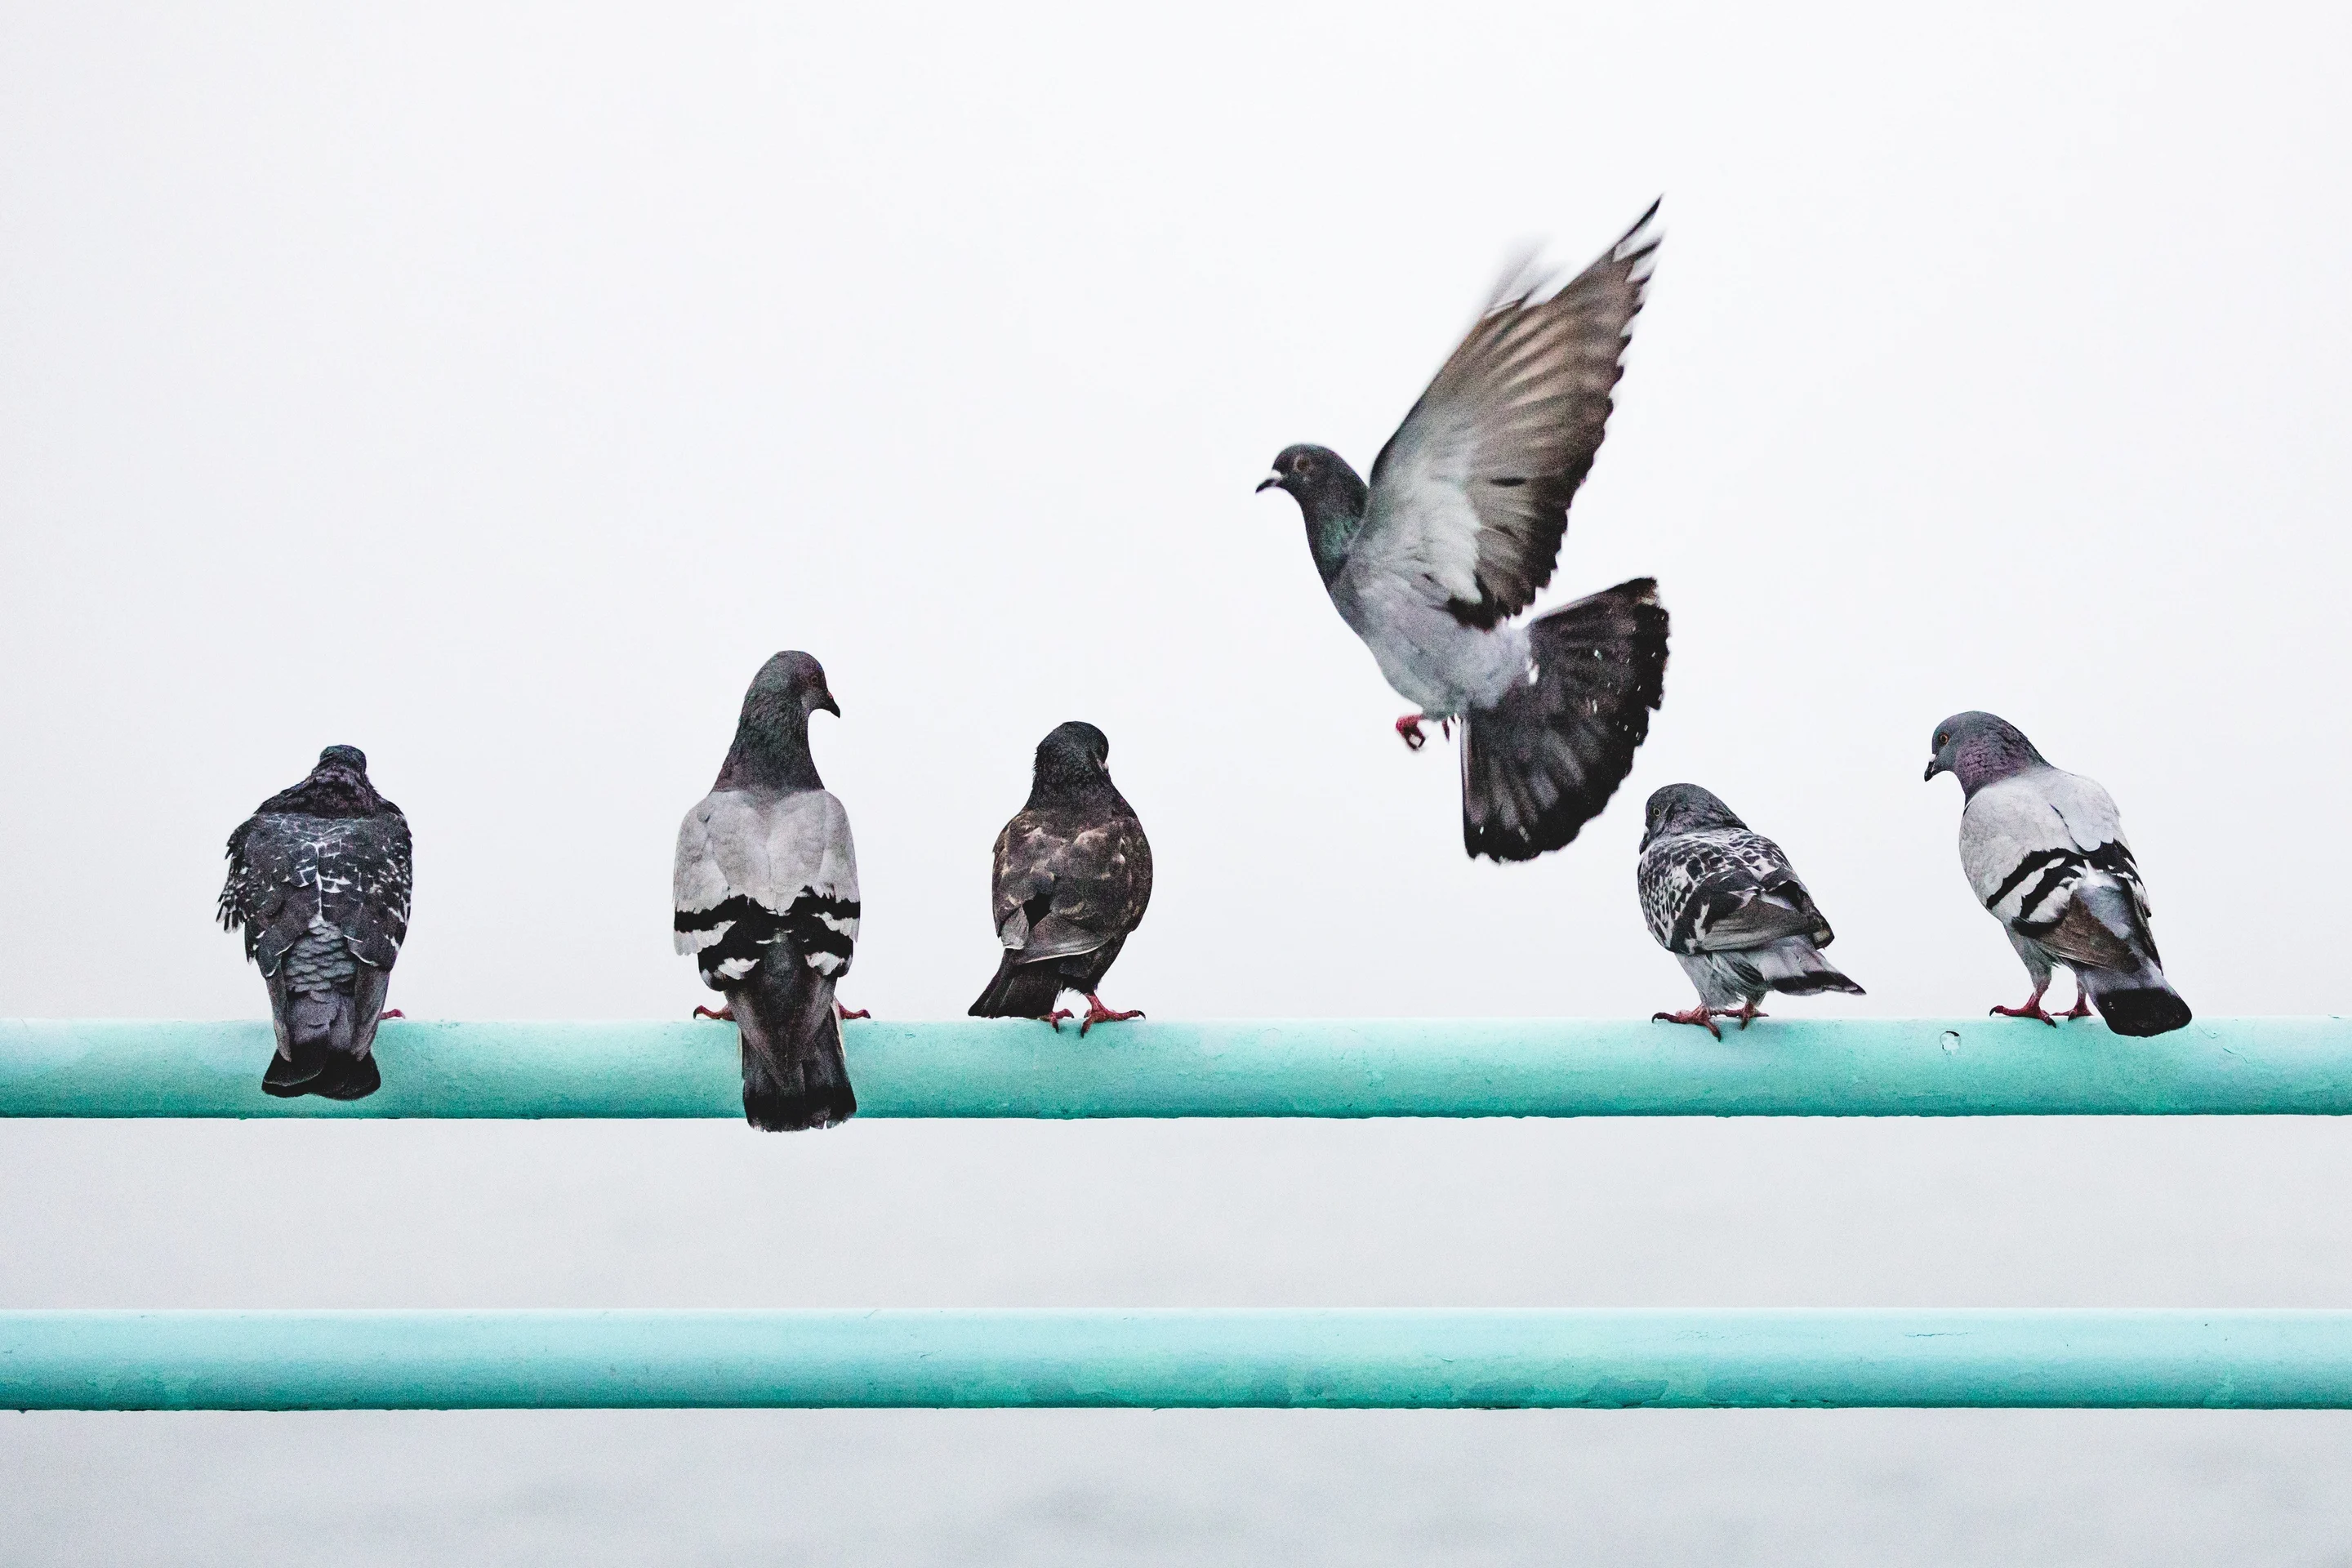
05. Shoot in Burst Mode
Moving subjects are tricky to shoot especially if you want your shots to be as clear as possible. You’ll have better chances of getting a sharp image with multiple shots using your camera’s burst or continuous mode of shooting. In burst mode, your camera will take several photographs in rapid succession when you press or hold down the shutter button.

Photo by Denis Doukhan
Shooting in burst is especially helpful in sports photography, allowing you to capture each movement in multiple frames. Getting the timing right is difficult yet crucial to get the best shot, and you won’t have ample opportunity to focus and frame leisurely — using this mode can give you a better chance at capturing a clear photo with those factors in mind. You can simply filter out the ones that are too blurry afterwards.
06. Check Your Focus

Photo by Romain Vignes
Camera shake isn’t the only reason your photos may be turning out blurry. Check if you are focusing on the right area in the frame. If you use autofocus, wait until the camera has locked its focus on the subject before shooting. On most digital cameras, this is done by pressing the shutter button lightly (not all the way) and framing your subject accordingly, so the camera knows what to focus on.

Photo by Sadman Sakib
If you’re shooting with a smartphone, make use of the tap-to-focus feature to ensure that it’s focusing where you want it to.
07. Use The Right Autofocus Settings
While autofocus (AF) is pretty straightforward to use, various AF modes are actually available on a lot of digital cameras today, which you can tailor depending on the subject you’re shooting. You need to use the right AF mode to increase your chances of getting a sharp photo.
These are the three most common AF modes found today (check your camera’s manual as they may be displayed with a different name):
Single Area / One-shot ModeThis mode is best used for stationary subjects as your camera will only use one focus point. It’s useful if you want to re-frame your shot after focusing as it won’t refocus even if you keep half-pressing the shutter button. There’s no motion tracking in this mode, so your shot may end up poorly-focused if your subject moves.
Continuous / AI Servo ModeSelect this mode if you plan on tracking moving subjects. Continuous mode makes use of multiple focus points and will keep refocusing depending on the movement of the subject.
Hybrid ModeThis mode switches between the single and continuous mode depending on your subject. If it detects that your subject is stationary, it will use single mode and will automatically switch to continuous if your subject moves. Many high-end, professional cameras do not have this mode as it primarily appeals to beginners because of the ease of use.
08. Practice Focusing Manually

Photo by Jeremy Bishop
Since autofocus may not always nail your intended subject in the image, it’s a good idea to master focusing manually. It may be a bit challenging at the start, especially if you’re shooting with a wider aperture, but you gain a lot of artistic control over how your subject will appear in the photo this way.
If you plan to isolate a very specific part of the image, it’s a good idea to focus manually as autofocusing may not be reliable in this situation.

Photo by Kira auf der Heide
Manual focus is also a big help in low light as you can pinpoint exactly where to focus on when your camera’s AF mode keeps missing.
09. Use A Smaller Aperture
Using a wide lens aperture (such as f/1.4 or 1.8) when shooting gives you a shallow depth of field, which means you can be more selective with your focus. This can make for some artistic shots; however, you need to be careful as it’s harder to nail your focus perfectly with a wider aperture.

Aperture at f/2

Aperture at f/5.6
If you’re having trouble keeping areas in focus with a wider aperture, consider pulling your f-stops down to a smaller one. The smaller your aperture is (such as f/8 or f/11), the more parts of your image will be in focus.
10. Lower Your ISO
While cranking up your ISO allows you to take brighter photos in low light, it also means your photos will display more noise. Noise is a commonly-used term in photography that describes visual distortion and looks similar to the grainy effect some film photographs have.

ISO 100

ISO 6400


Close up ISO 100, 6400
Shooting with a low ISO will yield very little to no visible noise, while shooting with a higher ISO will make noise more prominent in your photos. Although lots of newer cameras don’t exhibit prominent noise even with high ISO, finer details can get drowned out, and your photos may show discoloration upon closer inspection.
Keep your ISO settings at the lowest possible setting without compromising your exposure. You’ll also have more control over this if you shoot in manual mode.
11. Shoot in Good Lighting

Photo by AO
Lighting conditions also play a part in determining the sharpness of your shots. Shooting in low light will make autofocusing hard for your camera as it will try to ‘hunt’ for the subject. You might hear or feel your camera focusing and refocusing before it fires the shutter, and, even then, it might not be able to focus on the right area.
Low light may also force you to use a slower shutter speed or a wider aperture to compensate, and these settings make you more prone to blurry photos. You’ll also need to use a higher ISO which will add noise to your images and lose detail.

Photo by Oladimeji Odunsi
There are endless benefits to shooting in good lighting aside from being more flattering for your subject — you’ll have more control and flexibility with your camera settings this way, avoiding blurry photos.
12. Turn On Image Stabilization
If your camera or lens is a fairly recent model, check if it has an image stabilization (IS) feature. It might come in alternative names such as vibration reduction or OIS.
The general rule when hand holding your camera is to set the shutter speed equal to your focal length to avoid camera shake. In other words, your shutter speed should be 1/300 or faster when using a 300mm lens, 1/20 or faster with a 20mm lens, and so on. With image stabilization on, you’ll be able to shoot at shutter speeds much slower than these, going as low as 1/2-second for a 20mm lens.

Photo by Patrick Pierre
Cameras and lenses that have image stabilization pose a huge advantage especially if you shoot handheld often. There are, however, times when you should consider turning it off when shooting with a tripod or on any stable surface. Since the camera is completely still in this case, the IS system may try to detect vibrations that aren’t there and affect image sharpness. It’s a good idea to test if IS will work well for your set up.
13. Clean Your Lens
Check if your lens has greasy smears or fingerprints as they can affect the clarity of your photos. Taking your camera from cold to humid environments can cause your lens to mist up — aside from your photos possibly turning up foggy or softer than usual, you might also end up with a damaged lens.

Photo by James Pond
Remember to put the lens cap back on when your camera isn’t in use and store your gear in proper containers, away from humid places. Clean your lenses regularly to prevent fungus from growing on the glass. It also helps having a lens cloth in your gear bag for a quick clean up when needed, especially if you’re shooting outdoors.
14. Use A Good Lens

Photo by Paul Skorupskas
It’s worth investing in good lenses if you want to take your photography to the next level. Although they may come with hefty price tags, high quality lenses produce sharper photos compared to cheaper, entry-level ones. There are of course exceptions and it would do well to do some research before purchasing the lenses you’ve been eyeing. Some lenses produce images that are sharp at the center but are a bit distorted at the edges, so consider these factors if you want photos that are detailed all throughout.

Photo by Evan Wise
Prime lenses — lenses with fixed focal lengths such as 20mm, 50mm, etc. — are generally sharper compared to zoom lenses. This is because they have less glass in the lens (which means less diffraction) and are less complex to manufacture. However, lots of equally sharp zoom lenses are already out there. It’s just a matter of finding the best kind of lens for your shooting style.
15. Review Your Shots

Photo by James Baldwin
One of the best things about digital photography is that you can take photos as many times as you want. If you’re unsure whether your photos turned out sharp, you can always review them, so you can reshoot if needed.

Photo by João Silas
Post processing software can also help you take a closer look at the details of your images and tweak the sharpness if your photos turn out soft. Take note that increasing the sharpness won’t make blurry photos clear as there won’t be enough detail to work with, so it’s best to nail a clear shot in camera and avoid the trouble afterwards.

Written by
Elli Ong


