- 7 ways to achieve a beautiful bokeh effect in your photos (with stunning examples)
7 ways to achieve a beautiful bokeh effect in your photos (with stunning examples)
If you frequent photography websites or have photographer friends, then there’s a good chance you’ve encountered the term bokeh before. Camera enthusiasts discuss this optical effect regularly, but what is it exactly? Taken from a Japanese word for “blur,” bokeh has become a photography jargon used to describe how a lens renders a background that’s out of focus.

Photo by Rachel Walker
Many photographers like bokeh due to its visually pleasing qualities. It doesn’t only provide a blurry backdrop that draws attention to the subject, but it also creates images that look dreamy, eye-catching and even otherworldly.

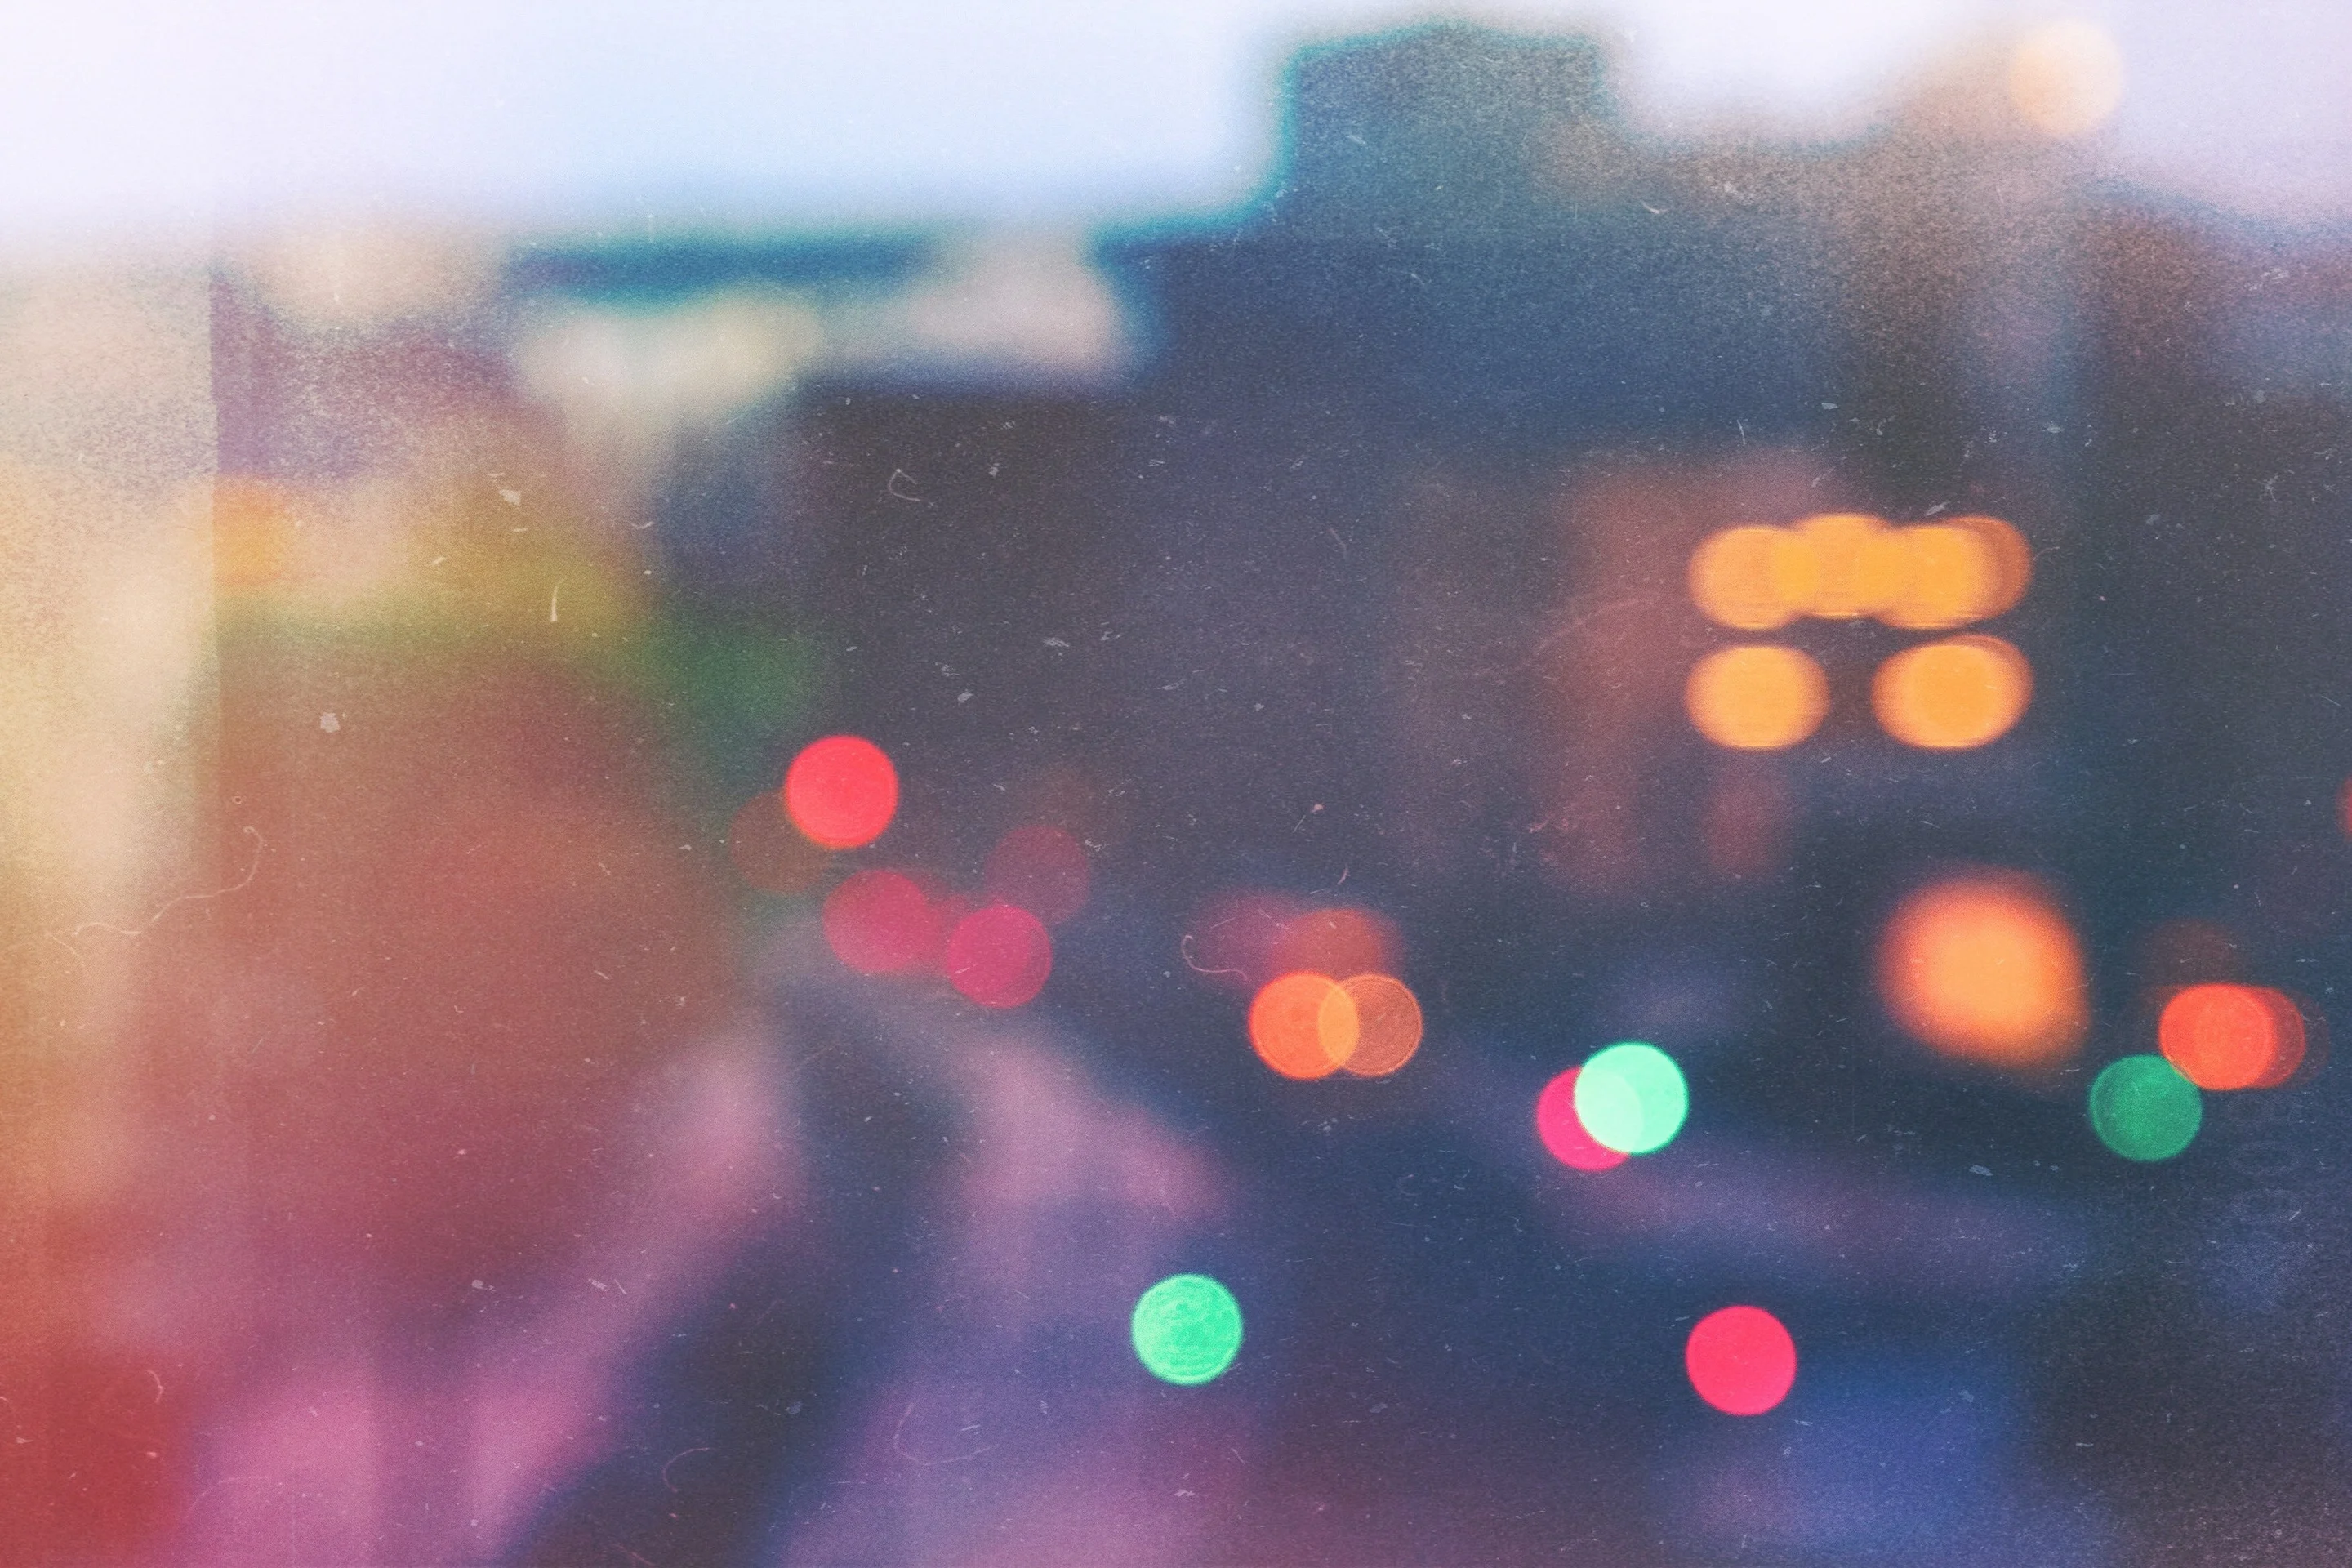
Photo by Lily Lvnatikk

Photo by Kawin Harasai
01. Use the right lens

Photo by Octavian Rosca
The reason why some people get frustrated with bokeh is that they're probably using the wrong lens. The secret to getting beautiful bokeh is using a lens that has an aperture of at least f/2.8. Unfortunately, the maximum aperture of a typical kit lens (the lens often found on entry-level cameras) only goes as low as f/4.5 or f/3.5. Although it’s more or less just two f-stops away from the ideal aperture, it’s still not wide enough to provide the background blur essential for bokeh.

Photo by StockSnap
So what type of lens should you use, then? For beginners, a 50mm lens is the best choice. It’s cheap, it’s easy to find, and its aperture opens up to f/1.8 or f/1.4. Apart from the ‘nifty fifty’, you can also use telephoto lenses to create hazy backdrops. Lenses with longer focal lengths increase the depth of field (also called DOF) even when the distance between the camera and the subject doesn't change. Coupled with a low f-stop (f/2.8 or lower), zooming into what you’re photographing with a telephoto increases blur significantly.

Photo by Mickal Grosicki. An image taken from a lens with round aperture.

Photo by Karl-Ludwig Poggemann. A close-up of a 9-blade aperture with a round-shaped opening.
When choosing the ideal bokeh lens, also consider looking at aperture blades. The way they shape the aperture’s opening affects how the patterns in the background look. For instance, a lens with 9 blades creates a rounder aperture, making light sources appear circular and more natural-looking. On the other hand, a lens that has fewer blades (about 5 or 7) produces polygon-shaped orbs that look less desirable.

Photo by Dayne Topkin An image taken with a 7-blade aperture lens. You can see that the light orbs look octagonal.

Photo by Chad Verzosa. A close-up photo of a 7-blade aperture with a heptagonal opening.
02. Set your camera to AV mode

Photo by Bady qb
Since your primary concern in achieving bokeh is to keep your aperture wide, then it’s only practical to set your camera to AV mode (also known as Aperture Priority). This useful setting lets you choose the aperture and automatically sets the shutter speed for you.

Photo by Leon Contreras
In AV Mode, you don’t have to guess your exposure and lose precious time fumbling with buttons. Once your aperture is set, all you have to worry about is pressing the shutter.

Photo by Arnaud Mesureur
However, your camera may not always get the exposure right especially in tricky lighting situations. Sometimes, your camera gets confused and chooses the wrong exposure setting, so feel free to use your exposure compensation button (marked with -/+ symbol on your camera) to adjust how light or dark your image is.

Photo by Sergei Akulich
03. Choose a good background

Photo by Wes Hicks
To achieve bokeh, choosing the right background is crucial. Although it’s easy to blur a part of the scene with your lens, it doesn’t necessarily guarantee your image will have good bokeh.

Photo by Erico Marcelino
Plain backgrounds don't make good bokeh because there's just nothing much going on visually. If you look at beautiful bokeh shots, you’ll notice that even with a blurry background, particular elements like light orbs or soft textures and patterns appear prominently in the image.

Photo by Jesse Collins
The perfect places for bokeh are in urban locations. Lights from buildings and street lights provide interesting visual components for your background. Light reflecting on bodies of water such as ponds and lakes creates captivating bokeh effects as well.

Photo by Ray Hennessy
04. Also consider a good foreground

Photo by Aaron Burden
People often imagine an image with a blurry(opens in a new tab or window) background when they think of bokeh. But the term applies to the foreground as well.

Note: Some photographers use string lights to create foreground bokeh.
Just like with backdrops, look for appealing lights and patterns to fill the foreground. When working with wide apertures, the shallow depth of field applies to both background and foreground. Once you adjust the focus on your subject in the middle, everything in front and behind it would be blurry.

Photo by Daniel Monteiro
Reflective surfaces such as windows create good foreground bokeh. The lights that reflect on windows easily fill the negative space in front of your subject. However, when shooting with windows, you need to experiment with different angles to avoid unwanted reflections (such as accidentally capturing yourself holding the camera).
Photographers typically use polarizers to remove unwanted reflections, but you want to keep those reflections for bokeh. Don’t shoot directly through the window. Instead, slowly tilt your camera slightly away from you until you don’t see your reflection in the viewfinder, anymore.

Photo by Hanson Lu
05. Focus on the subject.

Photo by Warren Wong
To create beautiful bokeh shots, make sure you also illuminate your subject adequately. It may seem a no-brainer, but if you focus too much on getting that bokeh in the back, you might forget that your primary focus point also has to be lit up.

Photo by Vladislav Klapin
Note: your subject might end up a silhouette if you don’t expose your shot properly.
If you're after those glowing orbs you always see in pictures, then it only makes sense to look for plenty of lights in the background. However, you also need to check if the lights behind your subject aren't too bright. Otherwise your model would end up backlit and all you’ll get is a silhouette (this is fine if it’s the look you’re after).

Photo by Carlos Dominguez
To make a good exposure, meter your subject and not what’s behind. Simply focus on your model and the camera will adjust the exposure settings accordingly. Sometimes, choosing the largest possible aperture also could make your focus “soft” due to the shallow depth of field. To avoid this, select an aperture that doesn't only make the background blurry, but also ensures that the object you want in focus is tack sharp. It’s not always necessary to use your lens’ maximum aperture. For instance, if your lens opens all the way up to f/1.4, you can choose f/1.8 or f/2.8, instead.

Photo by Yeshi Kangrang
06. Create some distance between the subject and the background

Photo by Sam Burriss
Maximize the bokeh effect of your lens by creating considerable distance between your subject and the background. Typically, the farther the object you’re photographing is from the backdrop, the better the bokeh. Just a few feet of gap won’t do the trick. Your subject has to be at least several meters away from the background to achieve the best effect.

Photo by Avi Richards
If you’re using a lens with a short focal length (such as 50mm), it may be necessary to stay close to the subject to create a more pronounced bokeh. On the other hand, if you’re using a telephoto (such as 85mm or longer), stepping away from the person or object you're photographing usually won't diminish the bokeh effect due to the lens’ long focal length. Just remember that regardless of the lens you use, it’s always advisable to keep your subject far enough from the background.

Photo by Nic
The ideal distance depends on the situation. Of course, the greater the space between the subject and the background, the smaller the lights and the patterns will appear. If you want big light orbs, then you have to keep your model close enough to the light source. Alternatively, you can use a lens with a longer focal length (such as 135mm) to create large orbs without having to move closer to the backdrop.
07. Play around with colors

Photo by Andras Vas
Apart from the creamy blur, bokeh also provides distinct, colorful backgrounds that look visually appealing. A lot of photographers actively seek bokeh for the “light orbs” it creates. This effect is achieved when an image is blurred to the point that lights start to look like floating spaceships.

Photo by Sergii Bozhko. Set your lens to manual focus, throw the scene out of focus and take some test shots to see how the lights look like when blurred.
Look for locations with colorful light sources. Doing so allows you to experiment with different hues and patterns for your bokeh. Manually focus your lens to blur a scene if you're curious to see how it would look like as a bokeh background. Take some test shots and figure out how to compose your image.

Photo by AJ Colores
Don’t look for messy clumps of light. Seek patterns to create engaging compositions. Also, try to illuminate your subject in colors that are different from the background. Lights with colors that complement the dominant hues in the backdrop would make anyone in the foreground stand out. For instance, you can light up your subject with cool colors to balance out the warm-colored lights behind.

Photo by Guilherme Stecanella
Whether you’re aware of it or not, you’re already learning bokeh once you start playing around with your camera’s depth of field. It's a direct effect of using a wide aperture and a narrow DOF. Even with a kit lens, it's not surprising to see some bokeh when you take photos. The effect you get may not be as impressive as compared to better lenses, but it successfully shows you how the concept works.
Achieving bokeh is much simpler than what other people make it appear. Don’t worry too much about the technical aspects of this effect. As long as you have a camera that allows you to control your DOF, then you can easily create shots with mesmerizing backgrounds.

Written by
Chad Verzosa


