- The best camera is the one that’s with you: 19 smartphone photography tips for the mobile traveler
The best camera is the one that’s with you: 19 smartphone photography tips for the mobile traveler
No matter how you travel — whether it’s cross country on vacation, hiking or biking on a weekend getaway, or commuting to school or the office on your daily grind — your smartphone is always with you.
This provides you with a unique opportunity to take pictures anytime, anywhere. Use it to your advantage to capture your best mobile moments every day.

Photo by Comete El Coco
Here are 19 smartphone photography tips to help you become a better mobile photographer.
Note: All images featured in this article have been taken with a smartphone camera!

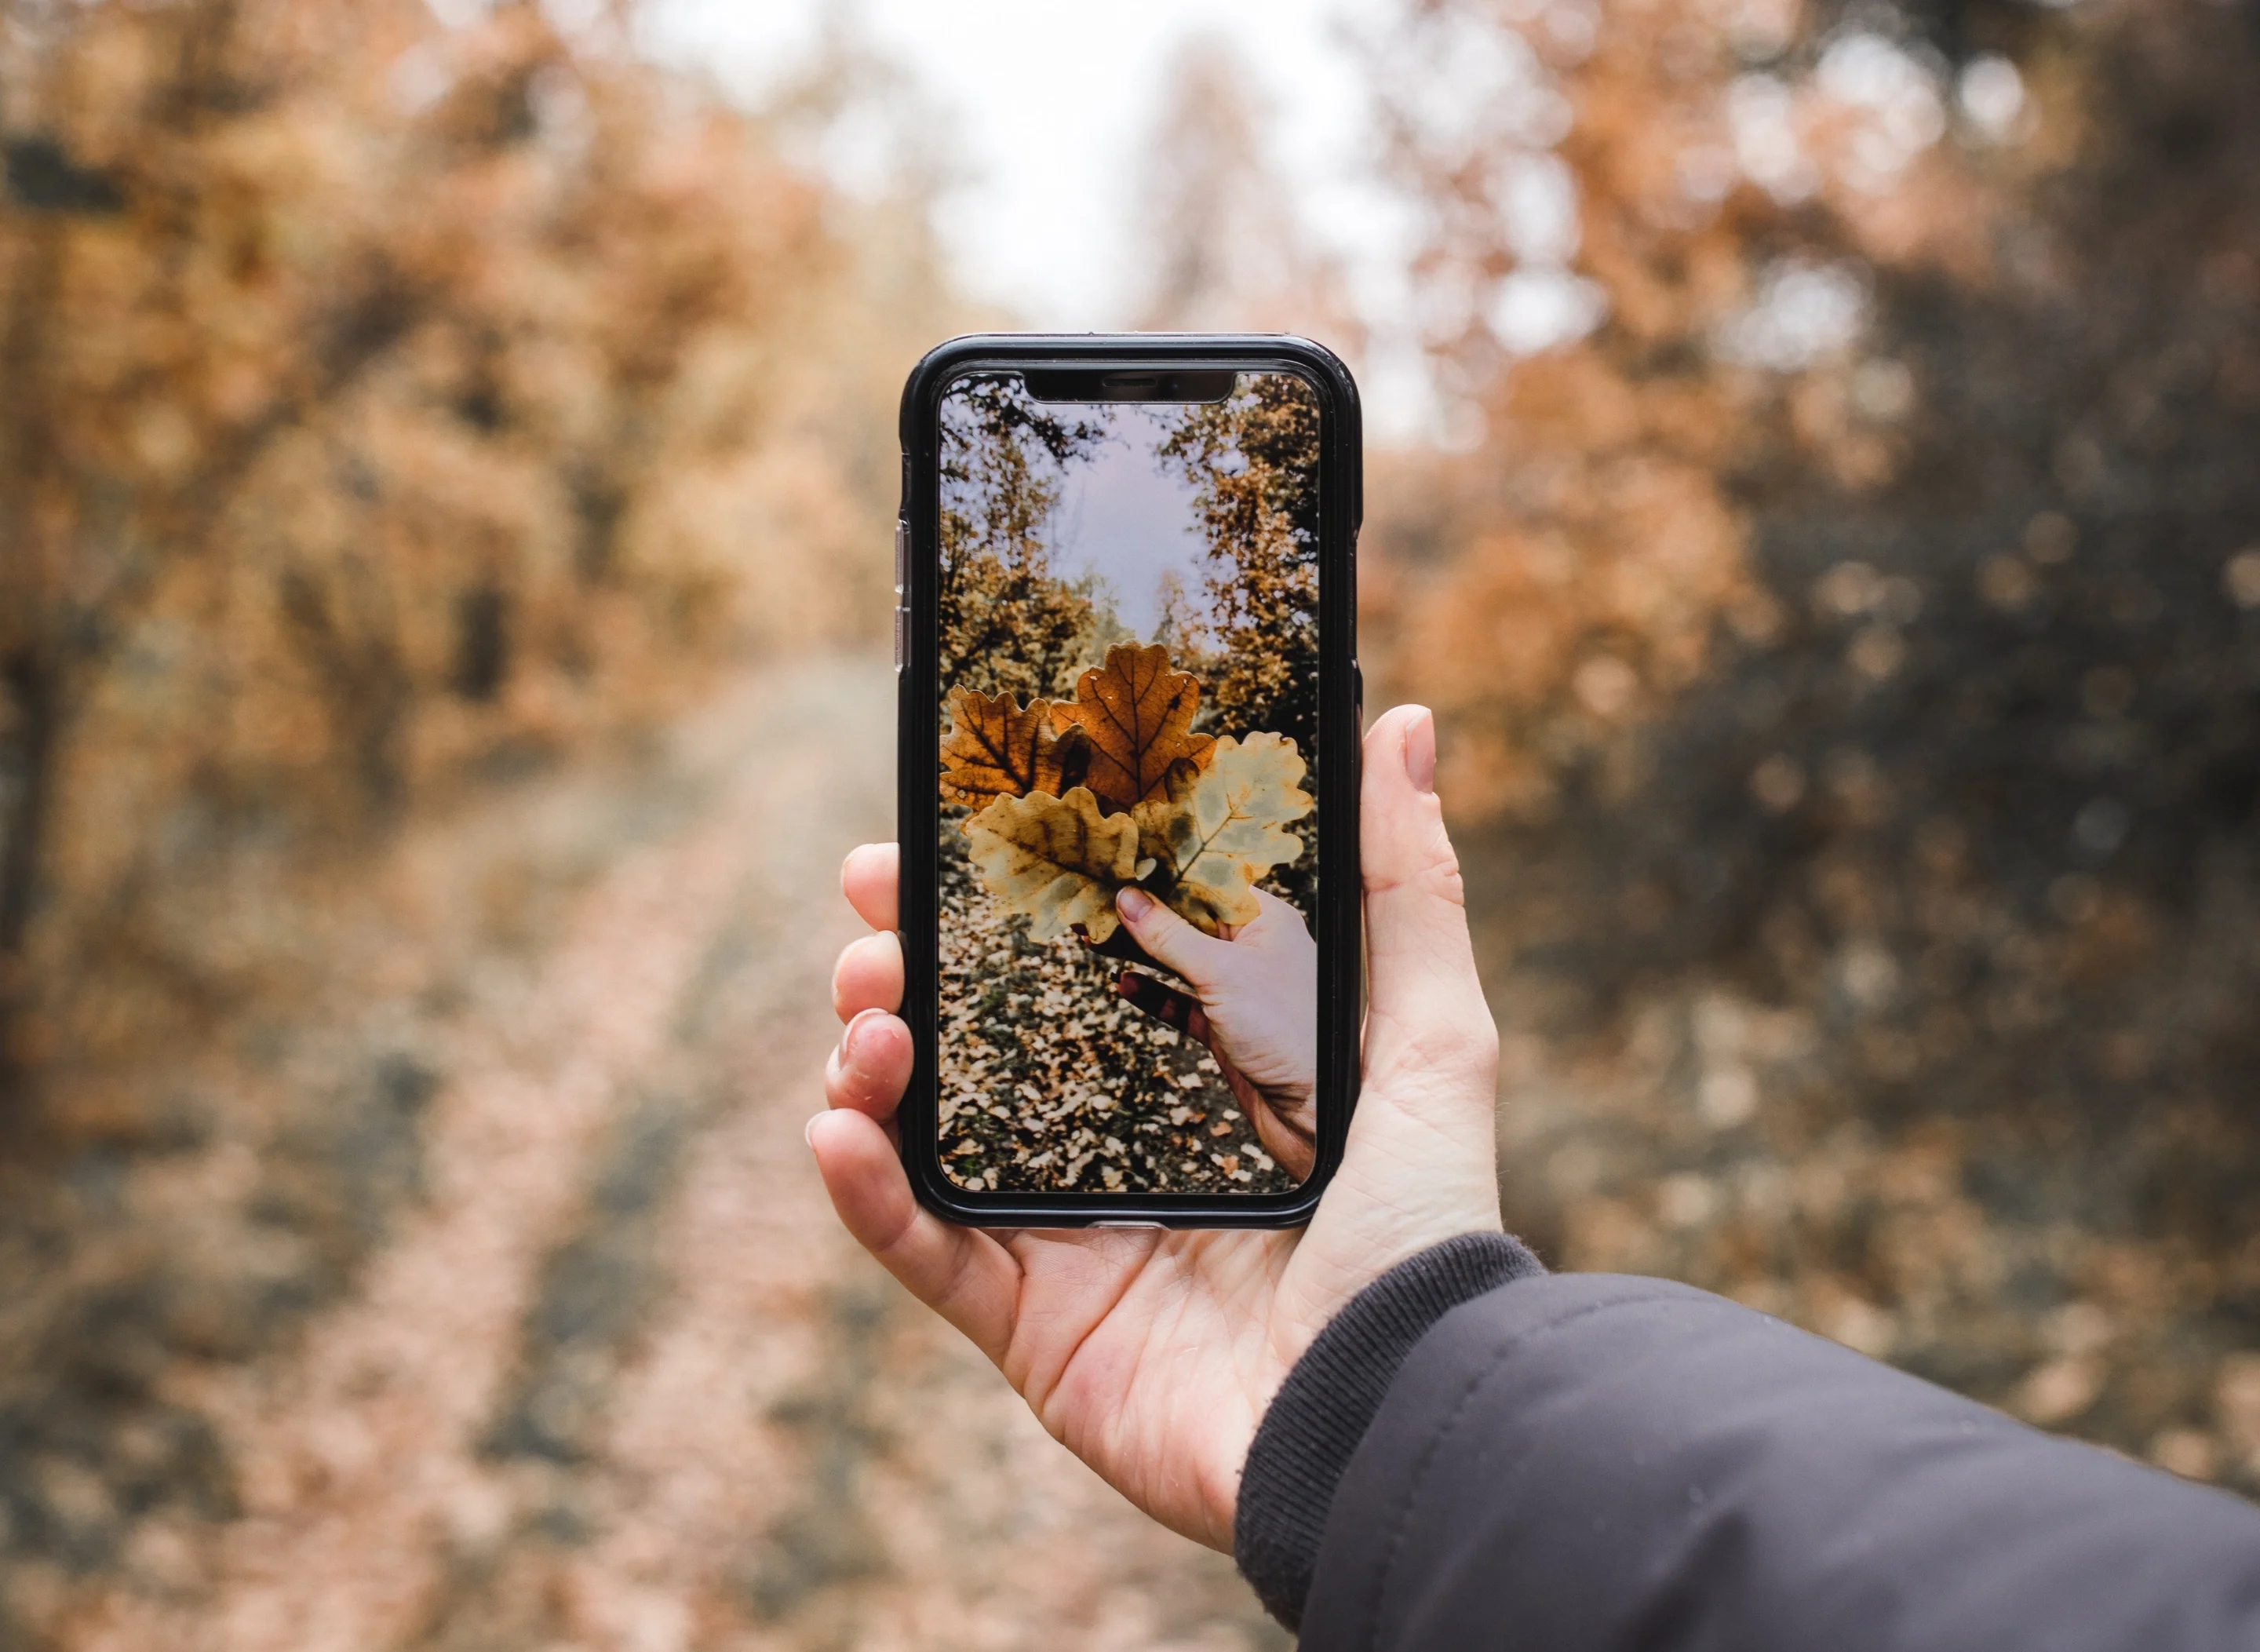
Photo by The One Project
01. Start with the fundamentals
Before you start tapping away on that shutter-release button, take a few moments to consider the fundamentals of photography. In many ways, mobile photography is the same as any kind of photography. You just have a lot less to think about.
The lack of complex camera controls allows you to focus more on composition and creativity. In fact, it doesn’t need to get any more complicated than seeing the shot on your screen, tapping on the screen to set your focus (you can also adjust your exposure, too, if desired), and then capturing the image.

Photo by David Kindervater
For the sake of keeping things as straightforward as possible, let’s concentrate on taking simple, attractive images. It begins and ends with your subject and how you compose your image.
Composition is how you arrange what’s going to be in your image. You can use the rule of thirds as a guide to help you take better photos.

Photo by Lily Lvnatikk
According to the rule of thirds, an image is broken down into three parts, both vertically and horizontally, thus creating nine sections. Think of it as drawing two lines vertically and two lines horizontally so the image is equally separated into thirds. You would want to place your subject along these lines or intersection points.
Tip: Turn on the grid feature in your smartphone’s camera settings so the lines appear on your screen, helping you to properly align your subject(s).

Photo by Ariel Lustre
Since photography is an art form and not an exact science, the rule of thirds is not an absolute rule that you need to follow every time. You can simply use it as a guide to help you compose and take balanced photos.
02. Train your eyes to look for photo opportunities
Being able to see a picture before you take it is half the battle in capturing a great image. Train your eyes to look for things like leading lines, symmetry, reflections, natural frames — even simplicity — among other things. Visual elements like these will help you take more interesting shots.
Leading Lines
Leading lines are an effective way of drawing a viewer’s attention into your image, toward your subject. Typically, these lines will create a sense of depth and perspective, running from the foreground to the background. Leading lines are all around you. They could be anything from railroad tracks to stairs to literal lines, like the ones painted on a road.

Photo by David Kindervater
Symmetry
You know symmetry when you see it, and it oftentimes stops you dead in your tracks with amazement, whether it’s an architectural wonder, like a building or bridge, or a natural setting like an open road in the middle of the desert, or a row of trees. What you see on one side, you also see on the other.

Photo by David Kindervater
Reflections
Reflections are a great way to provide a new perspective on your subject. You just need to train your eye to look for them.
On a rainy day, check out the puddles that form on a city street or country road. The reflection of a beautiful hillside or city skyline on a still lake or river can create a mesmerizing, symmetrical image. If the water has ripples, you’ll have an abstract reflection. Even a pair of mirrored sunglasses or the window of a building can provide great reflections that will give you stunning results.

Photo by Ludovic Fremondiere
Framing
Use objects around you like doors, trees, or leaves as a frame for your subject. Be creative. Framing provides a unique perspective and really helps to direct your viewer’s attention where you want it to be.

Photo by Evan Kirby
Simplicity
Sometimes the simplest solution is the best. Simplicity has been described as the ultimate sophistication – less is more. These adages stress that when you don’t try to overthink something, you’ll get a superior result.
In photography, by stripping away everything except the subject, you can create a rather stunning image that captures the attention of your viewers immediately.

Photo by Sérgio Rola
Start looking out for these visuals in your everyday life so you can shoot more eye-catching elements for your photographs.
03. Pay attention to the details
You can make a good image even better by devoting a little extra time to really looking at the details of the photo you’re creating. If you’re shooting a distant horizon or cityscape, take the time to straighten it up so it’s level across your screen.

Photo by Rob Bye
Also, give your subject some breathing space so it isn’t cut off or crammed up against the edges of the finished photo. Be sure to look at your image carefully — is there anything distracting that could be eliminated by moving a little bit one way or another? Move up, down, left, and right to check for these potential problems.

Photo by Vladislav Muslakov
By paying attention to these details before you shoot, you’ll save yourself the time of having to edit them later, if it’s even an option.
04. Research your destination
If you’re traveling to a new destination, it would be wise to do a little homework to see where some of the most popular places are to photograph. Take to Instagram, using its hashtags and locations, to see where some of the “must-see” sites and attractions are. Set a course for yourself as to what times you want to be in certain places to take your photos.

Photo by Samuel Scrimshaw
Plan accordingly to get the most out of different sites, but don’t forget to put down your smartphone for a bit and enjoy the scenery while you’re there!
05. Learn to use light
Light is everything when it comes to photography. Without it, you wouldn’t be able to take any pictures. Thankfully, there’s often plenty of light available in the day but there are certain times when it really works to your advantage.
For a brief time in the morning and evening — before sunrise and sunset — there are timeframes known as the ‘golden hour’ and the ‘blue hour’. This is approximately a one-hour window of opportunity to utilize some of the best lighting of the day.

Photo by Jason Weingardt
Sunlight during the day can be harsh and very bright, casting bold, dark shadows across your image. The golden hour, on the other hand, produces a softer, somewhat reddish glow that elicits absolutely magical results for your images.
The blue hour occurs immediately before the sun rises and immediately after the sun sets. The sun is below the horizon at these times, and the remaining light produces a blue color effect.
When you’re shooting with your smartphone during these times, be sure to set your focus by tapping on your screen, then adjusting your exposure as needed to achieve your desired look.
06. Look to the landscapes
Wherever you may roam, there are an endless number of landscapes waiting to be discovered. Look around you as you move from place to place, capturing the many highlights, both near and far, of your travels.
Your smartphone comes equipped with a wide viewfinder, so you’re primed to produce some outstanding landscape images as long as you take the time to properly compose them. Enhance your landscapes by including some of the foreground in your image. This provides depth and gives the viewer a better sense of your location.

Photo by Steve Carter
07. Capture exciting cityscapes
A cityscape is the urban equivalent of a landscape. From the top of a skyscraper or a distant mountain overlooking a bustling metropolis, shooting cityscapes can produce exciting photos for the mobile traveler.

Photo by Rob Bye
Cityscape photography captures anything and everything that makes up a city. Look up at the skyscrapers. Look down on the busy streets filled with cars and people. Use wide-angle views and panoramas to stretch the scene. There are so many wonderful photo opportunities to consider — from buildings and bridges to traffic and tourists.

Photo by Ishan
When the sun dips below the horizon and the bright lights of the city come alive, they form an impressive display of illumination on roadways, buildings, bridges, and billboards. Take it all in and capture the beauty. Make sure to keep your camera steady and expose properly when shooting at night to avoid blurry and grainy photos.
08. Try a panorama
If you find yourself particularly enamored with a landscape or cityscape but can’t quite capture as much of the location as you want, try shooting in panorama mode. You’ll need a steady hand for a smooth, seamless finished photo, but a panorama will allow you to capture more of the scenery.

Photo by David Chalifoux
Try shooting a vertical panorama as well. Simply turn your smartphone and scan upward. This allows you to capture panoramas of tall buildings, waterfalls, trees, etc.
09. Get up close
Most smartphones today allow you to get close to your subject and capture tremendous detail. If you want to get even closer, there are some apps and clip-on lenses that will enable you to shoot macro images with your phone. Macro shots are great when you want to provide a unique, rarely seen, up-close look at your subject.

Photo by Shadow Boxer
Manufacturers like olloclip and Moment make macro lenses that quickly and easily snap on to your smartphone, or you can try an app like Camera+ which enables a macro mode with just a few taps.
10. Think of the image quality when zooming
It’s easy for smartphone photographers to want to use the zoom feature to bring a distant subject closer into view, but more often than not, the results will be far less than ideal. Digital zoom crops your photo which can result in pixelated images if you zoom in too far.

Photo by Valentin
Some smartphones have optical zoom (which means it uses the lens to magnify your subject instead of simply cropping the photo) which will result in better image quality.
If you really want to get a closer shot of your subject and retain image quality, use optical zoom or a high quality telephoto clip-on lens from manufacturers like olloclip or Moment, to name a few.
11. Use manual controls
You’ve seen stunning pictures of light trails and motion trails. They’re some of the most eye-popping images you’ll find — from the long, bright lines of car lights connecting across a stretch of road at night, the silky smooth look of a waterfall or river, to scattered clouds in motion across a wind-blown sky.

Photo by Sandi Mujakic
This type of photography is not reserved for the DSLR crowd. As a mobile photographer, you can use apps that let you control shutter speed like ProCam or Slow Shutter Cam to capture images like these (if your smartphone doesn’t have manual controls already). The longer your shutter remains open, the more activity you’ll record in your image. Be sure to have a tripod and remote shutter handy. You’ll need them to keep your camera perfectly steady.
12. Create lasting memories with portraits
From candid captures of strangers on a city street to the many faces of family and friends you hold dear, portraits can stop the hands of time to make memories that last a lifetime.

Photo by Stevie Cruz-Martin
It’s great to capture the many sites and attractions you encounter while travelling, but capturing someone enjoying those sites and attractions can add a sentimental touch to your photos.

Photo by Madeline Roberts
As smartphones get more and more advanced each year, their cameras also become packed with better features. If you have one of the latest smartphones with portrait mode, you can create stunning portraits with bokeh or a blurred background.

Photo by Jon Tyson
One of the great benefits of shooting with a smartphone is being able to capture a scene very quickly without the need to set up camera gear and fiddle with settings. Capturing candid shots of people is easier as a phone is less conspicuous than a huge camera.
13. Take some selfies
For the solo traveller, it can be a challenge to take good photos of yourself with your surroundings. You can invest in a portable tripod and shoot using your smartphone’s front camera to help you compose. Make use of the self-timer feature so you can get in place properly before the shutter fires.

Photo by Antoine Beauvillain
When you’re taking selfies, be sure to check your background so there aren’t any tree limbs, poles, or the like sticking out from behind your head. Pay attention to where the light is coming from and angle yourself with the light that makes you look your best.
If you’re taking selfies with another person or a group, make sure everyone fits into the frame. Shooting in burst mode can also give you multiple shots to choose from in case someone’s unprepared in the first shot.
14. Edit on the go
The plethora of apps available to you makes it incredibly convenient to edit your photos quickly and easily. A little editing can go a long way to adding to the quality and feel of your photos.

Try using filters
There are so many filters to choose from, it can be overwhelming. Ask yourself what kind of mood you’re going for with the photo and whether or not you want to have a similar look to all your images — a sort of uniformity or signature style to call your own.
A filter can completely change the feel of your photo. The name will sometimes dictate the result, referring to a season, an emotion or vibe, or a place in time.

Canva filters / Photo by David Kindervater
Some popular photo-editing apps include Snapseed, Enlight, VSCO, and Darkroom (not to mention your native camera app). You can also edit your photos in the Canva mobile app and use them to make beautiful designs.
You can look in your phone's app store to check out some photography apps. Some are free while others will cost you a few bucks — the key is to find one that works well for you and your style.
Add the finishing touches
There are many adjustments you can make while editing your photos. You can make them a little brighter or darker, fade the color a little, add vignetting(opens in a new tab or window), among others. Some apps even allow you to cut out(opens in a new tab or window) unwanted elements like stray wires, trash, or even blemishes.

Canva Advanced editing options / Photo by David Kindervater
Experiment to see what makes the image look its very best. There are lots of ways to improve your images with editing — sometimes even the simplest edits can make for a stunning photo so don’t get overwhelmed with all the tools available to you.
15. Accessorize (if you like)
One of the great things about taking pictures with your smartphone is you can simply grab it and go. You don’t need a lot of fancy equipment to take great pictures, and it fits into your pocket. There are, however, accessories you can use to enhance your smartphone photography game.
Lens attachments
You can take your mobile photography efforts to an entirely new level with an add-on lens attachment. They come in different types such as macro, fisheye, telephoto, etc. These small lenses are light and portable so you don’t have to worry about carrying a bunch of them in your bag.

Photo olloclip
Tripod
If you want to go beyond simply pointing and shooting, a tripod is a wonderful addition to any mobile photographer’s equipment arsenal. Having a tripod (and a remote shutter) will allow you to capture sharp images with less risk of camera shake. It’s especially helpful if you want to do night photography, light trails, and motion blur.
16. Clean your smartphone
Didn’t see this one coming, did you?
Think about it. You handle your smartphone all day, every day. That makes it susceptible to lots of smears and gunk. Your camera lens is going to get fingerprints, specks, and dirt on it so make sure you clean it regularly. A dirty lens can affect the sharpness of your photo. It also helps to clean your screen as you’ll be using it as a viewfinder when shooting.

Photo by Carlos Santiago
17. Share your work
There are tons of social media networks out there where you can share your photos with the world. Aside from growing your following, it’s a great way to expose yourself to the works of many talented photographers to get inspiration. Also, consider joining a photography community where you can grow as a photographer and learn from others.

18. Use cloud storage
You’ve been taking pictures, and taking pictures, and taking pictures. Before you know it, you’re going to run out of storage space on your phone. This is a real problem until you know what to do with all of them.

There is a wide variety of cloud-storage solutions to make your life incredibly convenient. See which ones are recommended by Cloudwards(opens in a new tab or window). You can access your photos anywhere as long as you have wifi or a data connection. Just search for the one that’s right for you, upload your images so you can clear them from your phone, and get back to taking great photos.
19. Go, take pictures
With your smartphone in hand, you have a powerful camera capable of taking pictures anytime, anywhere. With so few limitations and a device that’s easy to use, you can unleash your creativity.

Photo by Martino Pietropoli
Practice the fundamentals of photography to compose great images. Keep your eyes peeled for interesting subjects. Experiment with different shooting styles. Keep it simple.
So, go — take pictures. There are no limits to how far you can take your mobile photography as you travel through each day. Spend some time learning and practicing, but most of all, enjoy the process.

Written by
David Kindervater


