How to create a perspective carousel in Canva
20m
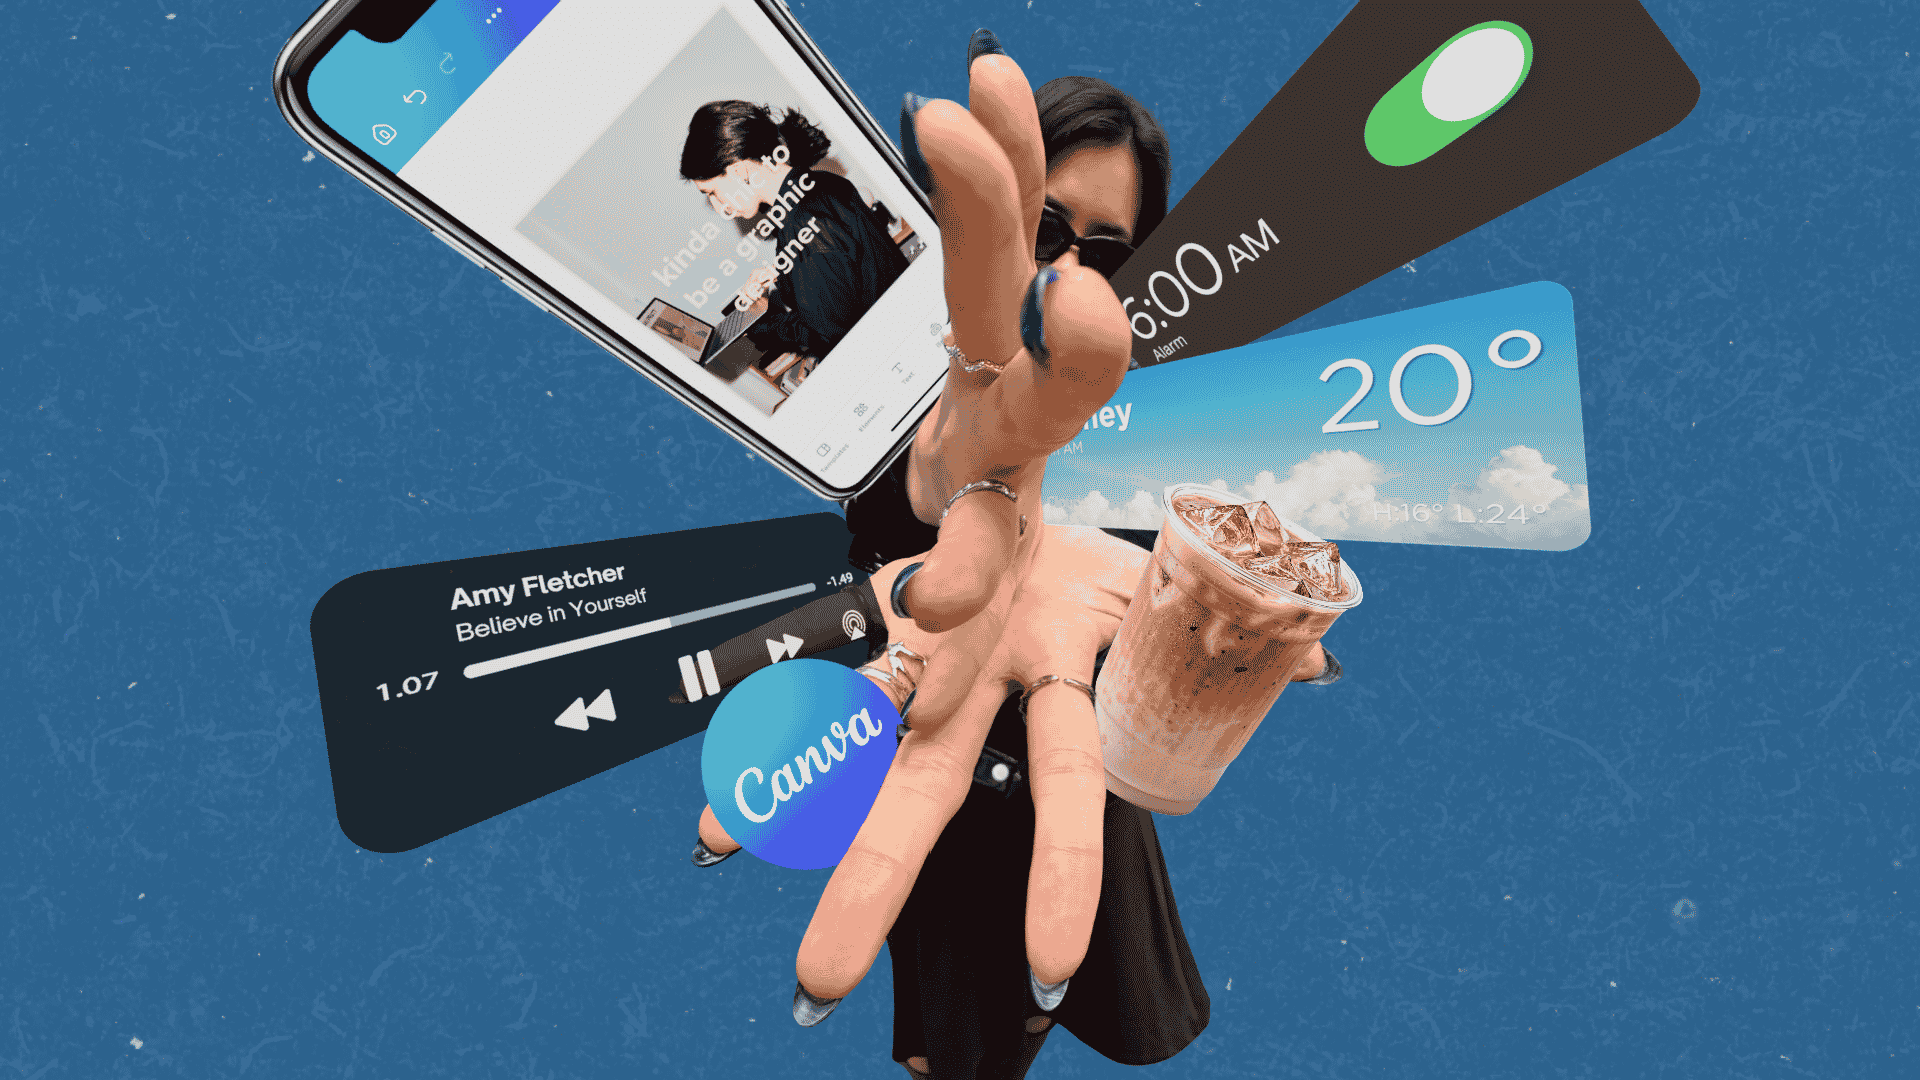
Create a standout Instagram carousel using a wide-angle photo, custom elements, and clever layers that make your content feel ready to leap off-screen.
How to create a perspective carousel in Canva
20m
Create a standout Instagram carousel using a wide-angle photo, custom elements, and clever layers that make your content feel ready to leap off-screen.
What you’ll learn
- How to take a photo with dramatic perspective
- How to create and transform floating design elements
- How to use layering to make elements sit behind your hand

Your content is about to get a little more dimensional. In this guide, you’ll use a wide-angle photo, custom design elements, and clever layering to create a carousel that looks like it is reaching right out of the screen. Add your latest playlist, favorite products, travel snaps, or anything else you want to bring to life on your socials.
Take a photo with some perspective
First, let your photo do the heavy lifting. Open your phone camera and switch to 0.5x. Take a photo with your hand reaching toward the camera, leaving some space around your fingers for elements to float through. The closer your hand is to the camera, the more dramatic the effect will be.
Tip: Try a few poses before choosing your favorite. An open hand, pointing finger, or arm reaching across the frame all give you different places to layer your elements.
Design your floating details
Now for the fun part: creating the details that make this edit feel like yours. Create a new design and build the elements you want to float around your photo. Try a music player, weather widget, phone screen, product image, sticker, coffee cup, or anything else that fits your content. Start by searching Elements for terms like weather widget, music player, now playing, phone screen, browser window, calendar, or chat bubble. Choose elements you can customize with your own colors, text, or images. Cannot find the detail you have in mind? Use Canva AI to create a custom graphic, then add it to your design. Once each element is ready:
Once you have finished customizing a widget, select all its parts and Group them before downloading. This keeps every detail together and makes it easy to resize or transform later.
Set up your social post
Now it is time to give your edit some room to shine. This portrait size works beautifully for an Instagram carousel and gives your perspective edit plenty of room to pop.
Resize your photo using the corner handles to keep it in proportion. Dragging the side handles can crop parts of your image, including the hand you need for the effect.
Give your elements some perspective
This is where things start to look a little unreal. Repeat with your other elements, making some larger and closer to the camera while keeping others smaller in the background. Tip: Give each element a slightly different angle. A mix of directions helps your edit feel more dimensional.
Give each element a slightly different angle. A mix of directions helps your edit feel more dimensional.
Create the overlap
This is where the illusion comes together. Your elements should now look like they are floating around and through your hand. Very casual. Very dimensional.
Zoom right in and use a small eraser size around fingertips, rings, and nails. Those tiny details are what make the final effect feel convincing.
More creative inspiration
This tutorial was developed by Canva’s Creative Socials team and inspired by a perspective carousel edit by @alessandro.marfella. Follow @canva on Instagram for more fun ideas, creative inspiration, and new ways to make something you’ll love.
Share
Last updated 13 Oct, 2026