Exploring the Element Library
10m
Beginner
Navigate Canva’s extensive Element Library to find, customize, and use graphics, photos, and videos in your designs.
Exploring the Element Library
10m
Beginner
Navigate Canva’s extensive Element Library to find, customize, and use graphics, photos, and videos in your designs.
What you’ll learn
- How to use the Elements tab to add shapes, lines, frames, grids, and mockups
- Adding photos, videos, and audio to your designs
- Enhancing your designs with AI-powered elements

The Elements library is where you can find graphics, shapes, photos, videos, charts, tables, audio, frames, and more. Use this guide to search for elements, customize them, create visual content with Canva AI, and add different types of content to your design
Open Elements
From the editor side panel, select Elements. The Elements panel gives you access to Canva’s library of ready-made content, including: Use Browse categories to navigate different element types and discover all available options. The categories and features you see may vary depending on your design type, device, Canva plan, and team settings.

Search for elements
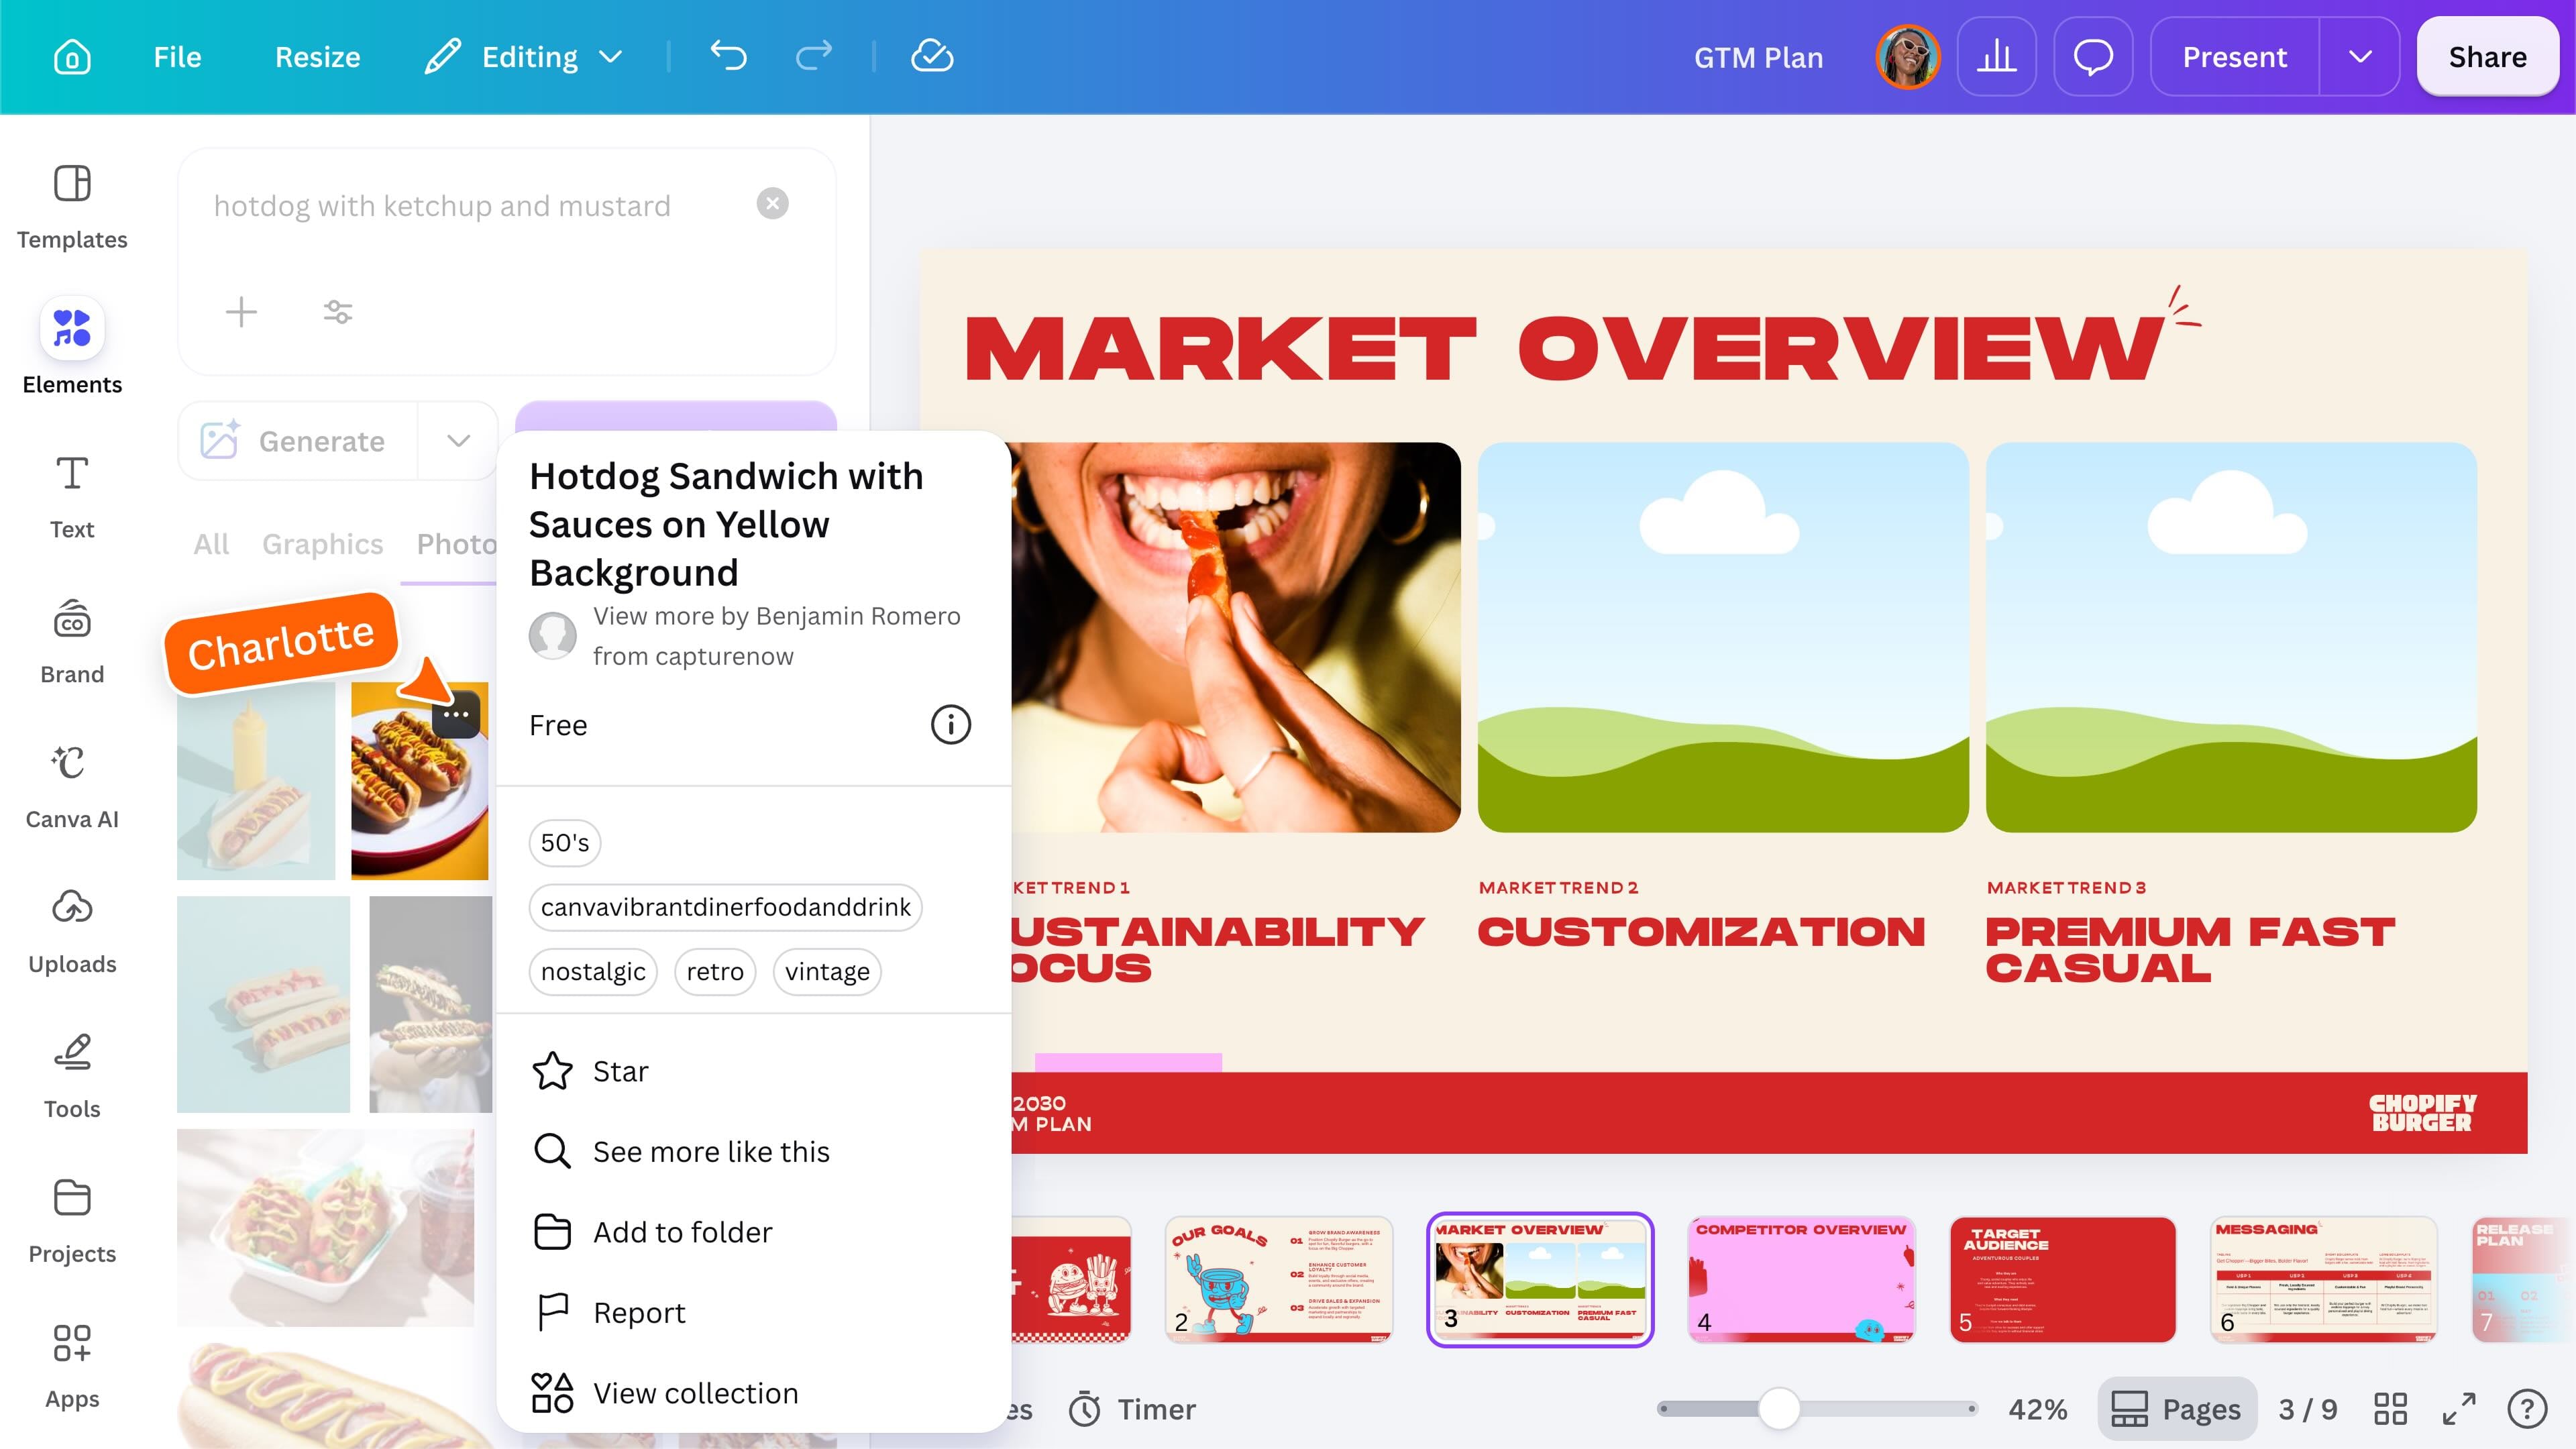
Use the search bar at the top of the Elements panel to describe what you need, then press Enter or select Search. Be specific with your search. For example, instead of searching for “dog,” try “playful illustrated puppy.” Where available, use filters to narrow your results by options such as color, orientation, or animation. Results may be grouped into categories such as Graphics, Photos, Videos, and Audio. Select See all beside a category to view more results. Hover over an element and select the More icon to see the actions available for it. Depending on the element, you may be able to: Collections group related elements and can help you create a more consistent visual style.
Add and customize shapes and lines
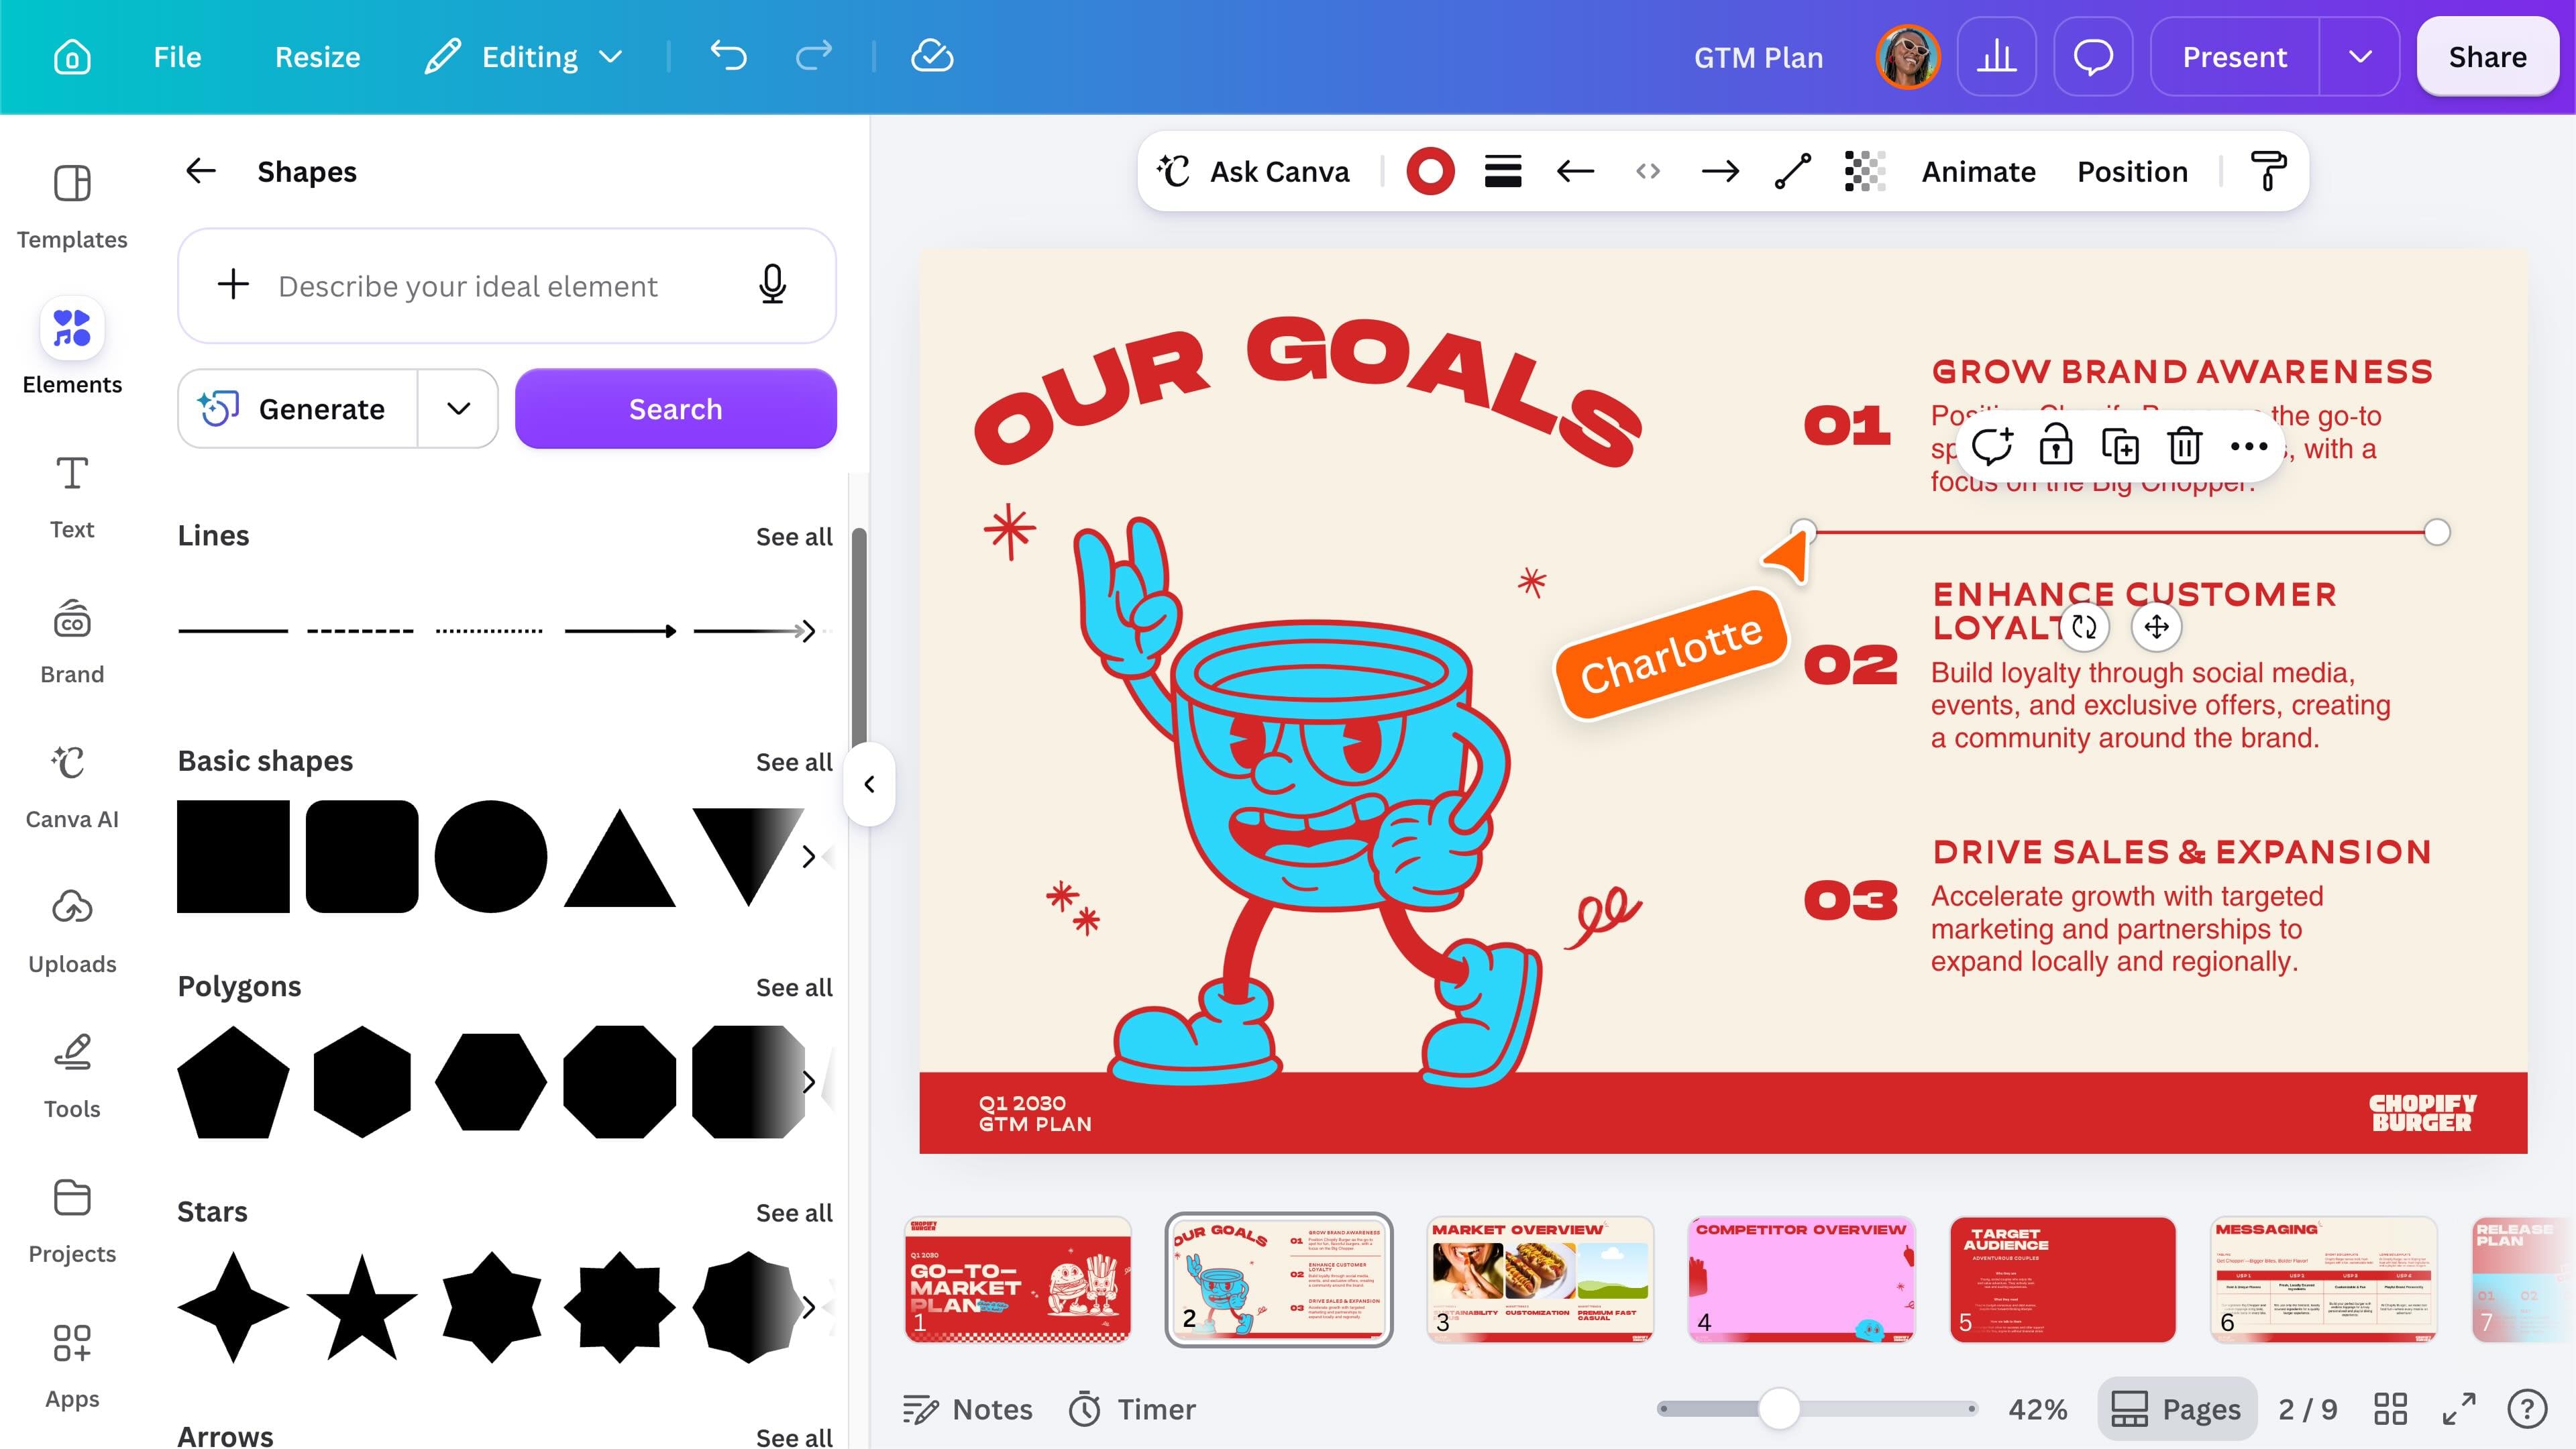
Under Browse categories, select Shapes. Select an item to add it to your page. The toolbar changes depending on whether you select a shape or a line. For Shapes, you can change: For Lines, you can change: Double-click a shape to add text inside it. To create a diagram or flowchart, drag the end of a line to a connection point on a shape. The line will remain attached when you move the shape.
Add graphics, photos, videos, and audio
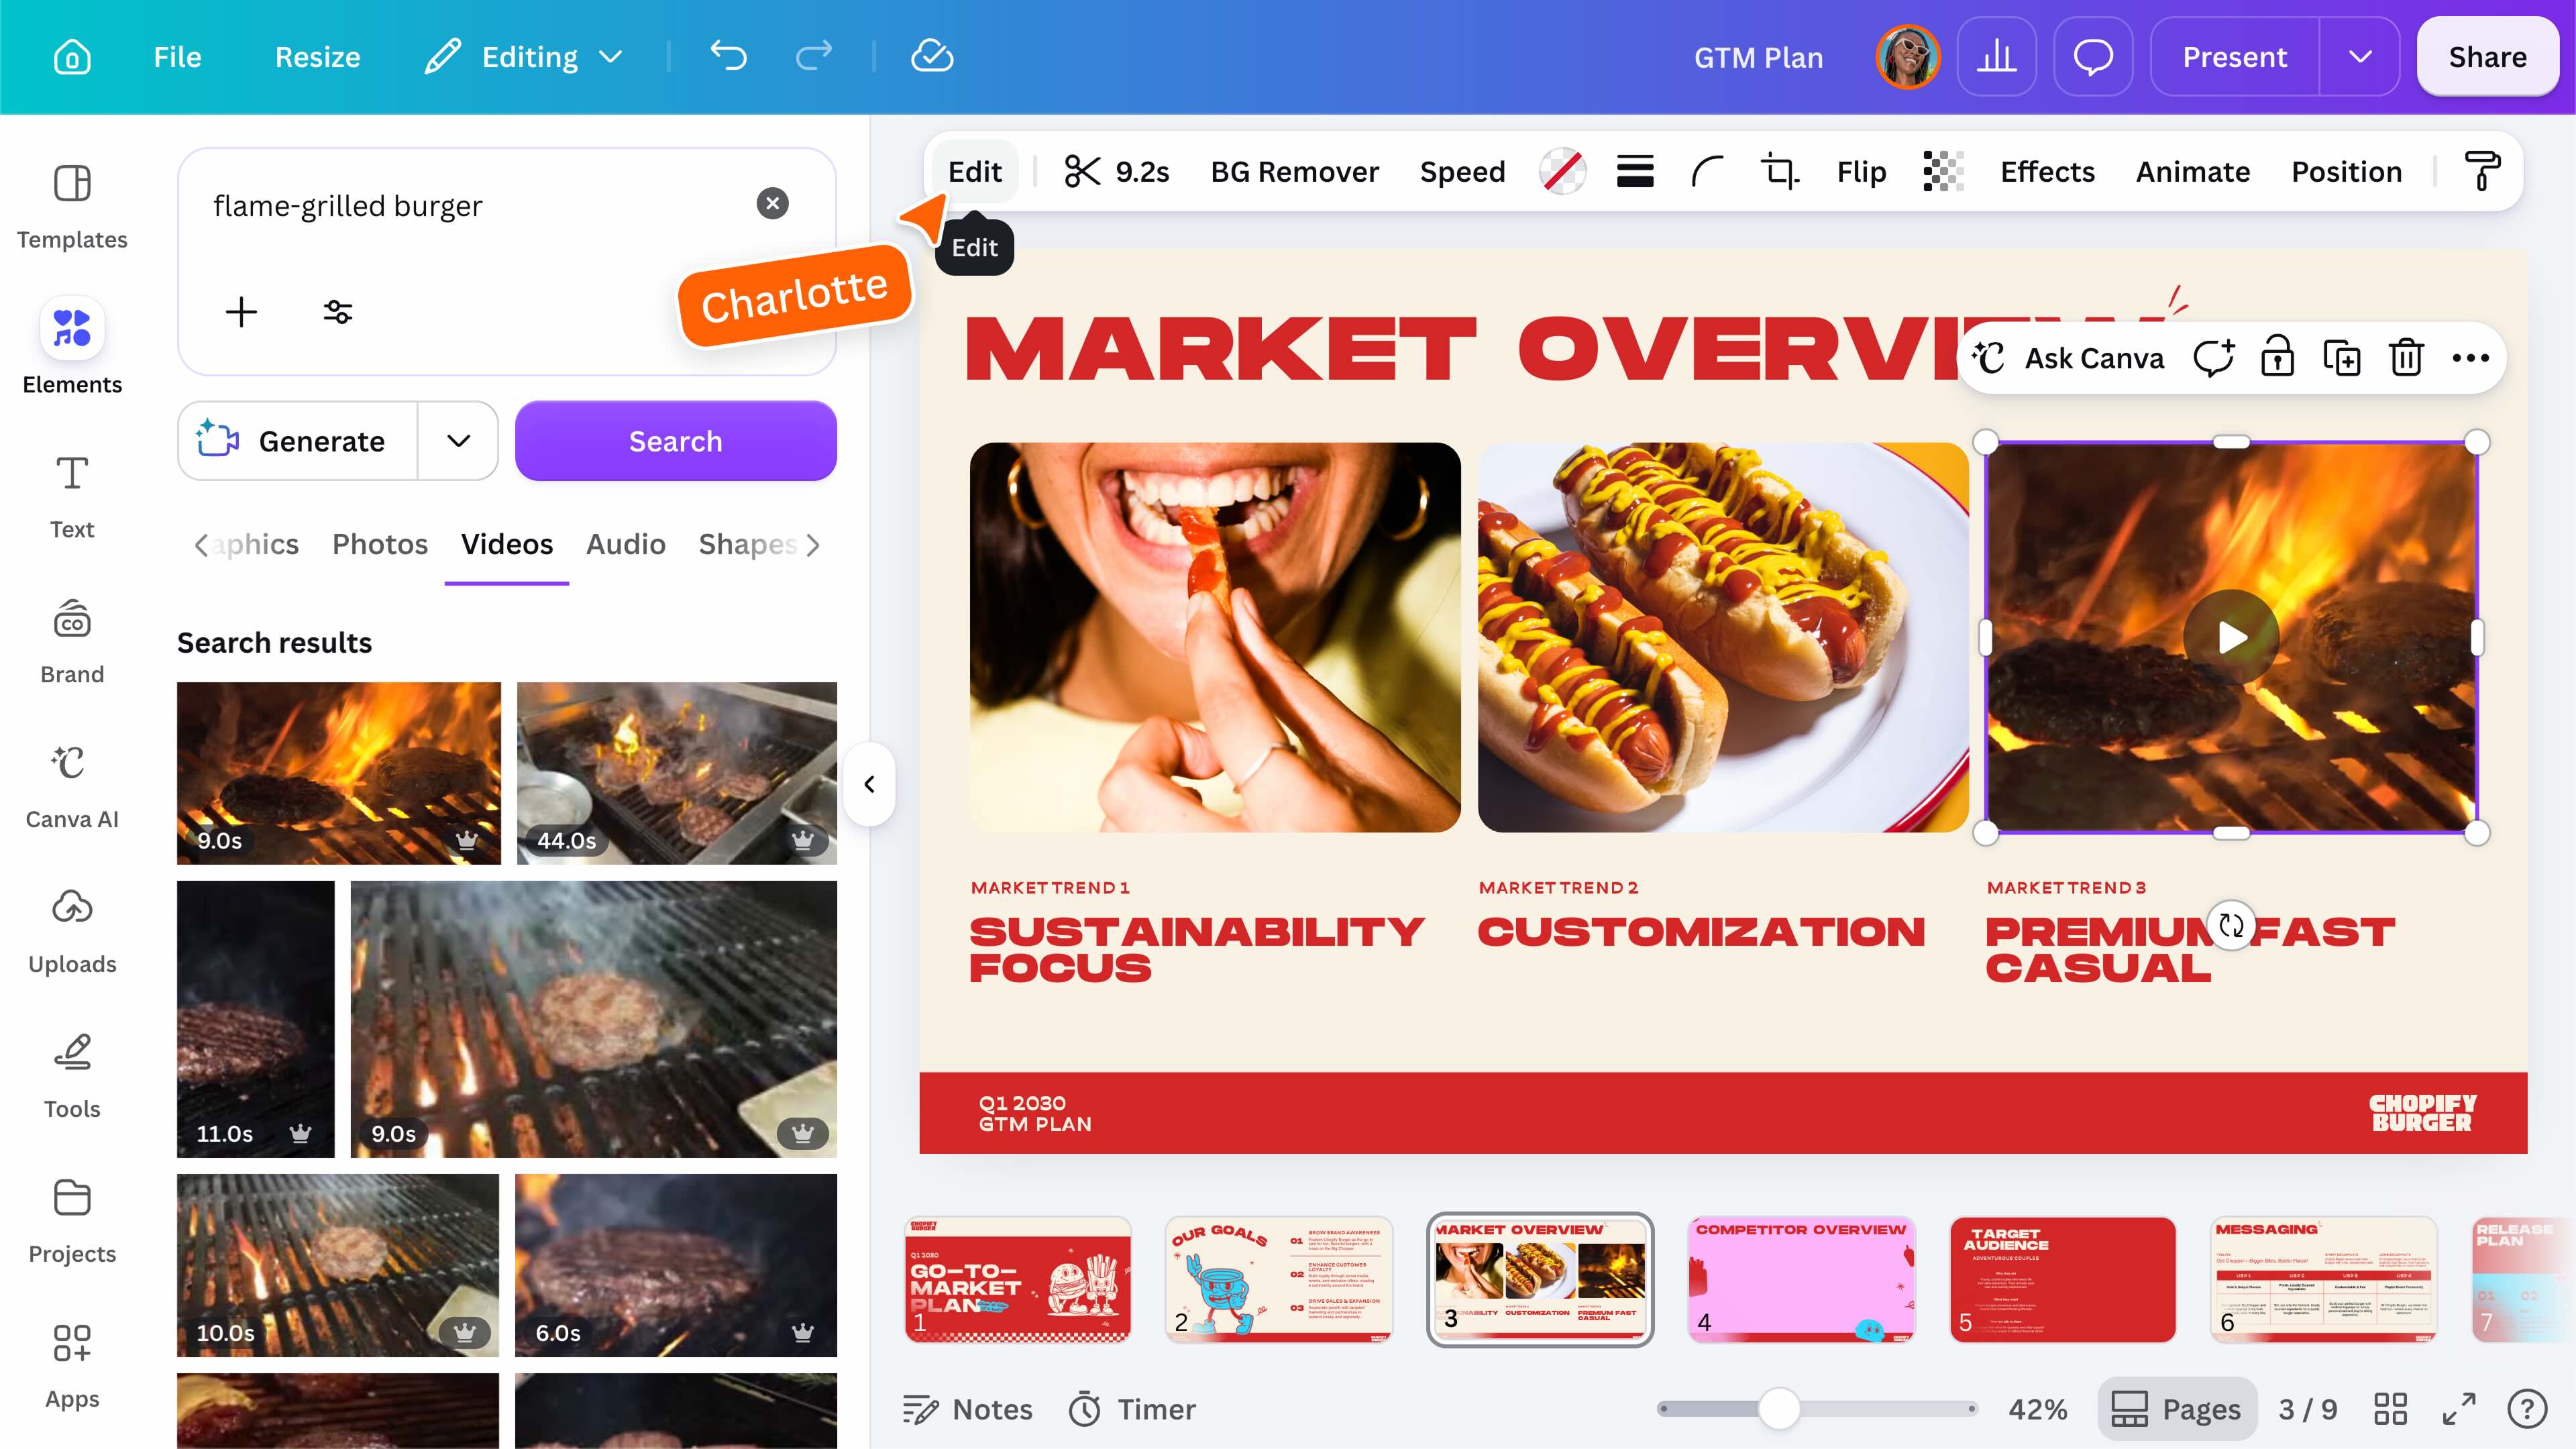
Use the Elements panel to browse graphics, photos, videos, and audio. Select or drag an item onto your page to add it to your design. Select the item to see the editing options available for it. Depending on the asset, you may be able to recolor, resize, rotate, crop, flip, animate, or edit it. Select a photo or video, then choose Edit to open the editing tools. For audio, preview a track before adding it. After adding it to your design, select the track in the timeline to adjust the available controls, such as volume, fades, and timing.
Supercharge your creativity with AI elements
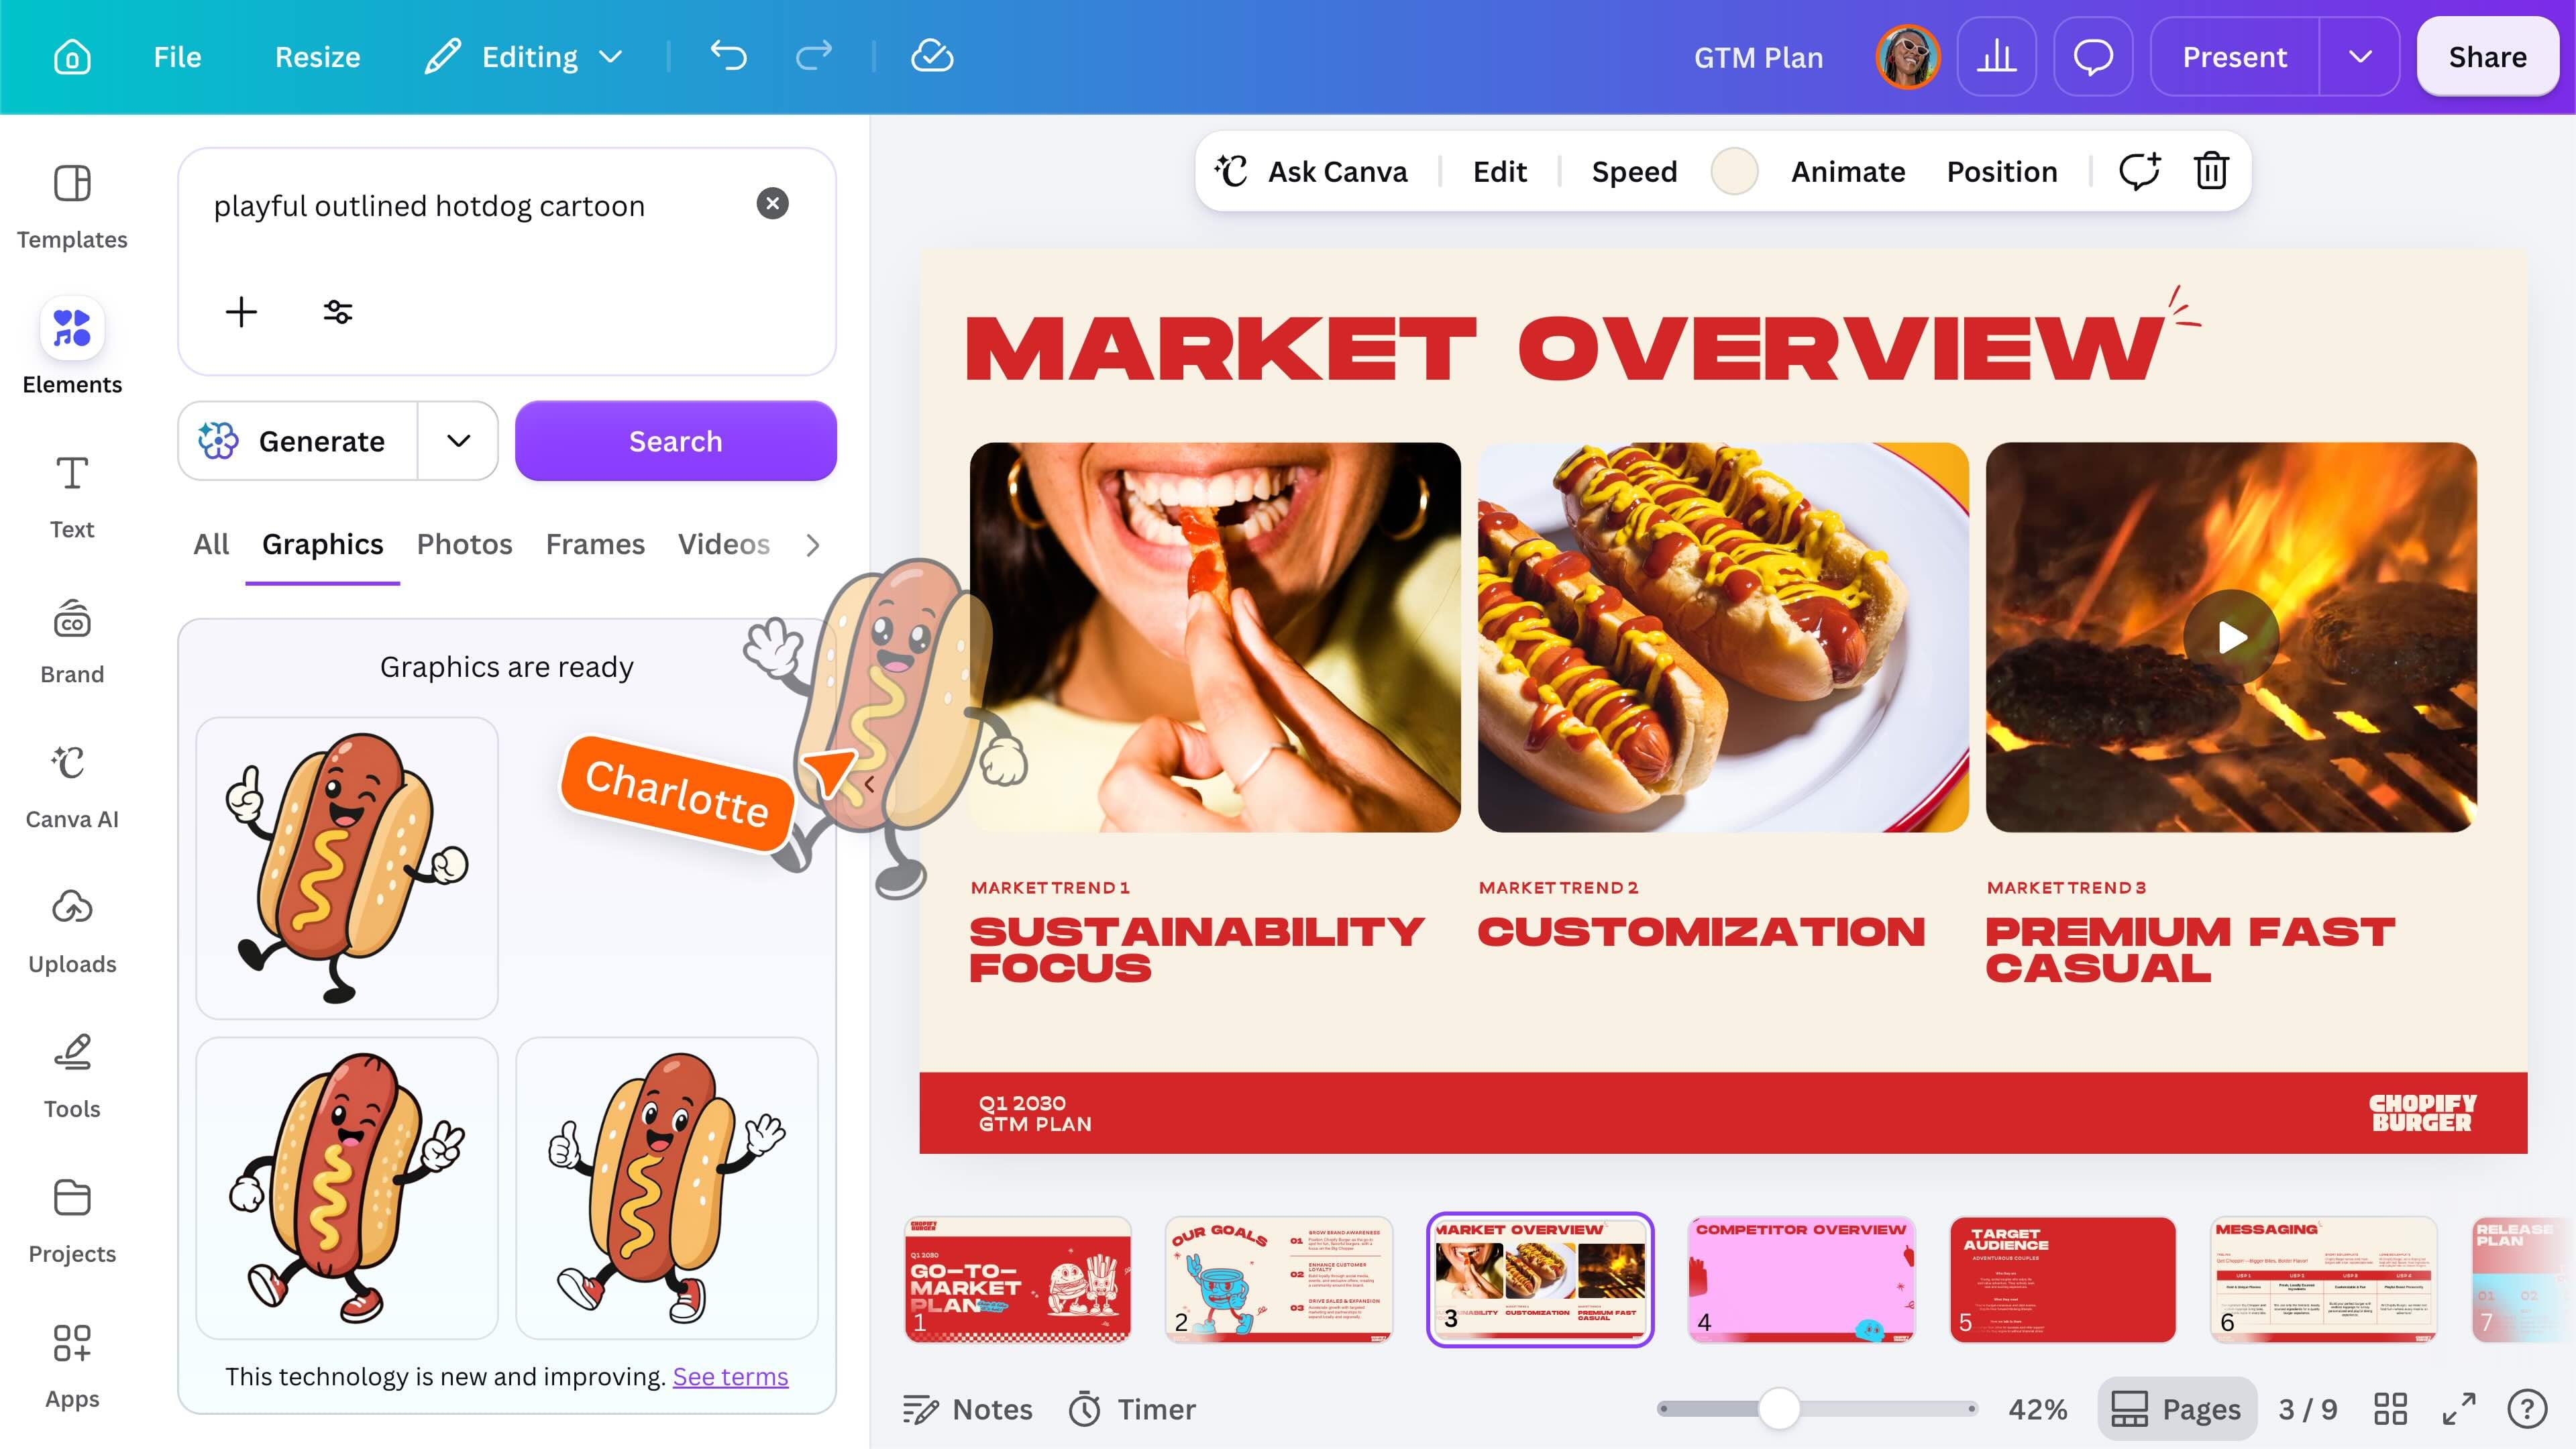
Transform your creative process with a world of AI-powered elements, directly inside your editor. In the search bar of the Elements panel, simply describe what you want to create, then choose the Generate button to select the type of output you need. Depending on your access, you may be able to use: Use a clear, specific prompt that describes the subject, style, colors, composition, and intended use. Review the results, add your preferred option to the design, and continue editing where supported. Features, usage allowances, and editing options vary by Canva plan and account.
Add tables and charts
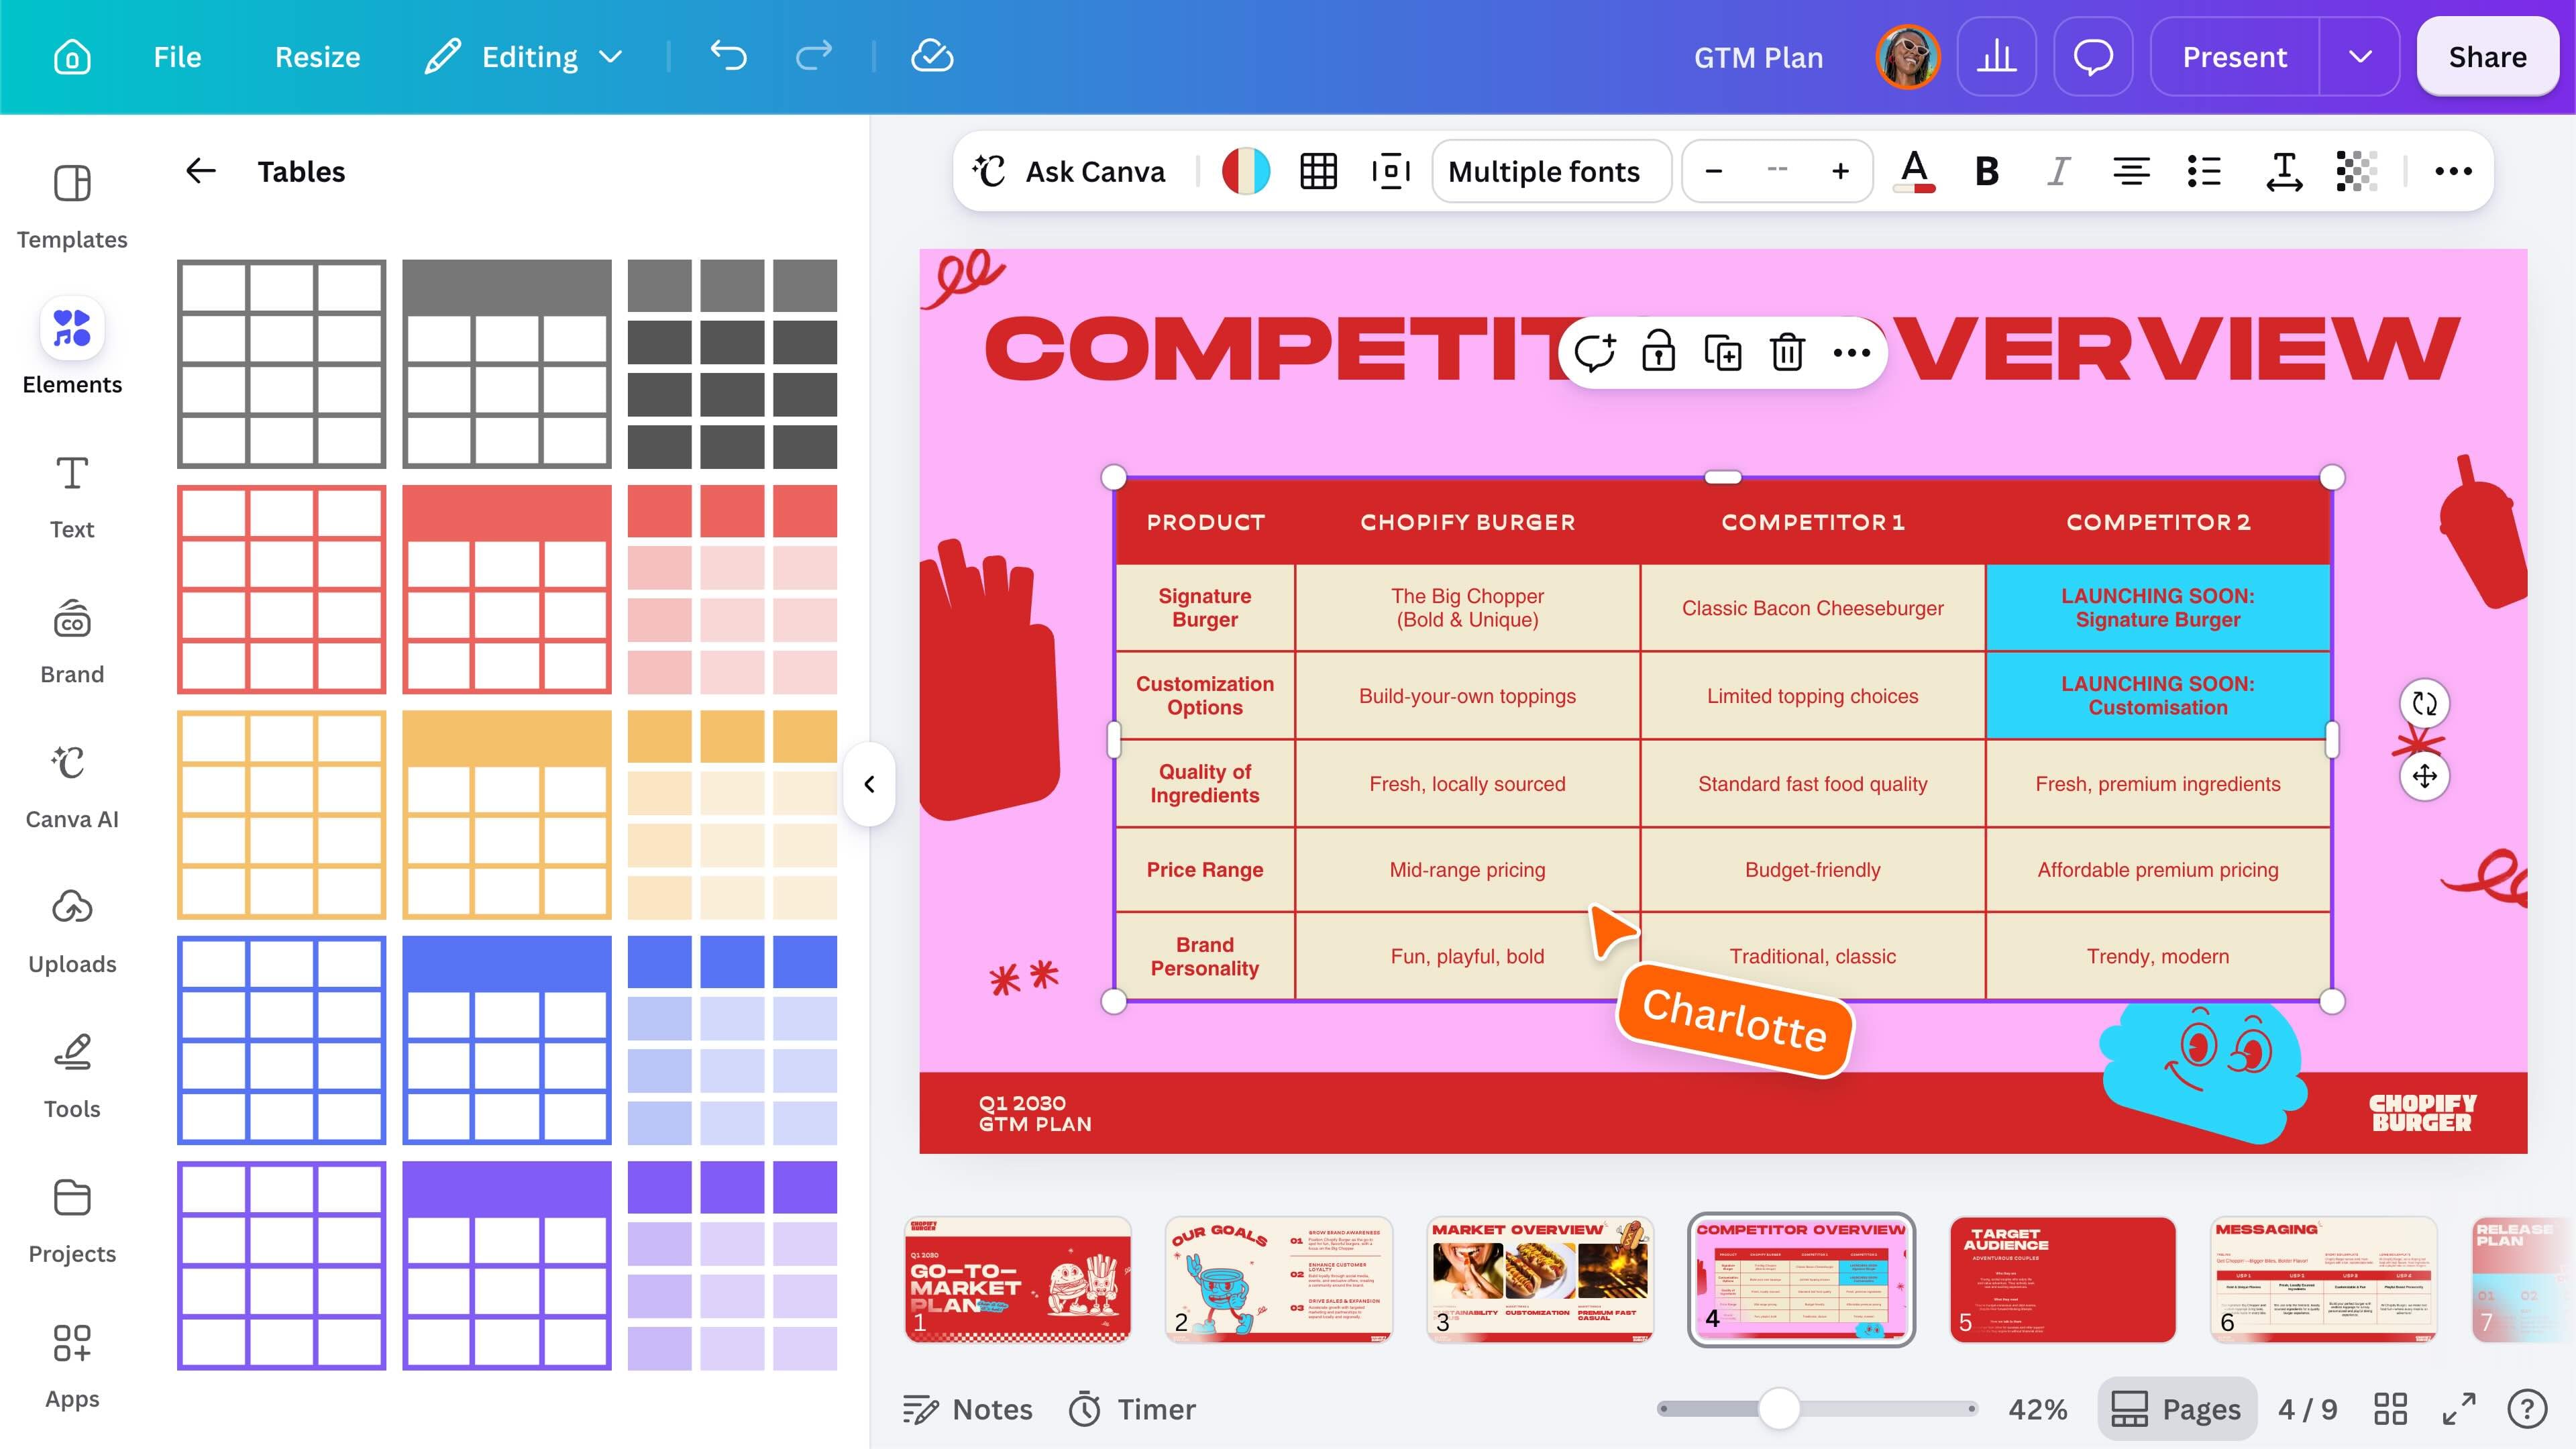
Tables organize information into rows and columns. Charts turn data into a visual format that makes patterns and comparisons easier to understand. Find Tables under Elements, then select a table to add it. Double-click a cell to enter text. With tables, you can: Find Charts in Elements, then select a chart type to add it. Select the chart and choose Edit to enter, paste, or import data and adjust its appearance. With charts, you can: Use tables when you need to present structured information clearly, and charts when you want to highlight patterns, comparisons, or changes over time.
Use frames and grids
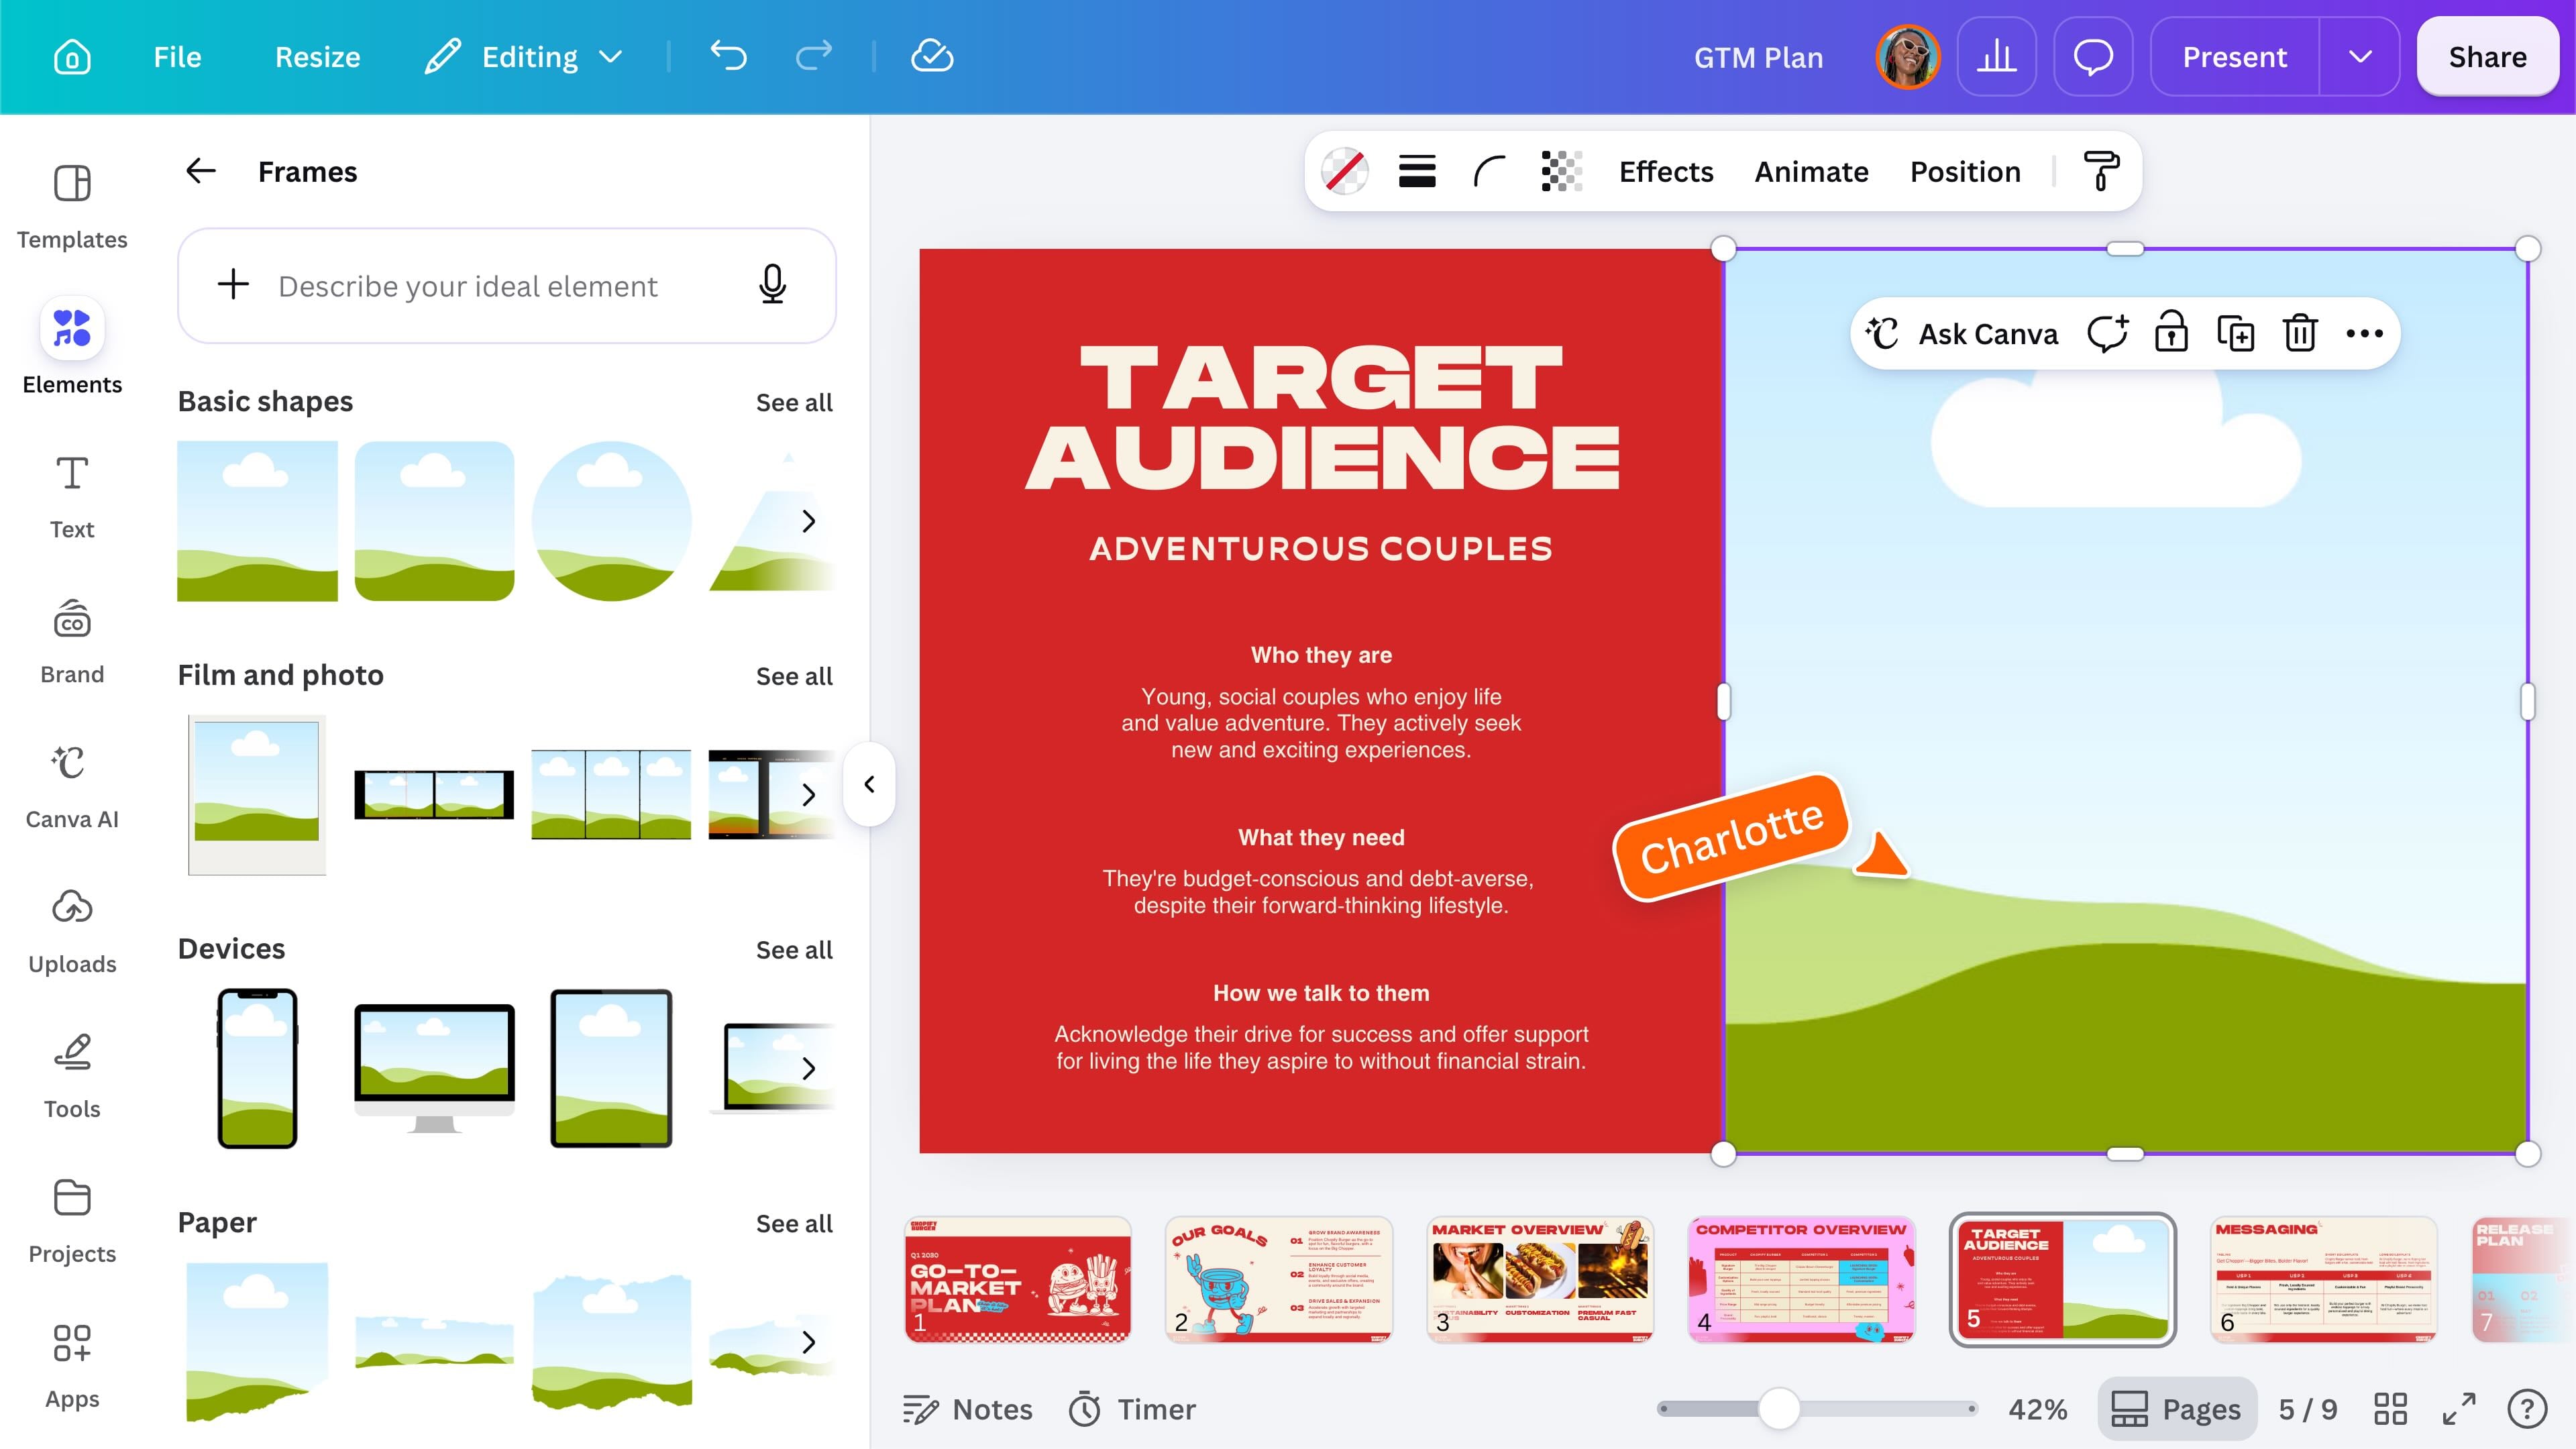
Frames are placeholders that crop a photo or video into a shape. Under Browse categories, select Frames, then choose a frame to add it. Drag a photo or video onto the frame until it snaps into place. Double-click the media to resize or reposition it inside the frame.
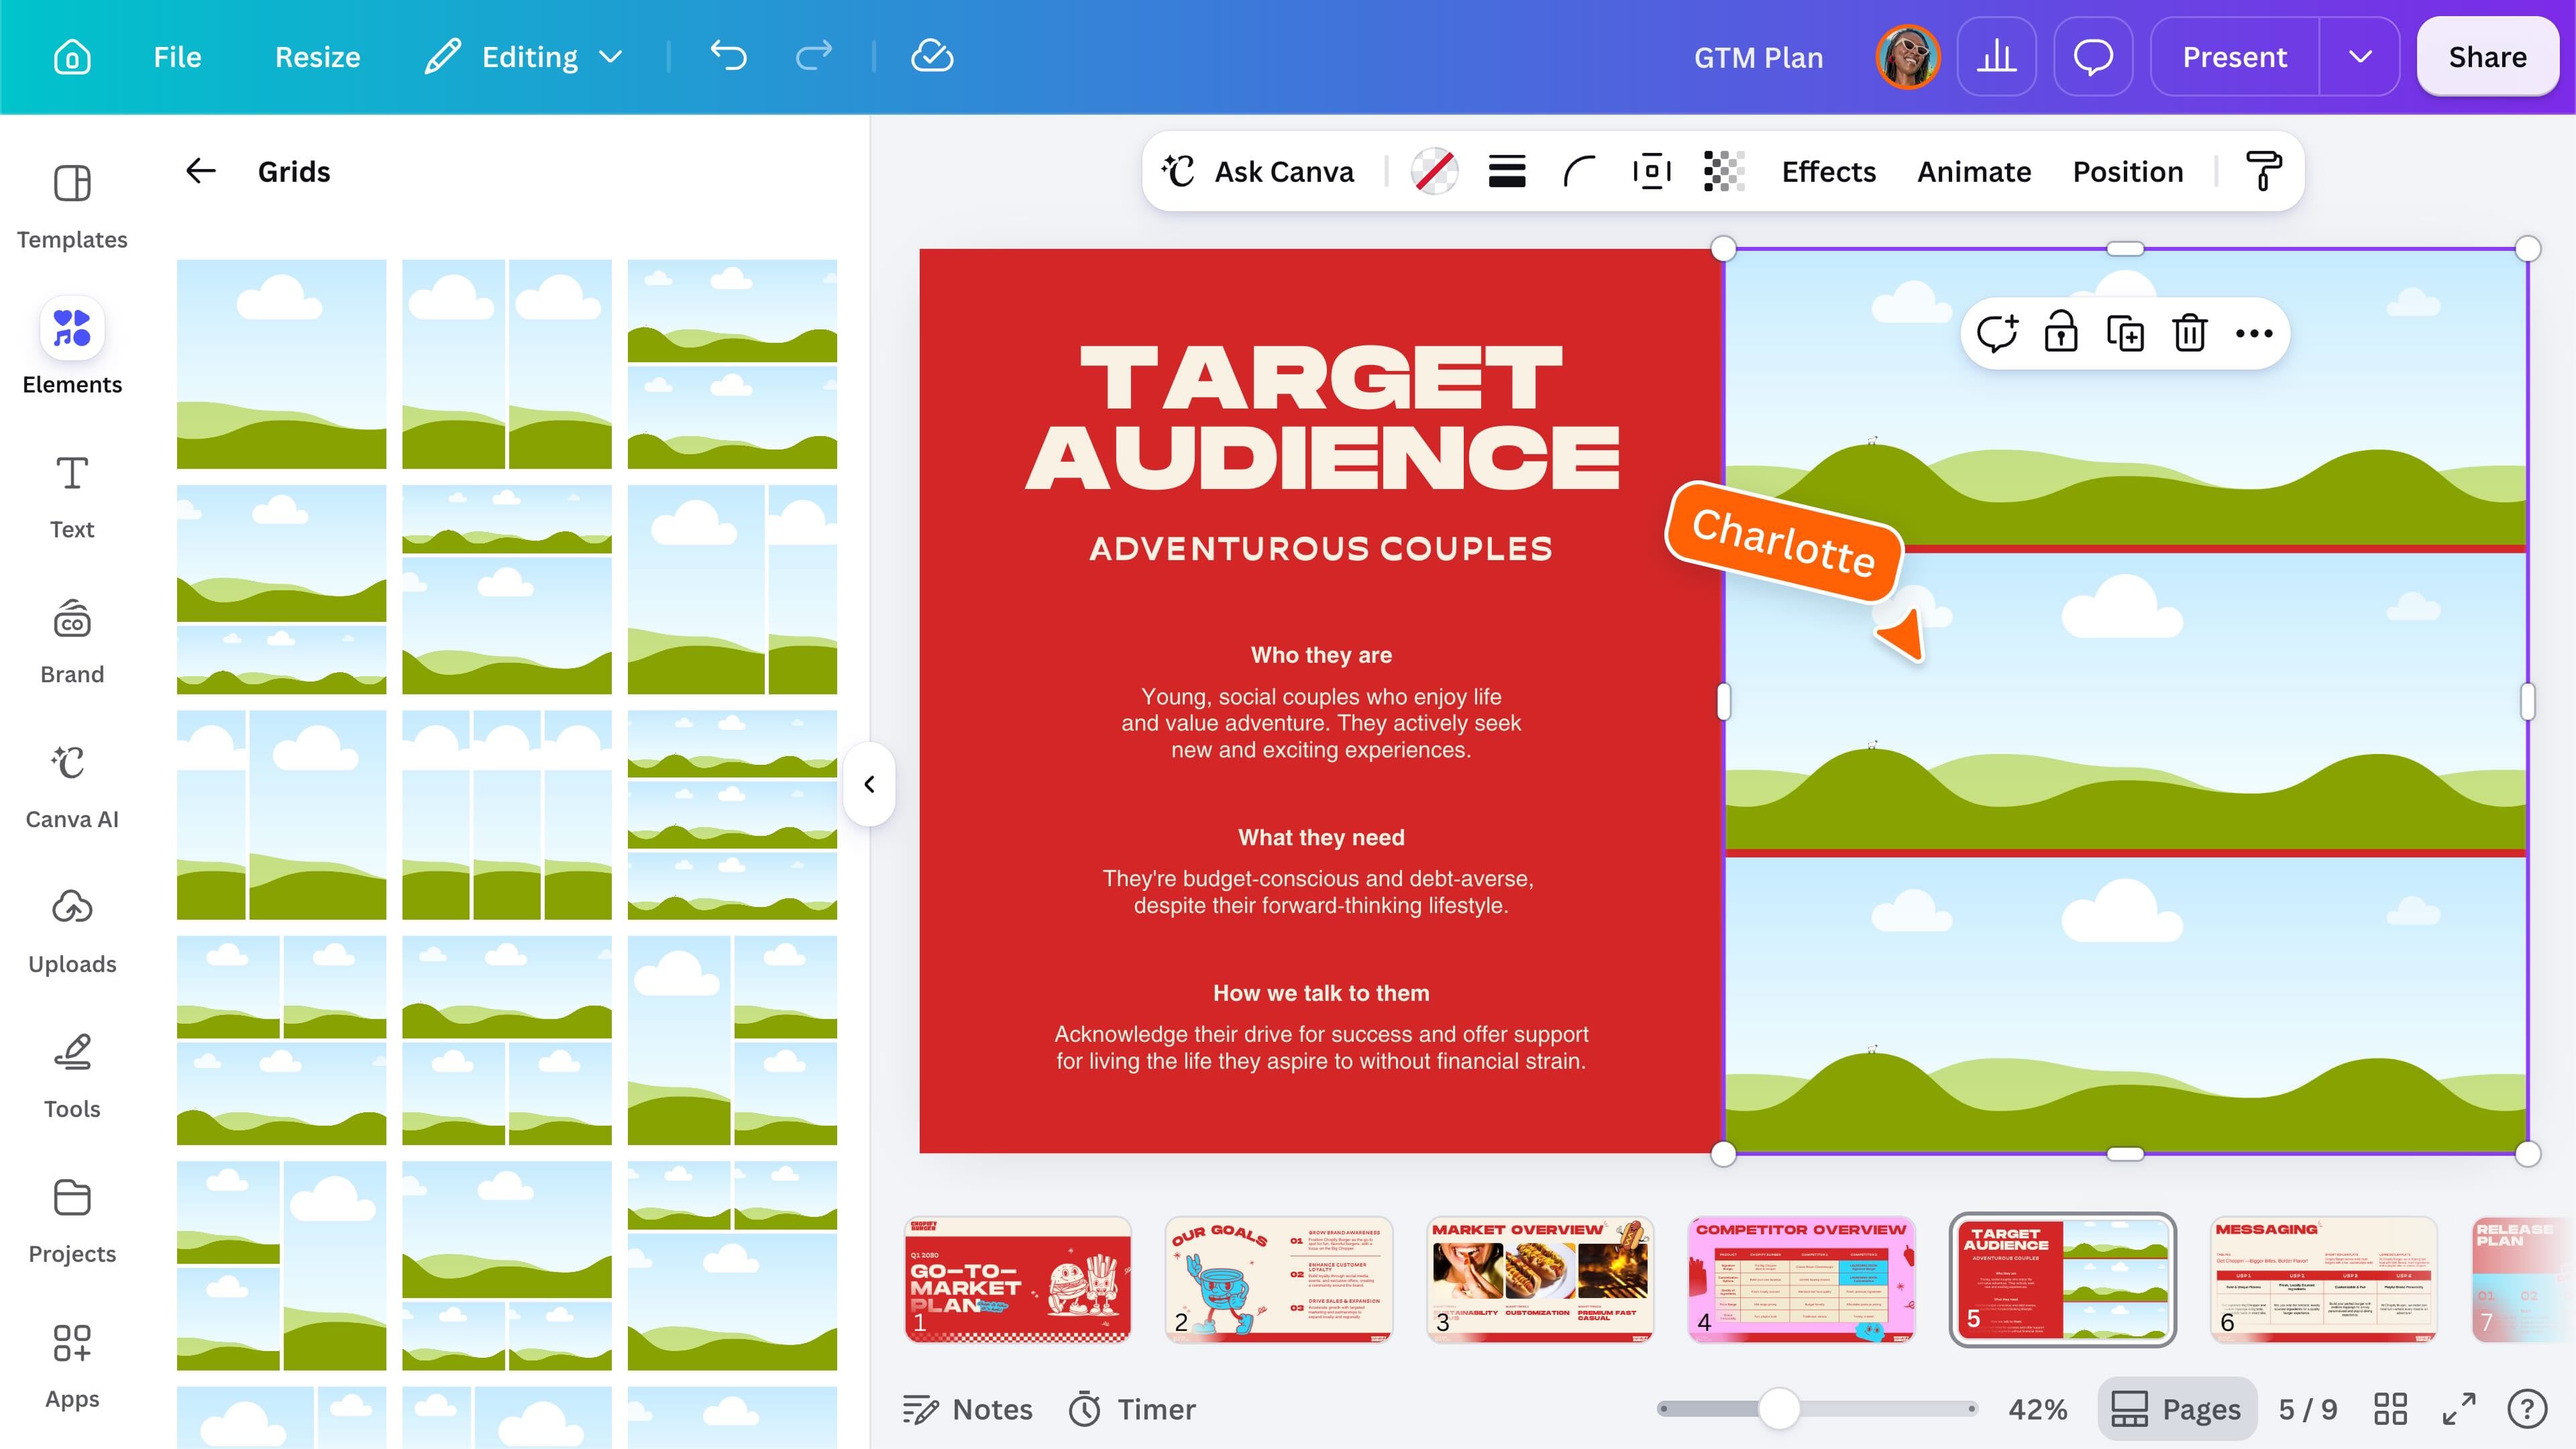
Grids work in a similar way but contain multiple spaces. Use them to create photo collages, video layouts, or structured blocks of color. You can also adjust the spacing between grid cells.
Create mockups
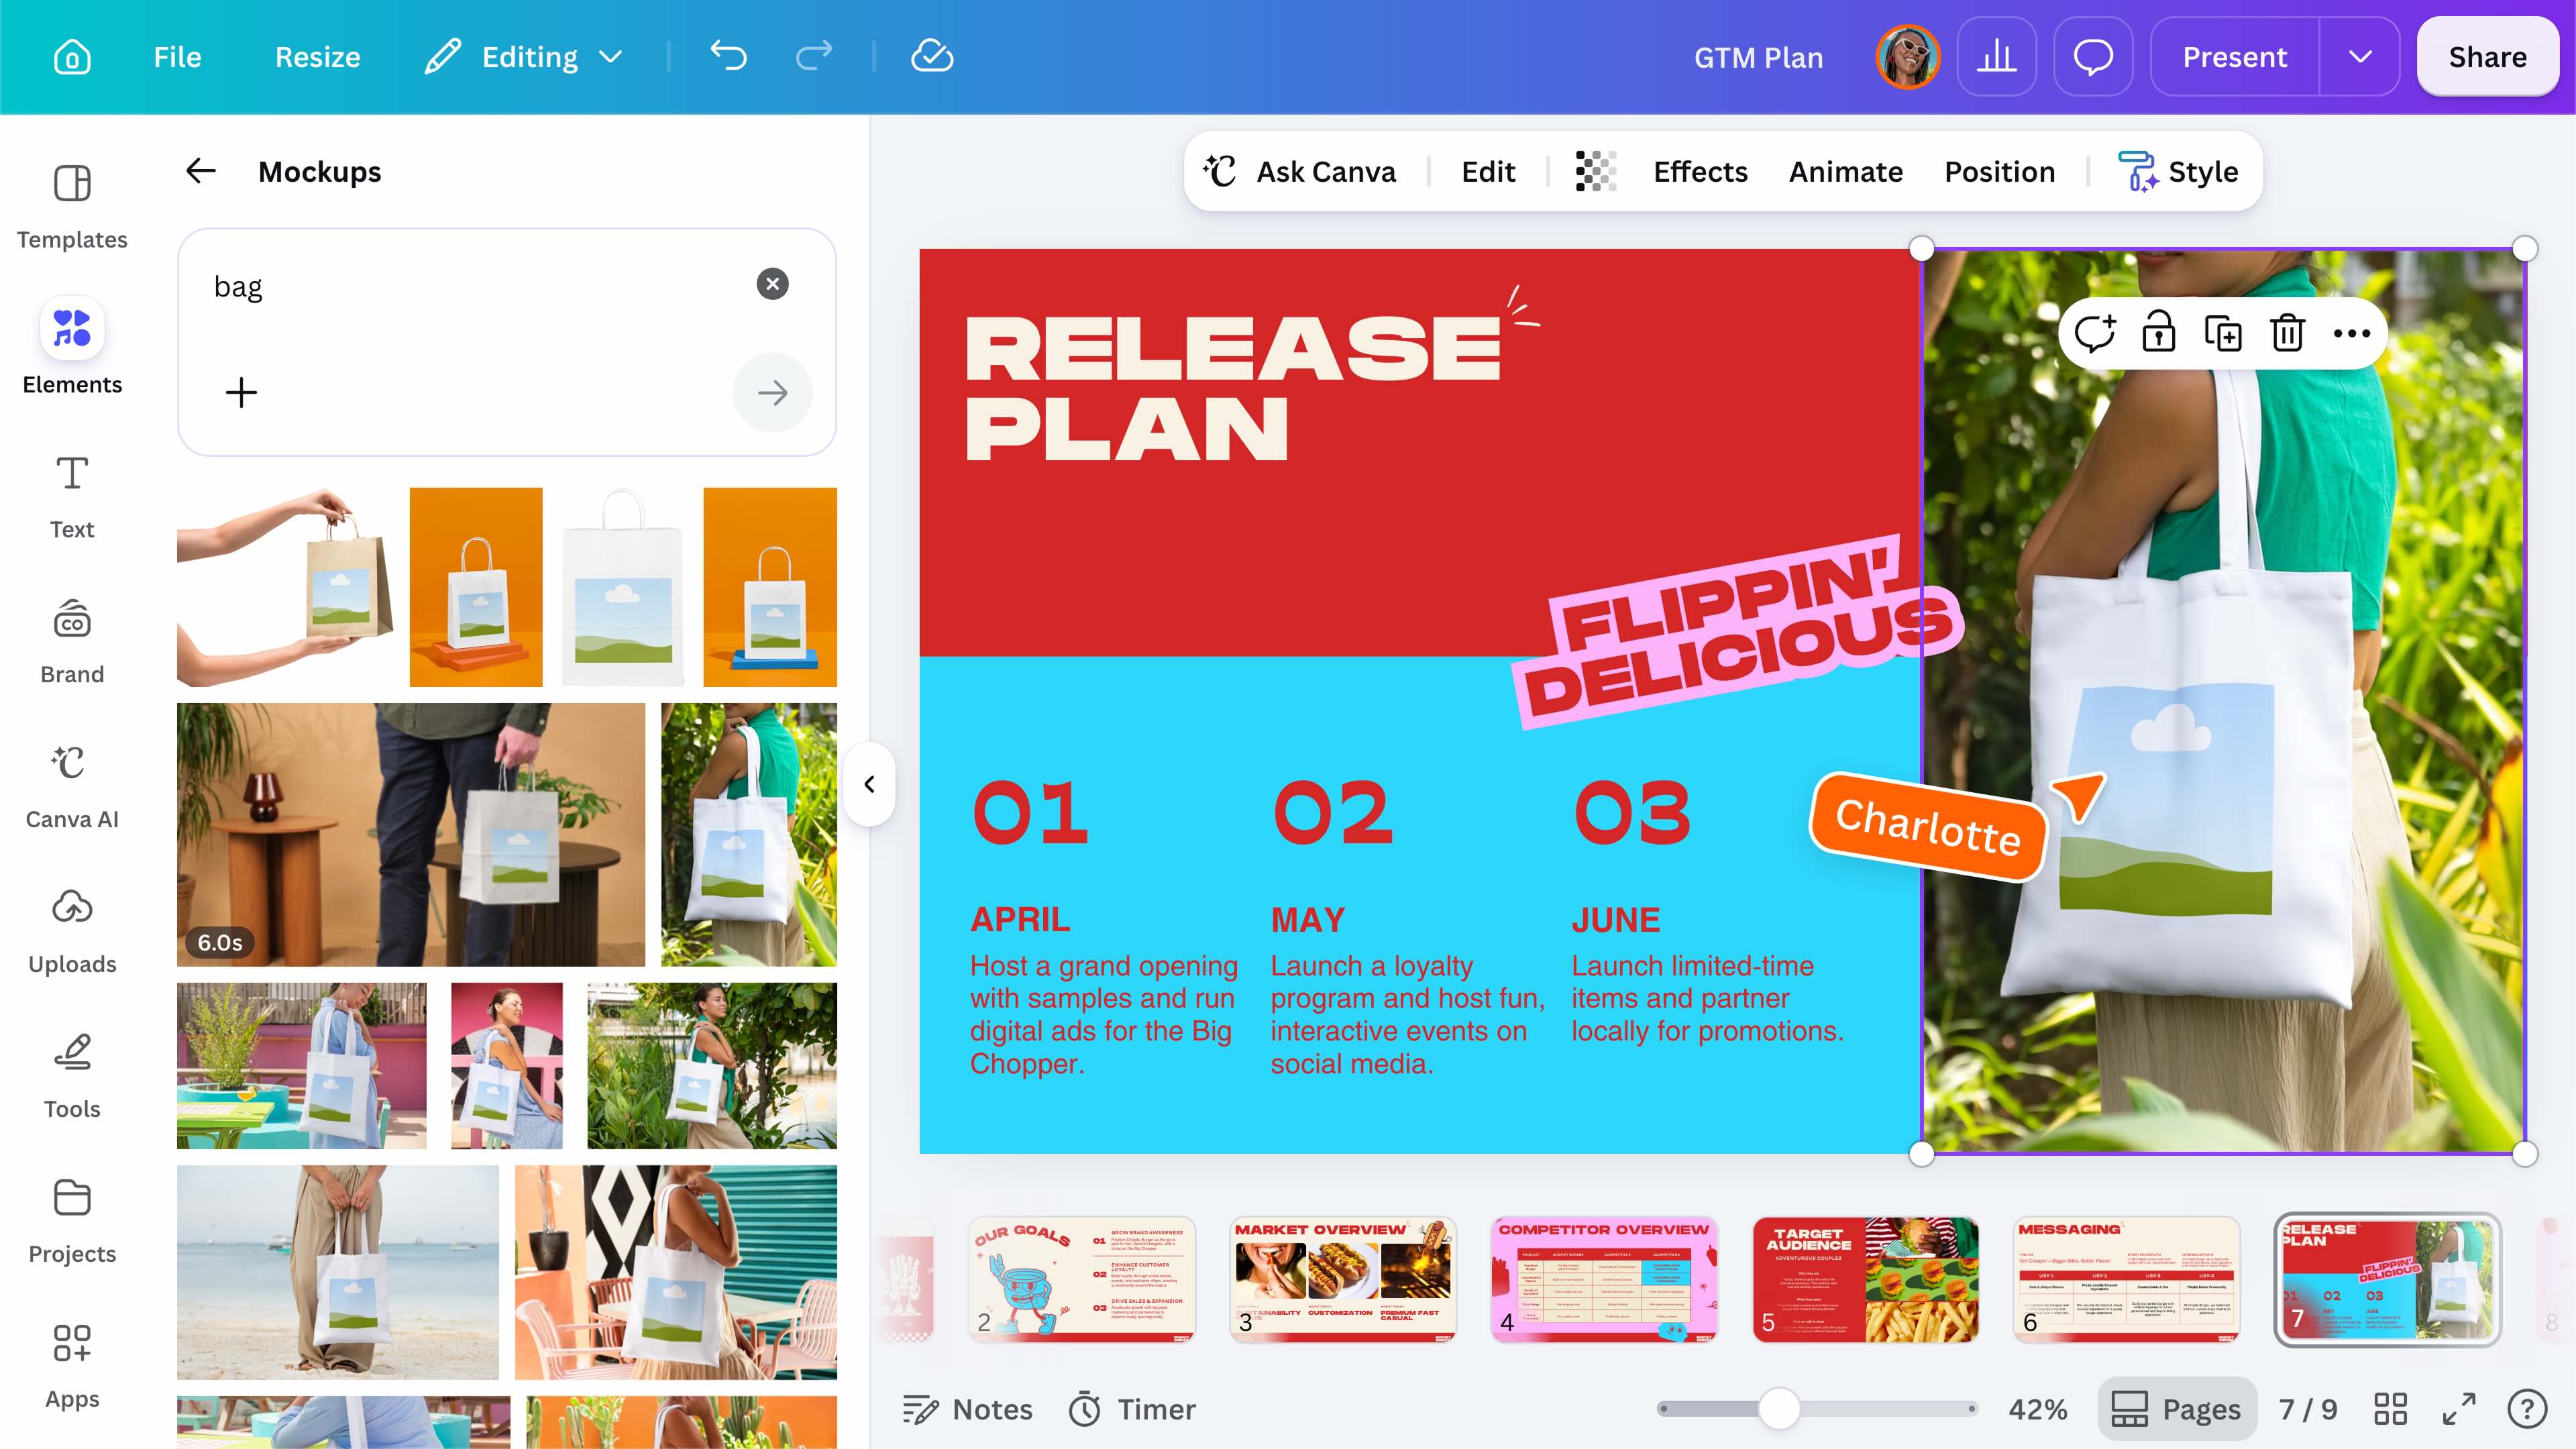
Mockups show how an image or design could look on a product, device, or in a real-world setting. In Elements, select the search bar and choose Mockups, or search for the type of mockup you need. Select a mockup, then drag an image onto it. Use the available controls to reposition, resize, or adjust the image inside the mockup. Mockups may include devices, clothing, packaging, posters, and other products or settings.
Ready to explore? You now know how to search for elements, customize shapes and media, build tables and charts, use frames and grids, and create new visual content with Canva AI. Try building a design using one collection to create a consistent visual style, or describe an original visual and use Canva AI to create a starting point.
Featured in these lessons
Share
Last updated 17 Aug, 2026