Canva home

How to create embroidered patches in Canva

10m

Turn text, graphics, and illustrations into embroidered-style patches with Canva AI. Follow four quick steps to create textured designs that feel uniquely yours.

How to create embroidered patches in Canva

10m

Turn text, graphics, and illustrations into embroidered-style patches with Canva AI. Follow four quick steps to create textured designs that feel uniquely yours.


What you’ll learn

  • How to create bold, patch-ready artwork in Canva
  • How to turn your designs into embroidered-style patches with Canva AI
  • How to use your patches in graphics, social posts, and custom merch


Your designs are about to get stitched, in the best possible way.

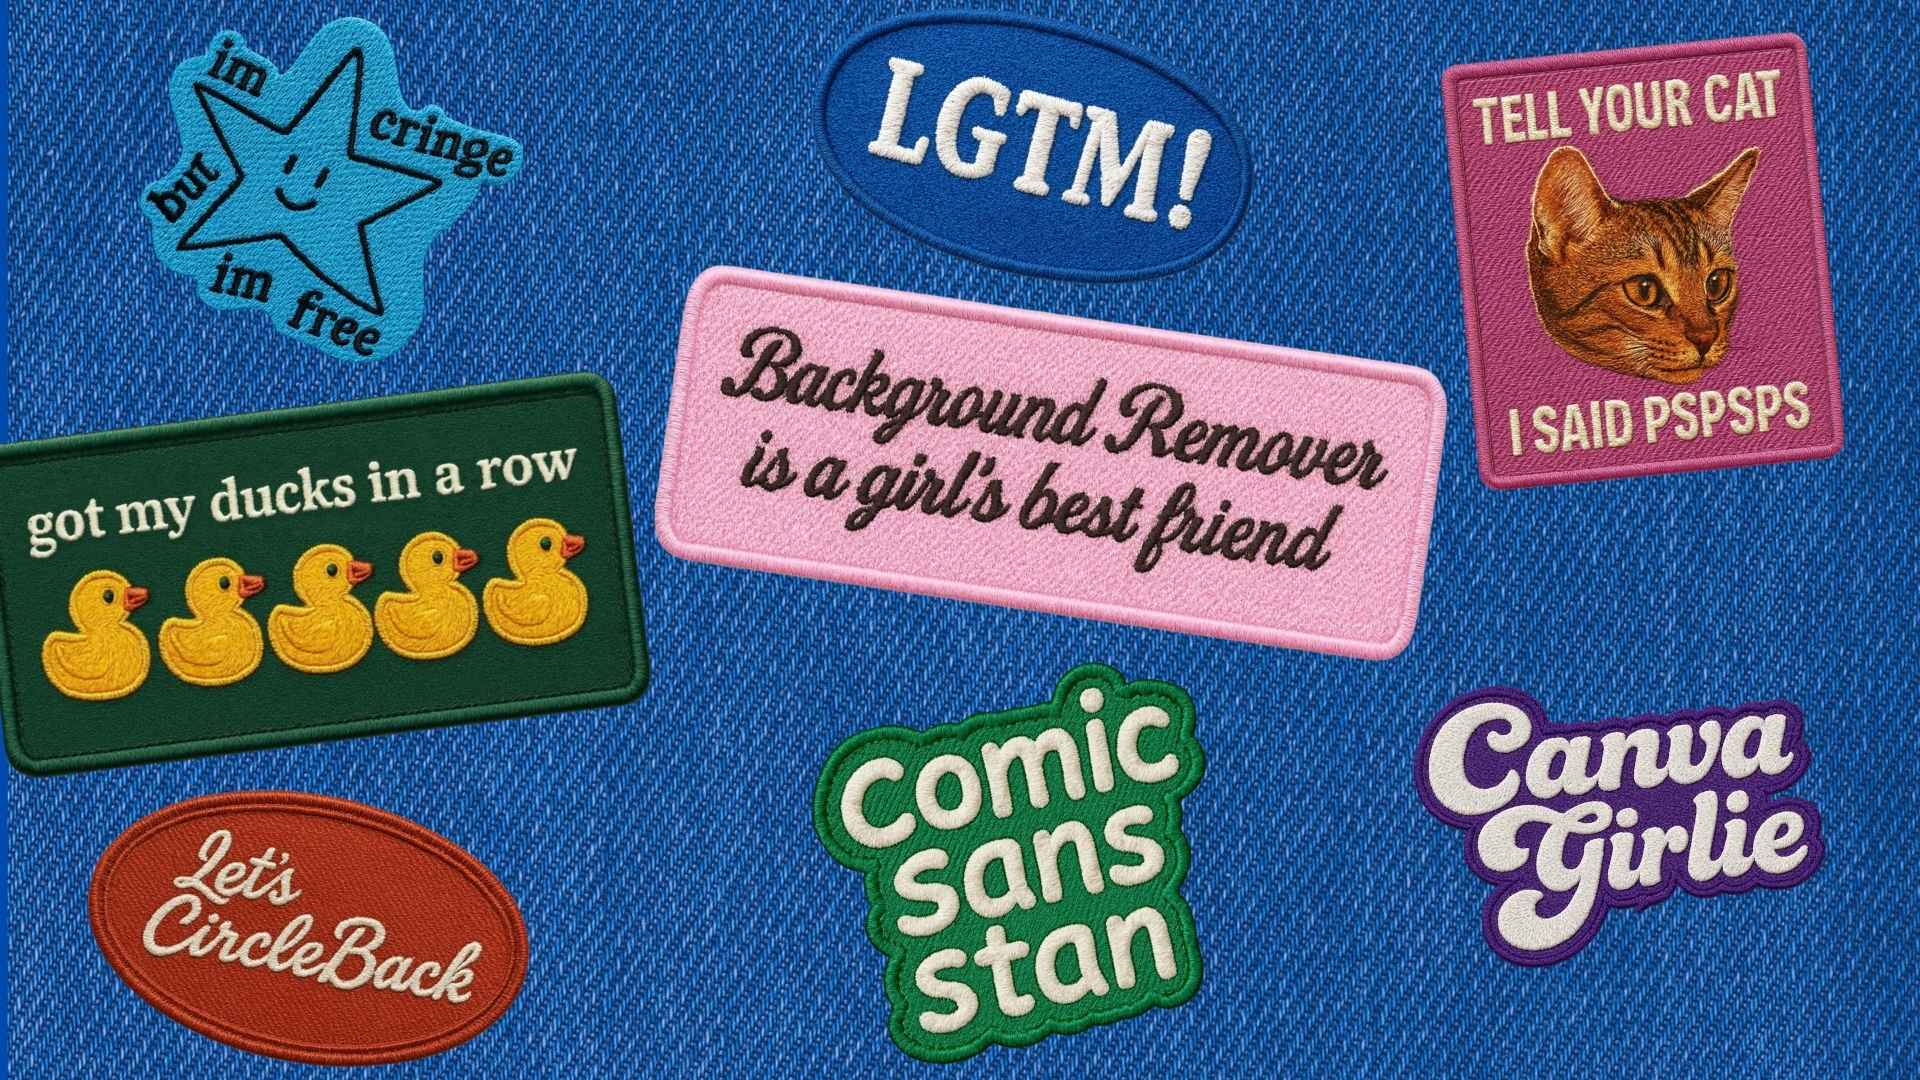
In this guide, you’ll use Canva AI to turn text, graphics, and inside jokes into embroidered-style patches, no needle and thread required. Add them to your socials, use them to upgrade your graphics, pop one onto custom merch, or use your finished design as inspiration for a real embroidered patch.


Design your patches with Canva Elements

First up, let’s give your patch some personality.

  1. Start with a new Canva design, then create the artwork you want to turn into embroidered patches. Open Elements to add graphics and illustrations, or upload your own artwork.
  2. Add some text, like a fun phrase, inside joke, name, or short message for your patch.
  3. Create a few patches on the same page, leaving space between each one so they’re easy to select and download later.

Canva hack: Spot the row of ducks? To quickly duplicate an element, hold Option on Mac or Alt on Windows while dragging it into place. Repeat to create a fun pattern.

Quick tip:

Choose bold colors with clear contrast, and keep fine details to a minimum. Simple shapes, thicker lines, and easy-to-read text will make your embroidered patches stand out.


Apply text effects to your patch

Now for the fun part: giving your text a bold, retro makeover.

  1. Select your text, then choose Effects from the editor toolbar. Select Outline, choose a color, and increase the thickness to create a bold outer border.
  2. Next, right-click your text and select Duplicate. With the duplicate selected, choose Effects then Outline again. Select a darker color and reduce the thickness to create a second, finer outline.
  3. To add another color layer, open Elements and choose a shape to sit behind your text. Resize it to fill any gaps around the lettering, then change its color to same color as your first outline.
  4. Select Position then To back to place the shape behind your text. This creates a fuller patch shape and helps your design stand out.

Quick tip:

Start with a chunky font that has clear contrast between the text and outline colors. Open the Font menu and search bold to find styles that will stay easy to read once Canva AI adds the stitched texture.


Download your patches individually

Your designs are ready. Let’s get them prepped for Canva AI.

  1. Select the elements and text you want to turn into one patch. If your patch includes multiple elements, select them all, then group them first.
  2. Select the More menu (...) then choose Download selection.
  3. Select PNG, turn on Transparent background, then select Download.
  4. Repeat these steps for each patch you want to transform with Canva AI.


Turn your designs into embroidered patches

Time to bring on the stitches, no sewing kit required. Now that your patches are downloaded, use Canva AI to turn each one into an embroidered patch.

  1. Open Canva AI, then paste this exact prompt into the prompt box → Let’s make this reference image into an embroidered patch with realistic stitching. Do not change anything about the reference photo, do not change the font and do not change the layout. Flat lay, clean background, even natural lighting with no shadow.
  2. Select the Add image icon in the prompt box, then choose one of your downloaded patches to add it as a reference image.
  3. Select Generate to create your embroidered patch.

Quick tip:

Generate one patch at a time to give Canva AI a clear reference image and help preserve your original design.


Make it yours

Your embroidered patches are ready for their next adventure.

Download them as PNGs to use outside Canva, or drop them into a new design to make a social post, invitation, sticker sheet, or one-of-a-kind gift.

Want to make it real? Add your favorite patch to custom merch with Canva Print. Think a fun T-shirt, cozy hoodie, tote bag, or a personalized hat for someone you love.


More creative inspiration

This tutorial was developed by Canva’s Creative Socials team.

Follow @canva on Instagram for more fun ideas, creative inspiration, and new ways to make something you’ll love.
Guides you might like

Guides you might like

Guide
Navigating Canva's homepage

Navigating Canva's homepage

Navigating Canva's homepage

5m

Beginner

Guide
Customizing templates

Customizing templates

Customizing templates

10m

Beginner

Guide
Uploading and editing photos

Uploading and editing photos

Uploading and editing photos

5m

Beginner

Guide
Exploring the Element Library

Exploring the Element Library

Exploring the Element Library

10m

Beginner

Guide
Text and the Font Library

Text and the Font Library

Text and the Font Library

5m

Beginner

Guide
Sharing, collaborating and downloading

Sharing, collaborating and downloading

Sharing, collaborating and downloading

5m

Beginner

Guide
Exploring the Visual Suite

Exploring the Visual Suite

Exploring the Visual Suite

9m

Beginner

Guide
Navigating your Canva Education homepage

Navigating your Canva Education homepage

Navigating your Canva Education homepage

4m

Beginner