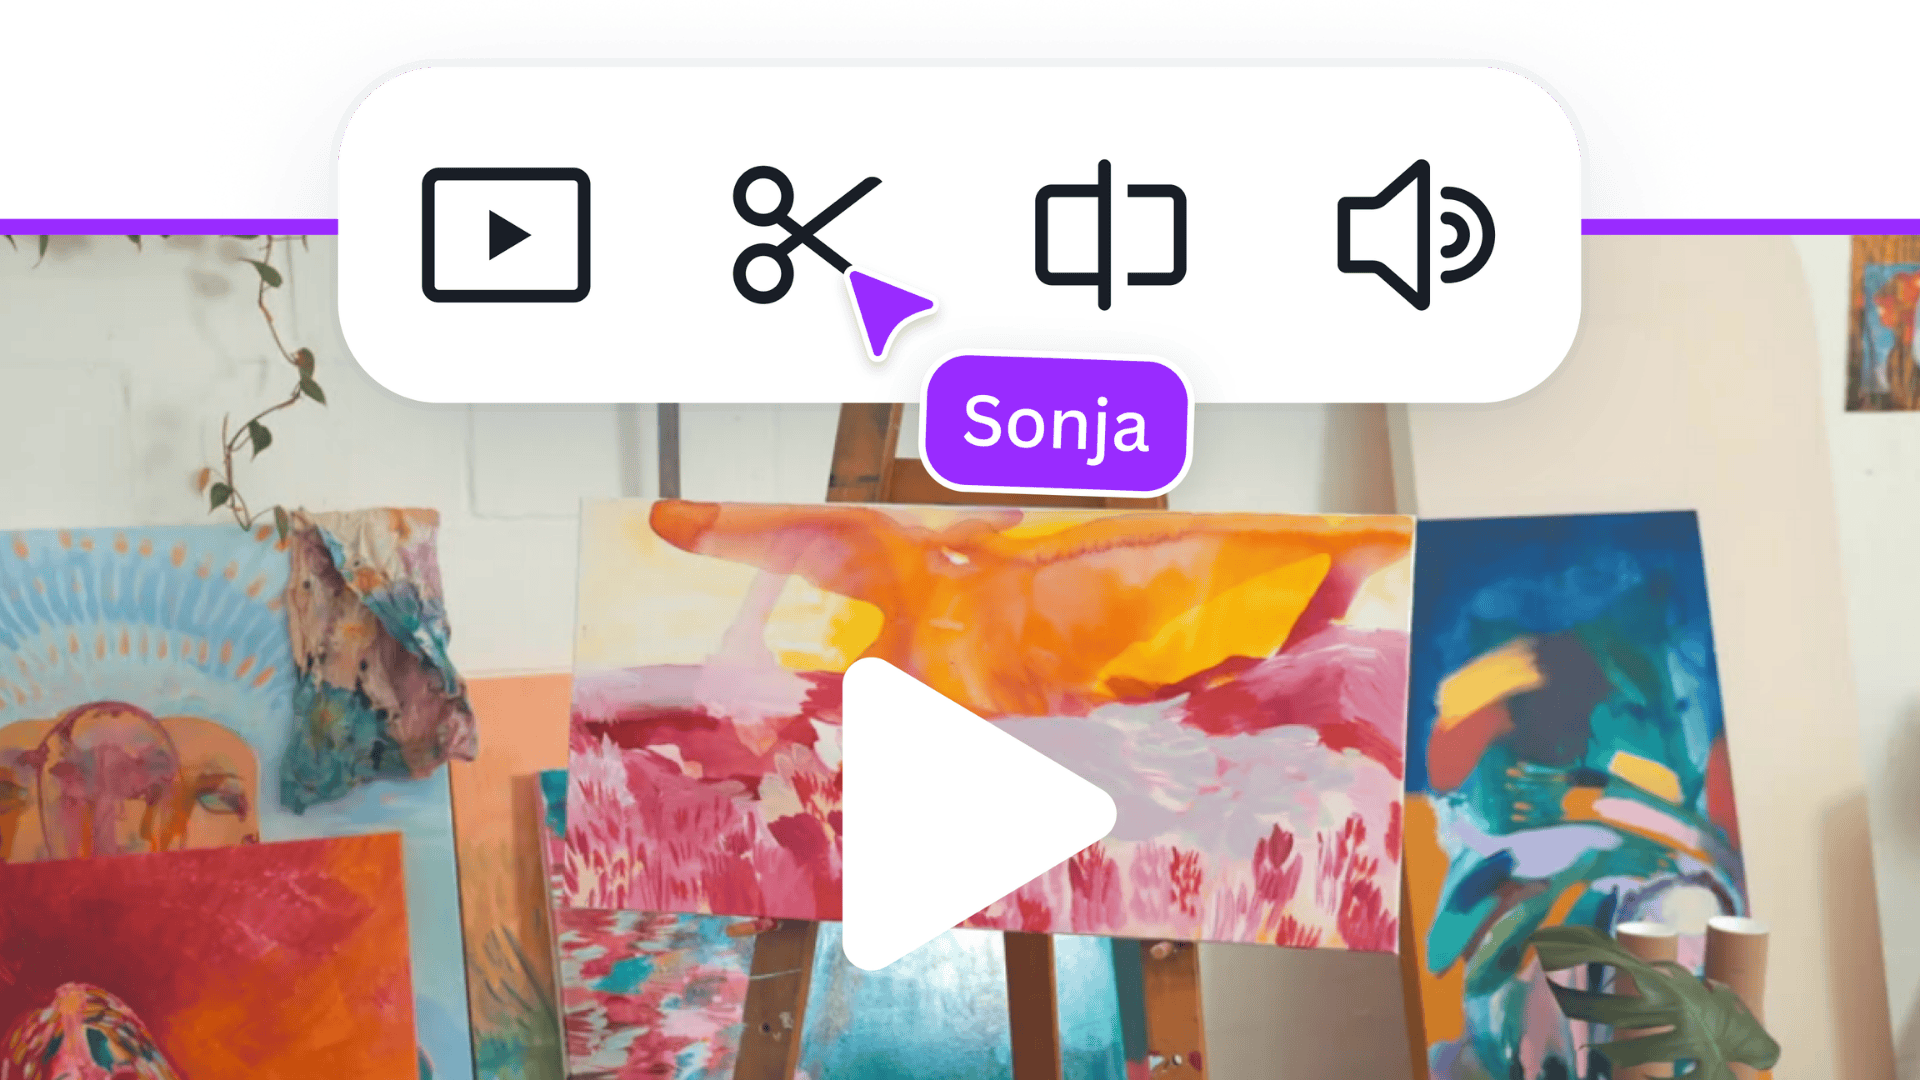

How to edit videos like a pro using a simple process
8m
Learn how to edit videos like a pro in Canva. Use B-roll, sound effects, and visual effects to create engaging social or brand videos that hold attention.
How to edit videos like a pro using a simple process
8m
Learn how to edit videos like a pro in Canva. Use B-roll, sound effects, and visual effects to create engaging social or brand videos that hold attention.
What you’ll learn
- What separates a good edit from a great one
- How to use a simple editing process to improve your videos
- How to add B-roll to strengthen storytelling
- How to use sound effects to build depth and emotion
- How to apply visual effects to polish your final edit

What makes a strong video edit
Most videos already have the core ingredients in place: But using those elements on their own doesn’t always create something memorable. What makes the difference is how they’re layered together. A strong edit builds in stages — adding the right elements at the right time so each layer supports the one before it.
Try it yourself: Open this Activity to follow along as you learn!
Start with a solid base
Before refining your edit, it helps to understand what’s already there. In Canva, everything comes together in the video timeline. This is where your footage, audio, and edits are layered and timed. It can look complex at first, but you don’t need to use everything at once. Most video projects already start with a base structure in place — including:At a glance:
That means the pacing and sequence are already doing some of the work for you. From here, the goal isn’t to rebuild your edit. It’s to build on top of it — adding the right elements in the right places.
Add B-roll to support your story
B-roll helps bring what’s being said to life visually. As you cut between your main footage and supporting clips, your video becomes easier to follow and more engaging to watch.The first level up is B-roll.
Use your voiceover or dialogue as your guide. Look for moments where: Then match that with supporting footage.How to use it
How to add B-roll in your Canva timeline
For example, if the voiceover describes specific actions, match each visual moment to those cues.Adjust placement and timing
Preview and adjust until the timing feels right.
Refine the visual
You’re aiming for alignment between what’s said and what’s shown.
Add sound effects to build depth
Once your visuals are working, the next layer is sound.
Sound effects help bring your footage to life. They add detail to transitions and make moments feel more immersive.
The audio will snap into place alongside your footage.Add sound effects in the timeline
Adjust timing and levels
Play back your edit and adjust until the sound supports the moment without overpowering it.
Add visual effects to polish your edit
This is where your video starts to feel more intentional. Effects help shape the look, pacing, and overall feel of your edit .The final level up is visual effects.
If you don’t see your timeline, select Show page thumbnails to reveal it.Add transitions in the timeline
Transitions are only available in video designs. On mobile, they’re only available on video templates.
Place transitions where there’s a natural break in your edit, such as:Use transitions with intention
They work best when they support the edit rather than draw attention to themselves.
This creates a layered effect.Add layered effects
Refine the effect
Add texture and movement
Short layers (around 0.5–1 second) help create a more dynamic feel.
Bring it all together
At this point, your edit should include: These layers work together to make your video more engaging and easier to follow.
You can apply this same process to different types of content, including:
One last thing
Editing like a pro isn’t about adding more — it’s about adding the right things in the right order. Once your base edit is in place, a few thoughtful additions can change how the whole video feels. That’s a process you can reuse and refine every time you edit.
To dive deeper into creating content that holds attention, explore the Create scroll-stopping content course on Canva Design School.