Canva home

Send online invitations from Canva with Paperless Post

6m

Beginner

Export your Canva design straight into Paperless Post, then send online invitations by email, text, or link and collect RSVPs in one place.

Send online invitations from Canva with Paperless Post

6m

Beginner

Export your Canva design straight into Paperless Post, then send online invitations by email, text, or link and collect RSVPs in one place.


There's nothing quite like opening an envelope addressed to you and seeing what's inside.

Whether you're throwing a casual bash, celebrating a milestone birthday, hosting a baby shower for a friend, or rallying your school community for a fundraiser, that first flicker of excitement is the part guests remember. Creating it doesn't have to be a huge lift. And tracking your RSVPs doesn't have to become a temporary side hustle.

Now you can export a design from Canva directly into Paperless Post. From there, you're all set to get the message out and stay on top of your RSVPs.


Get your invite out, then stay on top of who's coming

The new integration seamlessly turns your Canva design into a Paperless Post invitation.

Once your design is done, you're set up to:

  • Send by email, text, or a shareable link
  • Add every event detail your guests need, plus links, photos, or a registry
  • Give guests event time and location details they can add straight to their calendar
  • Collect RSVPs, see who's replied, and ask guests questions, all in one place
  • Send reminders and updates without chasing anyone across group chats


How to design an invite that sets the tone
How to design an invite that sets the tone

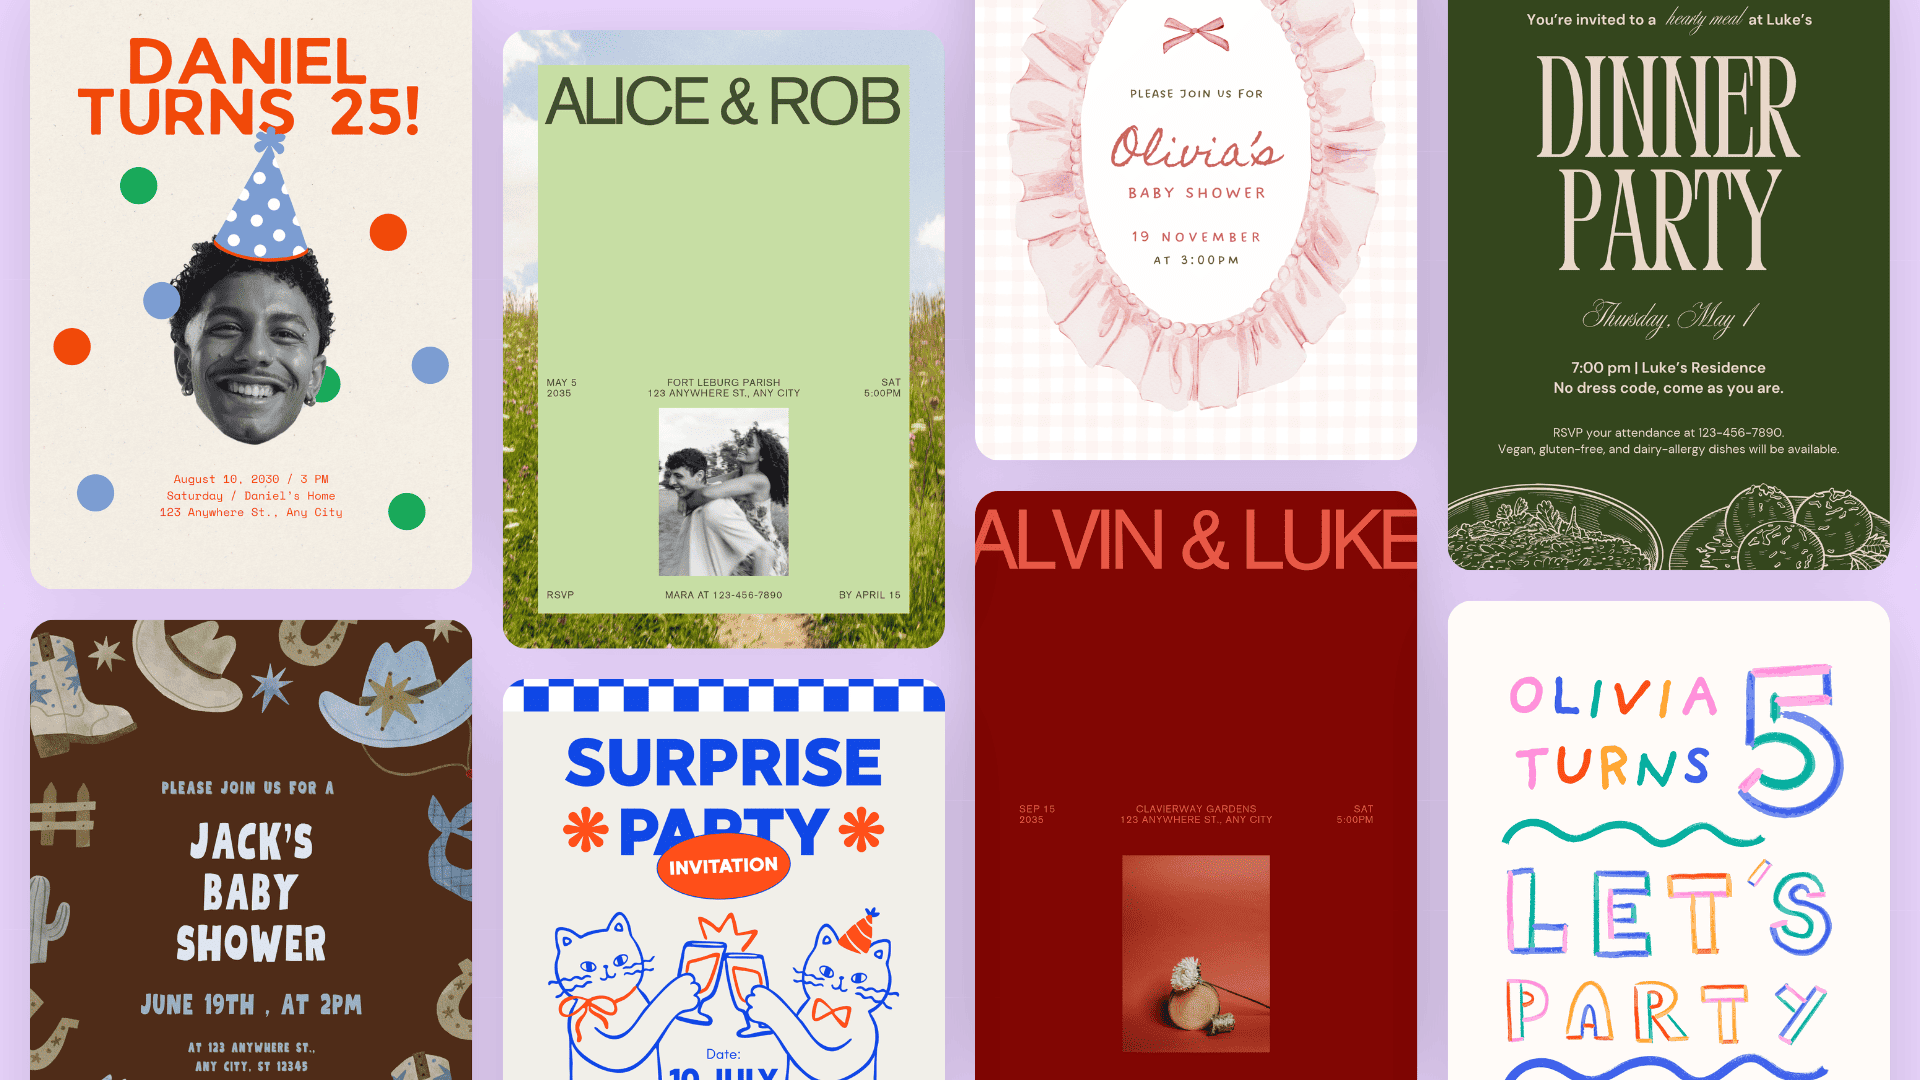
Your invitation is the first thing guests see, so it's worth hinting at the kind of event you're throwing. Canva has thousands of invitation templates in pretty much any style you can imagine.

Not sure where to start?

  • Match the occasion: A template built for your event already has the right details laid out, so there's less to tweak.
  • Match the feeling: Casual, formal, themed? Pick a design that fits.
  • Pick your format: Card invitations suit milestones like weddings, big birthdays and baby showers. For something casual like a house party or fundraiser, try a single-page flyer.

Then make it yours. Swap the colors, add your own photos or graphics from the Elements library, or try new font pairings. When your details are in, send it through Paperless Post in a couple of steps.


Send your Canva design as a Paperless Post invitation

Here's how your design becomes a ready-to-send invite. Never used Paperless Post before? You don't even need an account to start.

Step 1: Export your design

  • Finished your design? Great! Select Share.
  • Scroll to Design and select Paperless Post.
  • Preview how your invitation looks on a device, then select Export Now to export your design into Paperless Post.

Step 2: Dress up your online invite

Your design is the card. Now you choose what it arrives in.

  • Your design is automatically uploaded, so it keeps every detail exactly as you made it.
  • Pick a backdrop color for the space around your card. Choose something that works with your design rather than competing with it.
  • Choose your envelope. This is the first thing guests see when your invitation opens, so it's a key part of the moment.
  • Happy with it? Select Next.

Step 3: Check your event details and build out your event page

Paperless Post reads your design and pre-fills your event details, including description, venue name, and address. Everything you wrote on your Canva invite carries across, so you're checking and completing rather than starting from scratch.

  • Review what's been pre-filled and edit anything that needs it.
  • Make sure your date and time are correct, as these generate calendar events for your guests.
  • Add Blocks below your card for anything that wouldn't fit on the invite itself, like photos, travel details, a schedule, or your registry.
  • Ready? Select Add Guests and start sending. From there you can track who's opened your invite and who's replied as responses roll in.

Ready to party?

Your guest list is sorted, your details are set, and your invite is out in the world looking exactly how you designed it. All that's left is the event itself: Start with a template – and have fun!


Guides you might like

Guides you might like

Guide
Navigating Canva's homepage

Navigating Canva's homepage

Navigating Canva's homepage

5m

Beginner

Guide
Customizing templates

Customizing templates

Customizing templates

10m

Beginner

Guide
Uploading and editing photos

Uploading and editing photos

Uploading and editing photos

5m

Beginner

Guide
Exploring the Element Library

Exploring the Element Library

Exploring the Element Library

10m

Beginner

Guide
Text and the Font Library

Text and the Font Library

Text and the Font Library

5m

Beginner

Guide
Sharing, collaborating and downloading

Sharing, collaborating and downloading

Sharing, collaborating and downloading

5m

Beginner

Guide
Exploring the Visual Suite

Exploring the Visual Suite

Exploring the Visual Suite

9m

Beginner

Guide
Navigating your Canva Education homepage

Navigating your Canva Education homepage

Navigating your Canva Education homepage

4m

Beginner