Shape one post for every channel with Canva AI
4m
Beginner
Learn how to take one post and shape it for every social channel with Canva. Keep it on brand, reshape it for Instagram, Facebook, and LinkedIn, then schedule the set.
Shape one post for every channel with Canva AI
4m
Beginner
Learn how to take one post and shape it for every social channel with Canva. Keep it on brand, reshape it for Instagram, Facebook, and LinkedIn, then schedule the set.
What you’ll learn
- Why one post, resized per channel, beats making four separate ones
- How to make one strong post with Canva AI
- How to reshape it for Instagram feed, Instagram Stories, Facebook and LinkedIn with Canva AI
- How to schedule and publish from Canva

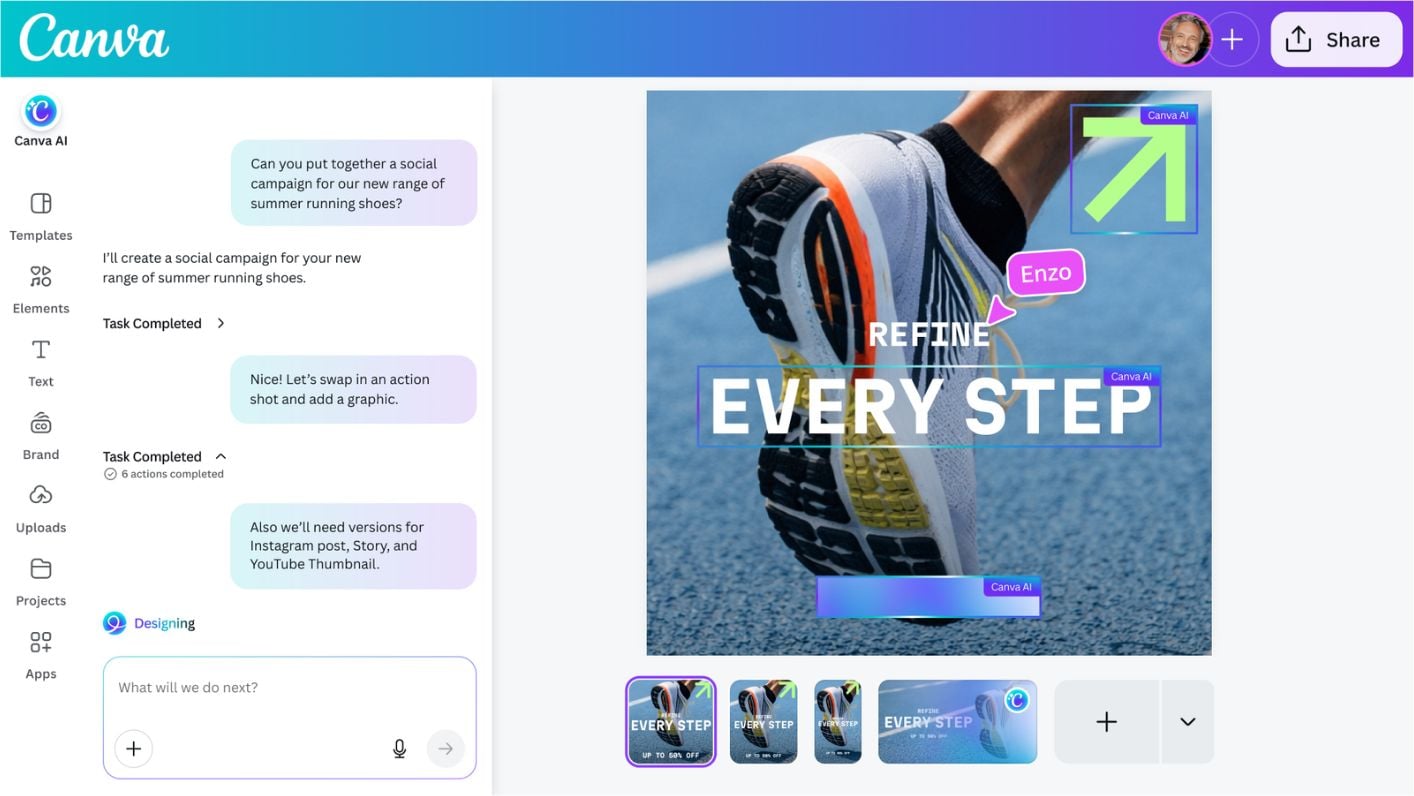
You made one great post. Now it needs to work on the feed, in Stories, and on LinkedIn, each a different aspect ratio, each usually meaning you start the layout over. You don't have to remake it four times. One post can become every version you need, and still look like you, everywhere. Here's how to take a single post, shape it for every channel and placement, and schedule the whole set, without rebuilding it for each channel.
Why one post should work everywhere
Posting across channels and placements usually goes one of two ways: you make something different for each, or you post the same thing everywhere and hope it fits. The first eats your week. The second looks off, because a post built for the Instagram feed rarely sits right in an Instagram Story or on LinkedIn. Instead, start with one strong idea, then resize it with Canva AI to suit each place it'll appear. Your audience gets a consistent experience wherever they find you, and you only have to design it once.
Make your hero post
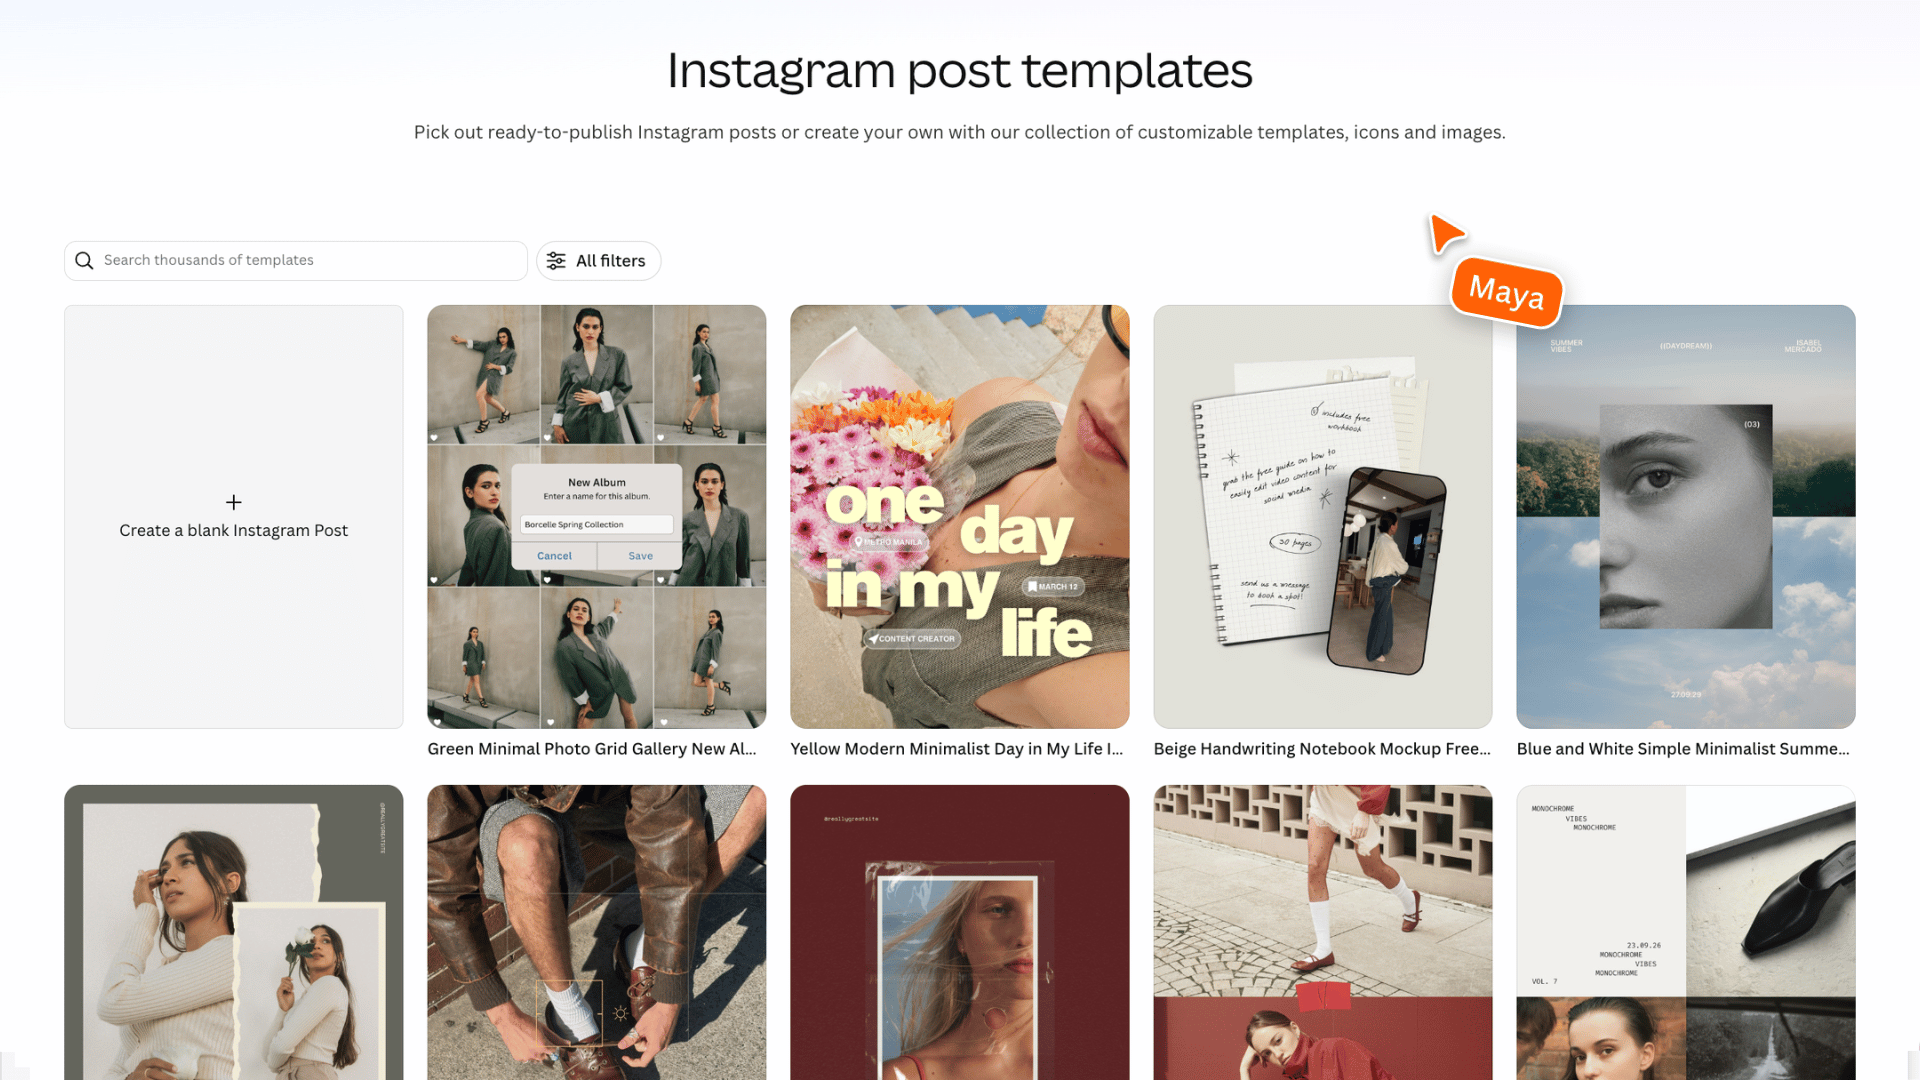
Start with the content you want to post. It doesn’t matter if your idea is just a concept at this stage — it’s easy to get started. Collaborate with Canva AI to get a first draft down, or browse the Templates library for a starting point. This is the post you'll shape for everywhere else. If you've got a Brand Kit set up, Canva AI pulls your colors, fonts, and logo into the post, so every version you reshape from it stays consistent. Don’t have a design handy? Choose a design from the Templates library to get hands-on with reshaping your content for different platforms with Canva AI.
Reshape for every placement
The same post rarely lands the same way everywhere. A feed post gets scrolled past fast, an Instagram Story fills the whole screen, and LinkedIn gets a slower, more considered read. Tailoring each version to where it'll appear is what makes a single idea work across all of them, not just matching the dimensions. Canva AI handles that tailoring as it reshapes, adding what each placement calls for.
Ask Canva AI to keep the text, colors, and images the same as it reshapes, so every version stays consistent.
Every platform hides part of your post behind its own interface — a profile name, a reply bar, captions, buttons. That hidden strip is different on every app. "Safe zones" are what's left: the part of your design guaranteed to stay visible no matter what's layered on top. Reshaping your design should protect that space, not just resize around it, keeping your key text and faces clear of it. Here’s a prompt to help you get started in reshaping your content. It might seem a little long, but the more specific you can be, the better your results should be:
"Resize this design into three versions: a Facebook post, an Instagram Story, and a LinkedIn post. Keep the core text, colors, images, and overall branding consistent with the original design. Adapt each version for its platform by adjusting layout, spacing, hierarchy, and visual emphasis so it feels native to that format, not just resized. Keep Facebook clear and engaging, make Instagram Stories bolder and vertical, and make LinkedIn polished and professional. Make sure each post adheres to safe zones. Don’t change the main message or visual identity — only make light platform-specific tweaks to presentation and emphasis where needed."
Each placement has its own quirks worth knowing, including where its safe zones sit, so you can check the reshape got them right: So when you review each version, you're really checking three things: is the message still clear at this size, is anything important cropped or covered, and does it still sound right for where it's going?
Don't want to eyeball it? Canva's Meta Design Check and TikTok Design Check tools scan your post and flag anything sitting inside a safe zone, so you get a second check beyond your own eye.
Schedule and publish, all from Canva
With every version ready, plan your rollout in Content Planner. Schedule each post for the day and time you want it to go live, then publish it directly to your connected social channels from Canva.
Prefer to post one straight away? Open the design, select Share, and publish to a connected channel — same idea, without the calendar.
The first time, you'll connect your social account to Canva. You only do that once.
That's one idea, showing up everywhere your audience is, and still unmistakably yours. Your energy goes to the next post, not into remaking this one.