5 steps to create with taste
20m
Beginner
Use this formula to take an idea and make it a reality
5 steps to create with taste
20m
Beginner
Use this formula to take an idea and make it a reality
What you’ll learn
- Taste isn't just something you have – it's something you use, every time you make a creative decision.
- When you learn to turn gut feelings into words and images, and test what you make against them, you can bring any idea to life with more confidence.

You've had a bright idea. You've gathered a mood board full of visuals that speak to you – but now what? How do you take your inspiration and turn it into a clear visual direction? The short answer: Taste. Because taste isn't just something we have (if you missed Part 1 of our series – learn how to unlock your visual taste here) – it's something we use. And like everything, it gets better with practice. The more you explore your vision before you start creating, the more information you have to guide you as you bring it to life. That goes for whether you're working solo, making something with collaborators, or working with AI.
Taste and the creative process
Our sense of taste is what helps us make decisions at every step of the creative process – about what's working and what isn't, when to keep going, or when to pivot. In the same way that understanding our personal taste helps us choose what feels right for us in our day-to-day lives, when you learn how to apply taste to your creative projects, you’ll start to make choices that feel right for your project more confidently, more quickly, and eventually more instinctively. And when we do this, we can make the best expression of what we've set out to create. So you can develop whatever your idea is, refine it, and share it with confidence. If that all sounds a bit abstract – here's where we get concrete. Watch Part 2 of our video series “You’ve got taste” below, and follow the 5 clear steps that’ll take you from a rough idea to something you can create for yourself, using your taste. Try out this process for whatever you’re working on – and come back to it every time you start something new.
Start with gut feelings
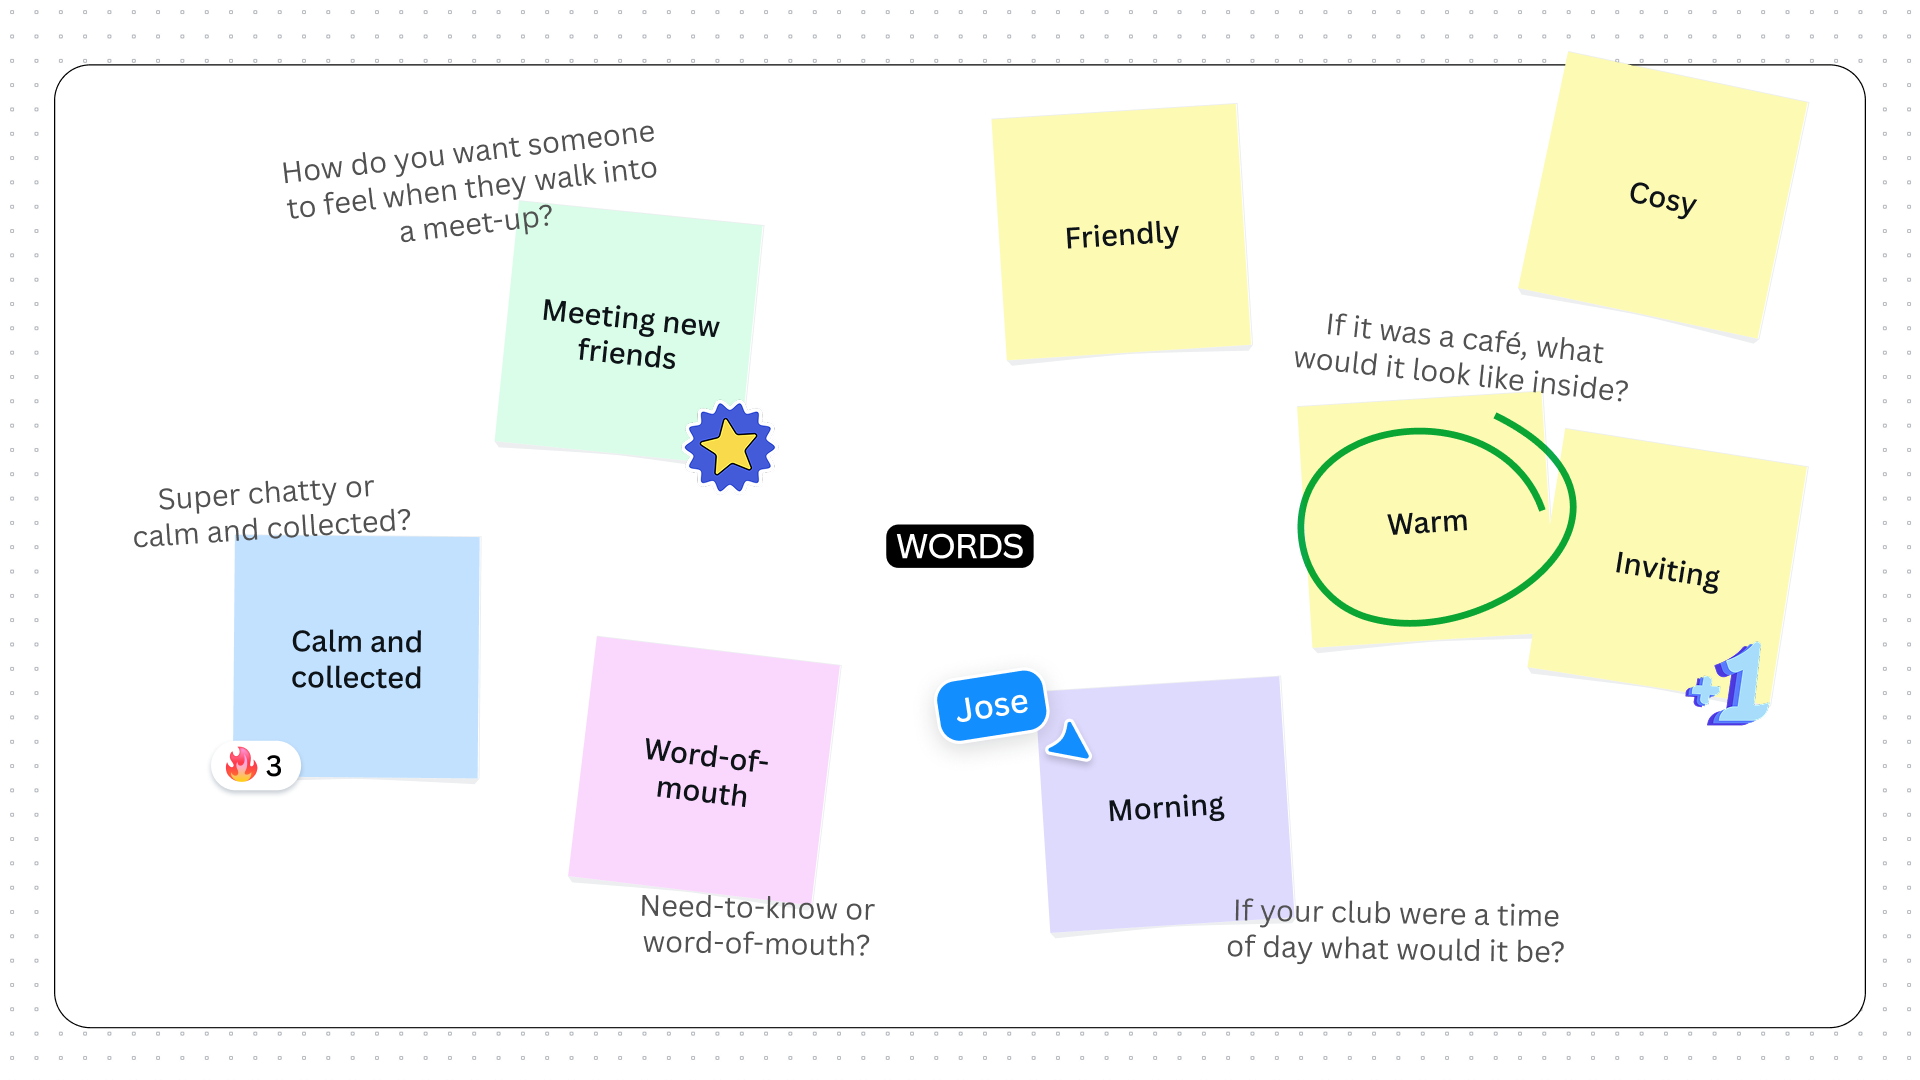
If you've been following our “You’ve got taste” series – you'll have a mood board of inspiration sorted into categories and annotated with stickies. Welcome to the creative process – it's one big, beautiful mess here, but we're about to get some clarity. And that comes with being able to explain an idea clearly, not just in images, but in words too – without the pressure of finding the 'right' ones. Instead, we’ll skip the second-guessing by leaning into gut feelings. Try this quick activity: Think about your project – what do you want it to feel like? Think about who you're making it for, what you want to achieve with it, and the kind of format you're going for. Now try some quick-fire, open-ended questions or quick gut reactions between two choices: Use the list below as your starting point – or ask AI. Quick-fire: This or that: Note down your answers on your whiteboard. Then, choose the ones from the list that feel most true to your idea – and write them down in the ‘Words’ category of your mood board.
Want something interactive? Get Canva AI to interview you about your project. Try this prompt: "I am refining my idea for [describe your project here, e.g. a social club for coffee lovers]. To help me get clearer on the direction of my visual idea, I need to explore the feeling I want it to have. Can you interview me, then help me find the patterns in my answers? Ask ten questions, using a mix of open-ended questions and 'this or that' options – think questions like: When someone looks at [your project], what's the first word that should come to mind? Or: Super chatty or calm and collected?’
Match words and images
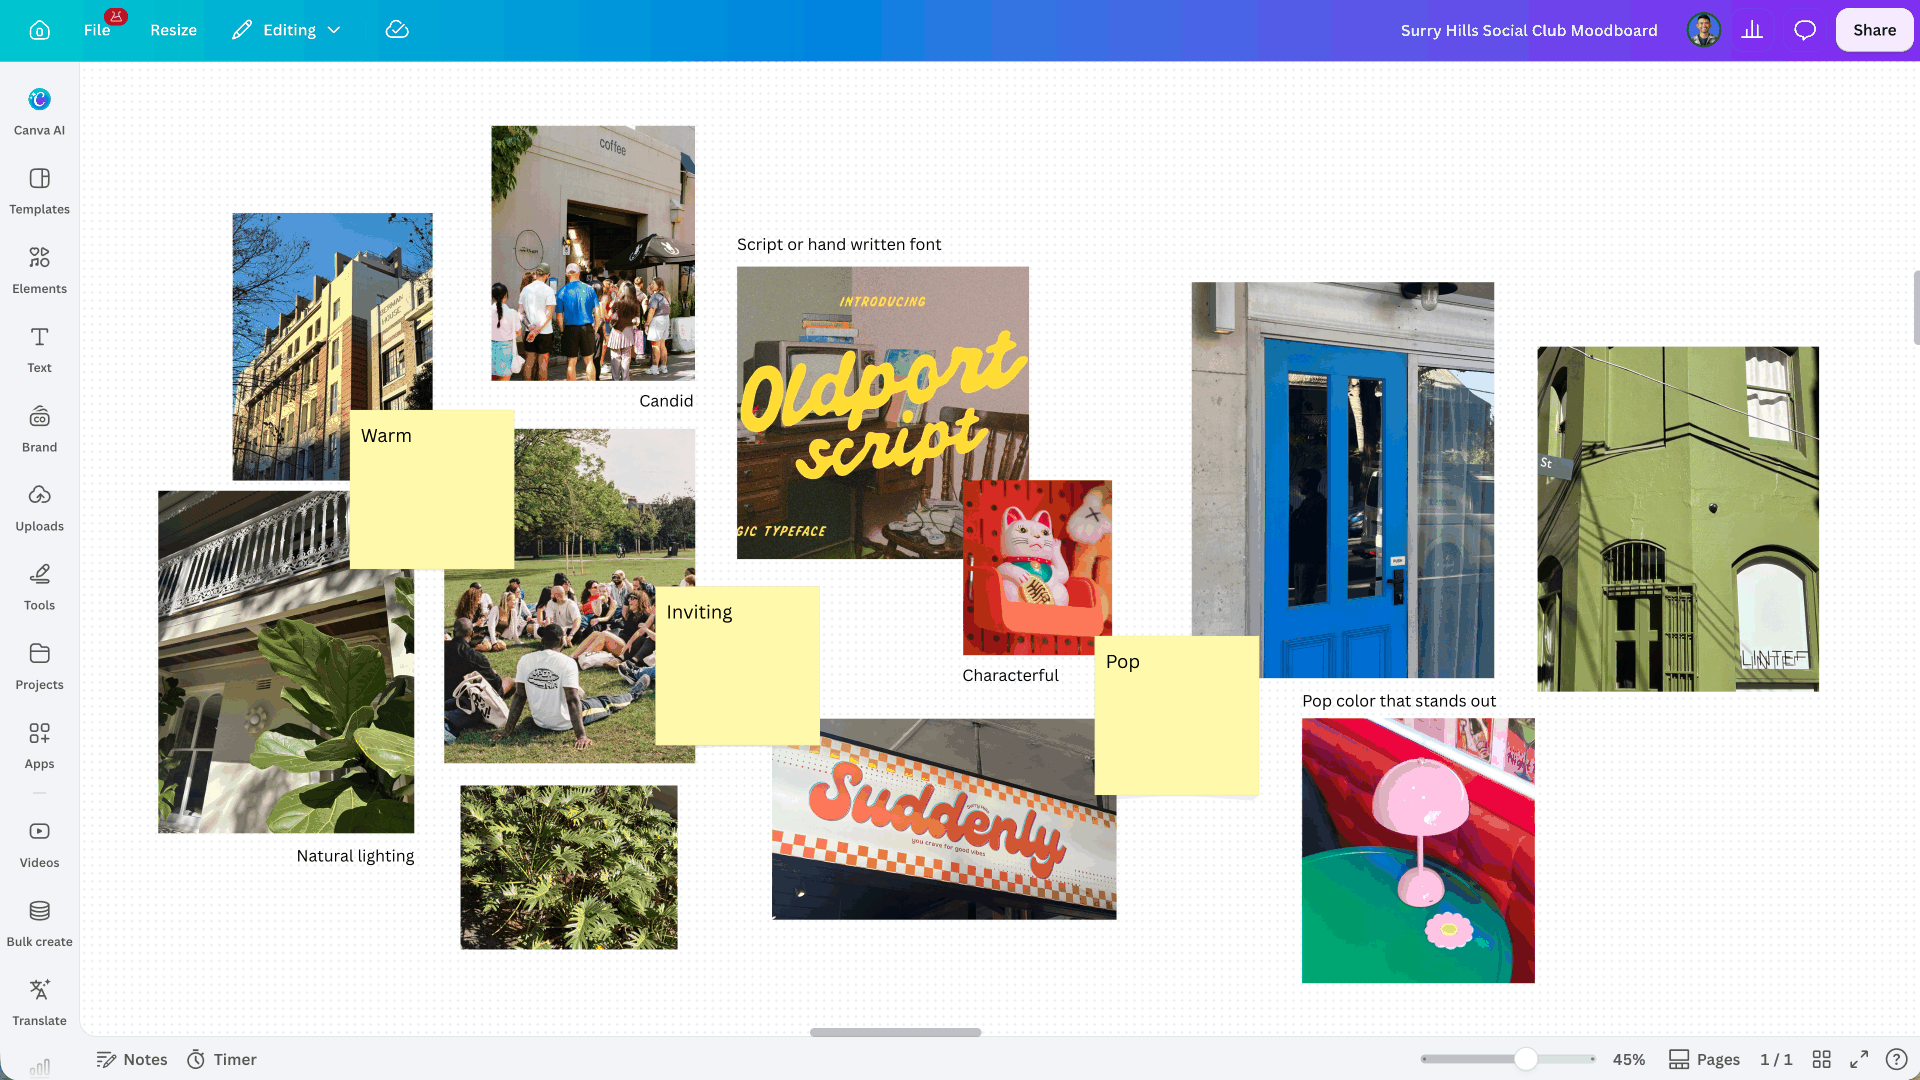
Now that you've explored your ideas visually and attached the words that feel right, we can bring the two together to start narrowing your mood board into a clearer visual direction. If you’re using our mood board template – start to build this out in the section marked 'Final Mood Board'. If not, just create a new section to work in. Matching words to images helps you make sense of an idea and build out your visual vocabulary: you're lifting out the exact thing that produces the feeling, and naming it as you go. Not sure where to start? Take one of your words and think about which images fit the vibe – it might because of their color, shape, scale, or mood. Say your word is confident – that might show up as bold color, large type, strong angles, or negative space that gives an image room to breathe. Once you've got a few visual qualities in mind, go looking for images on your board that match them. Here’s how:
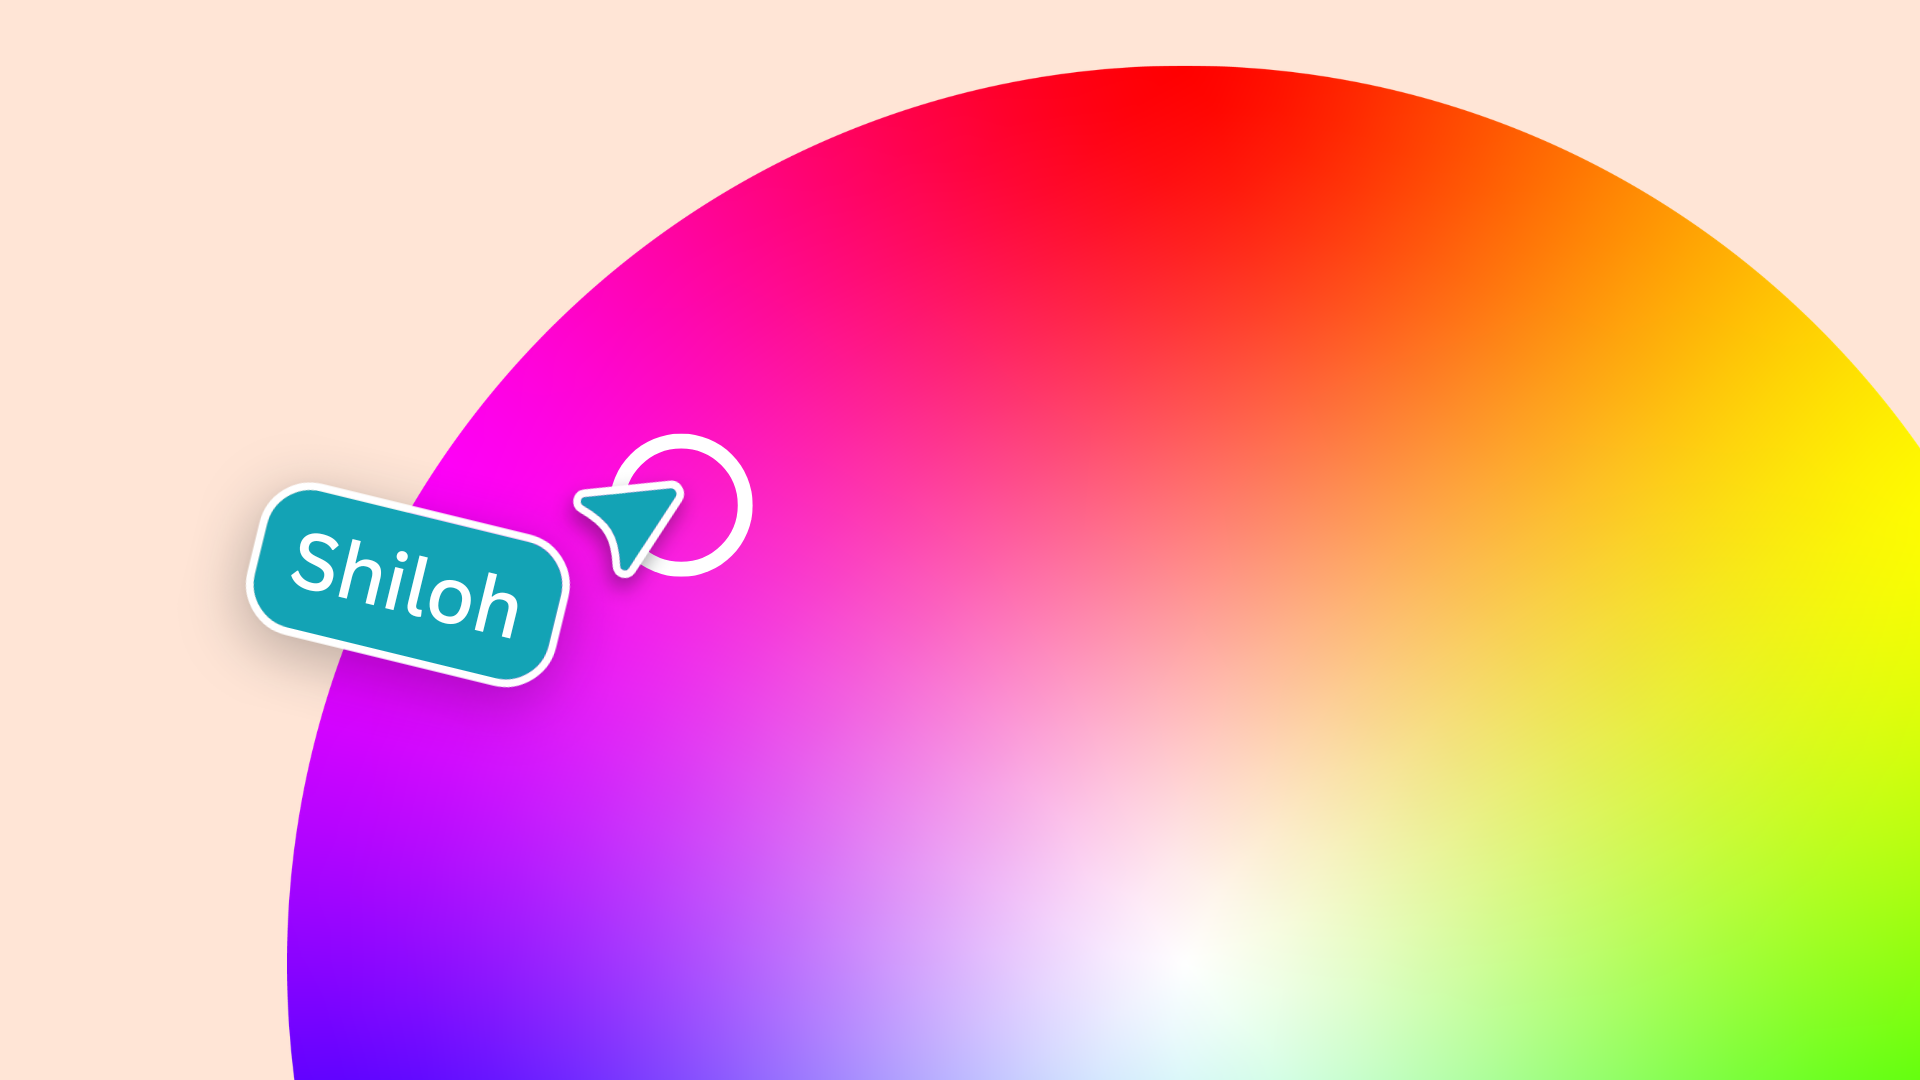
To collect colors, drop a circle from the Elements tab onto your direction board, then use the color picker to lift colors from your images and drop them in.
Check what's not working
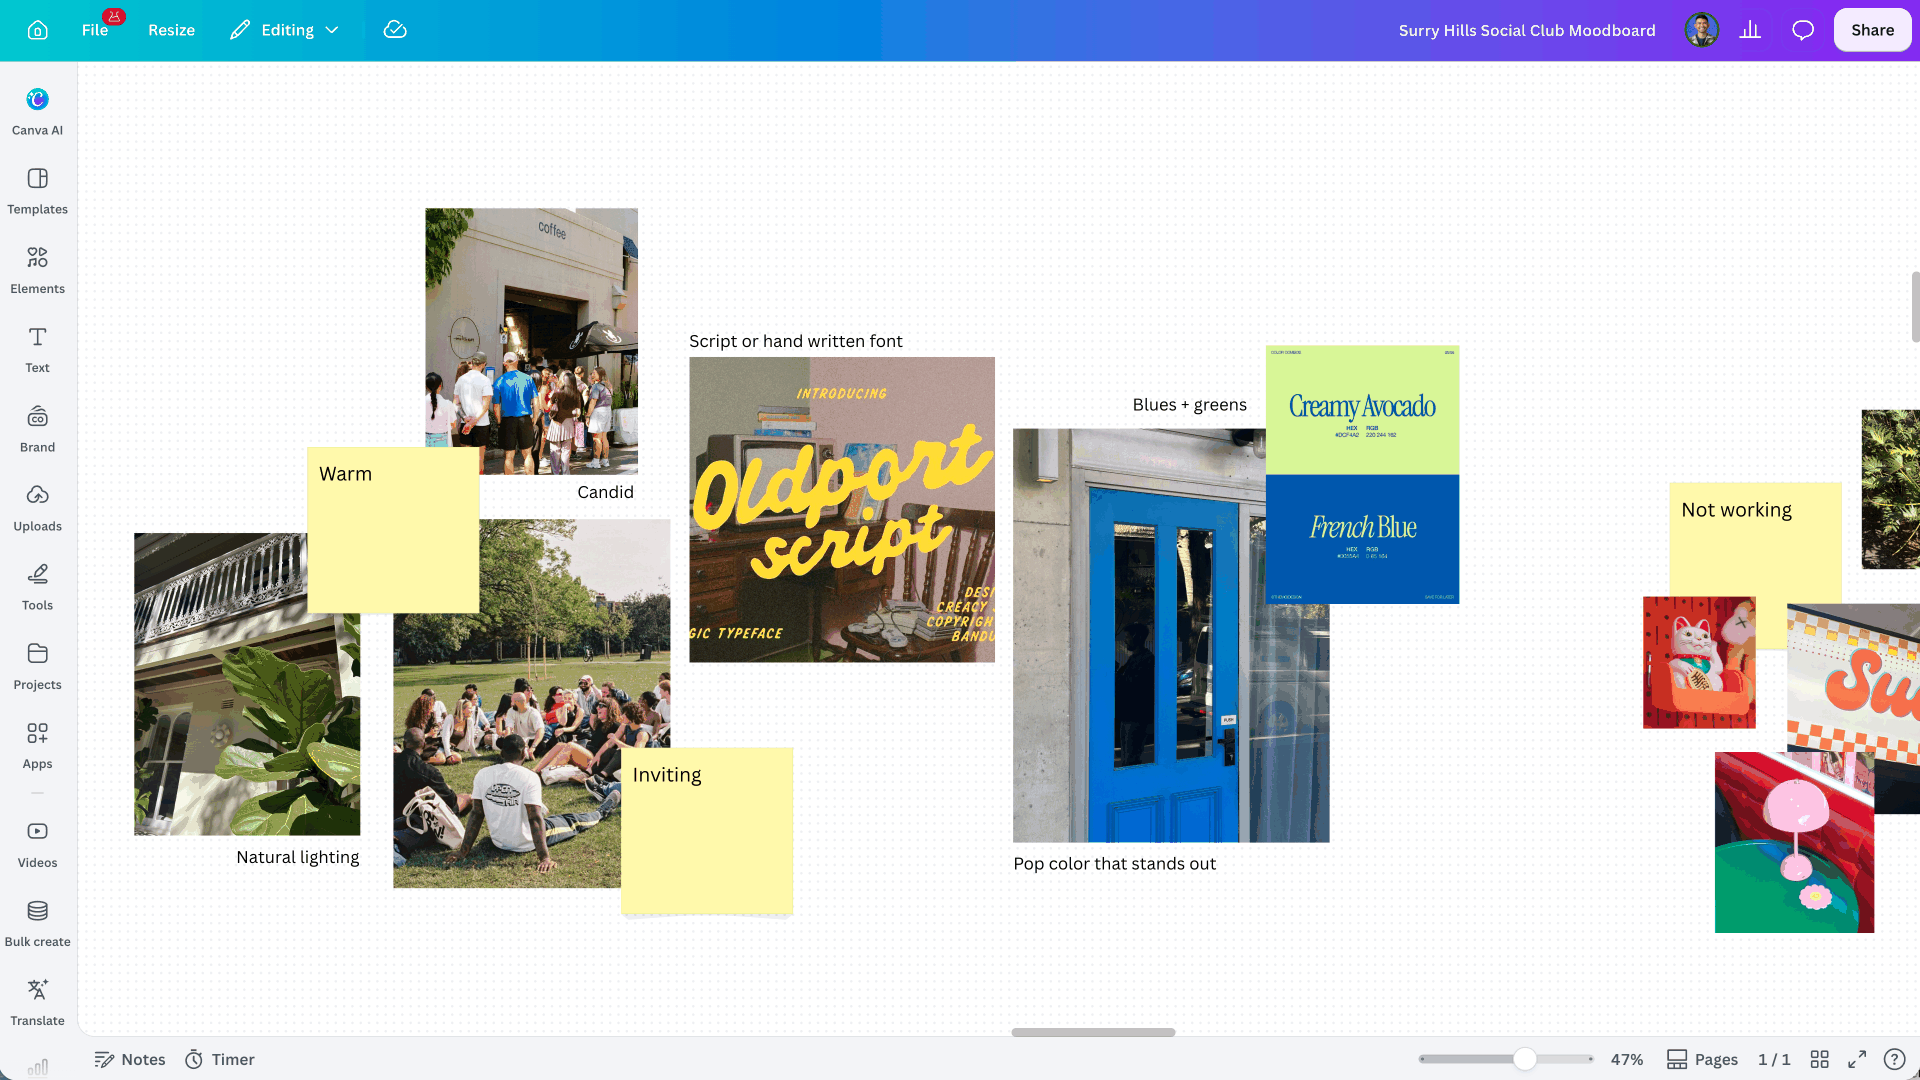
You’re working towards a final mood board that gives you a strong idea of the visual direction you’re heading in. Keep asking yourself questions as you create it: How is it looking as a whole? Here’s where we narrow down. Culling is never easy, but it's much easier when you can compare options side by side. Look at what you've gathered as a whole: are certain colors clashing now that you're seeing them together? Does an image suddenly feel out of place next to the rest? From there, consider why for further clues. Is something a little too cold, too busy, too serious? Often the opposite of that is exactly what should stay. Think of it this way: Too cold and severe might mean you're actually after warm and inviting. An image that feels too posed or corporate might be pointing you toward something candid and relaxed instead. Try these steps:
Refine your vision
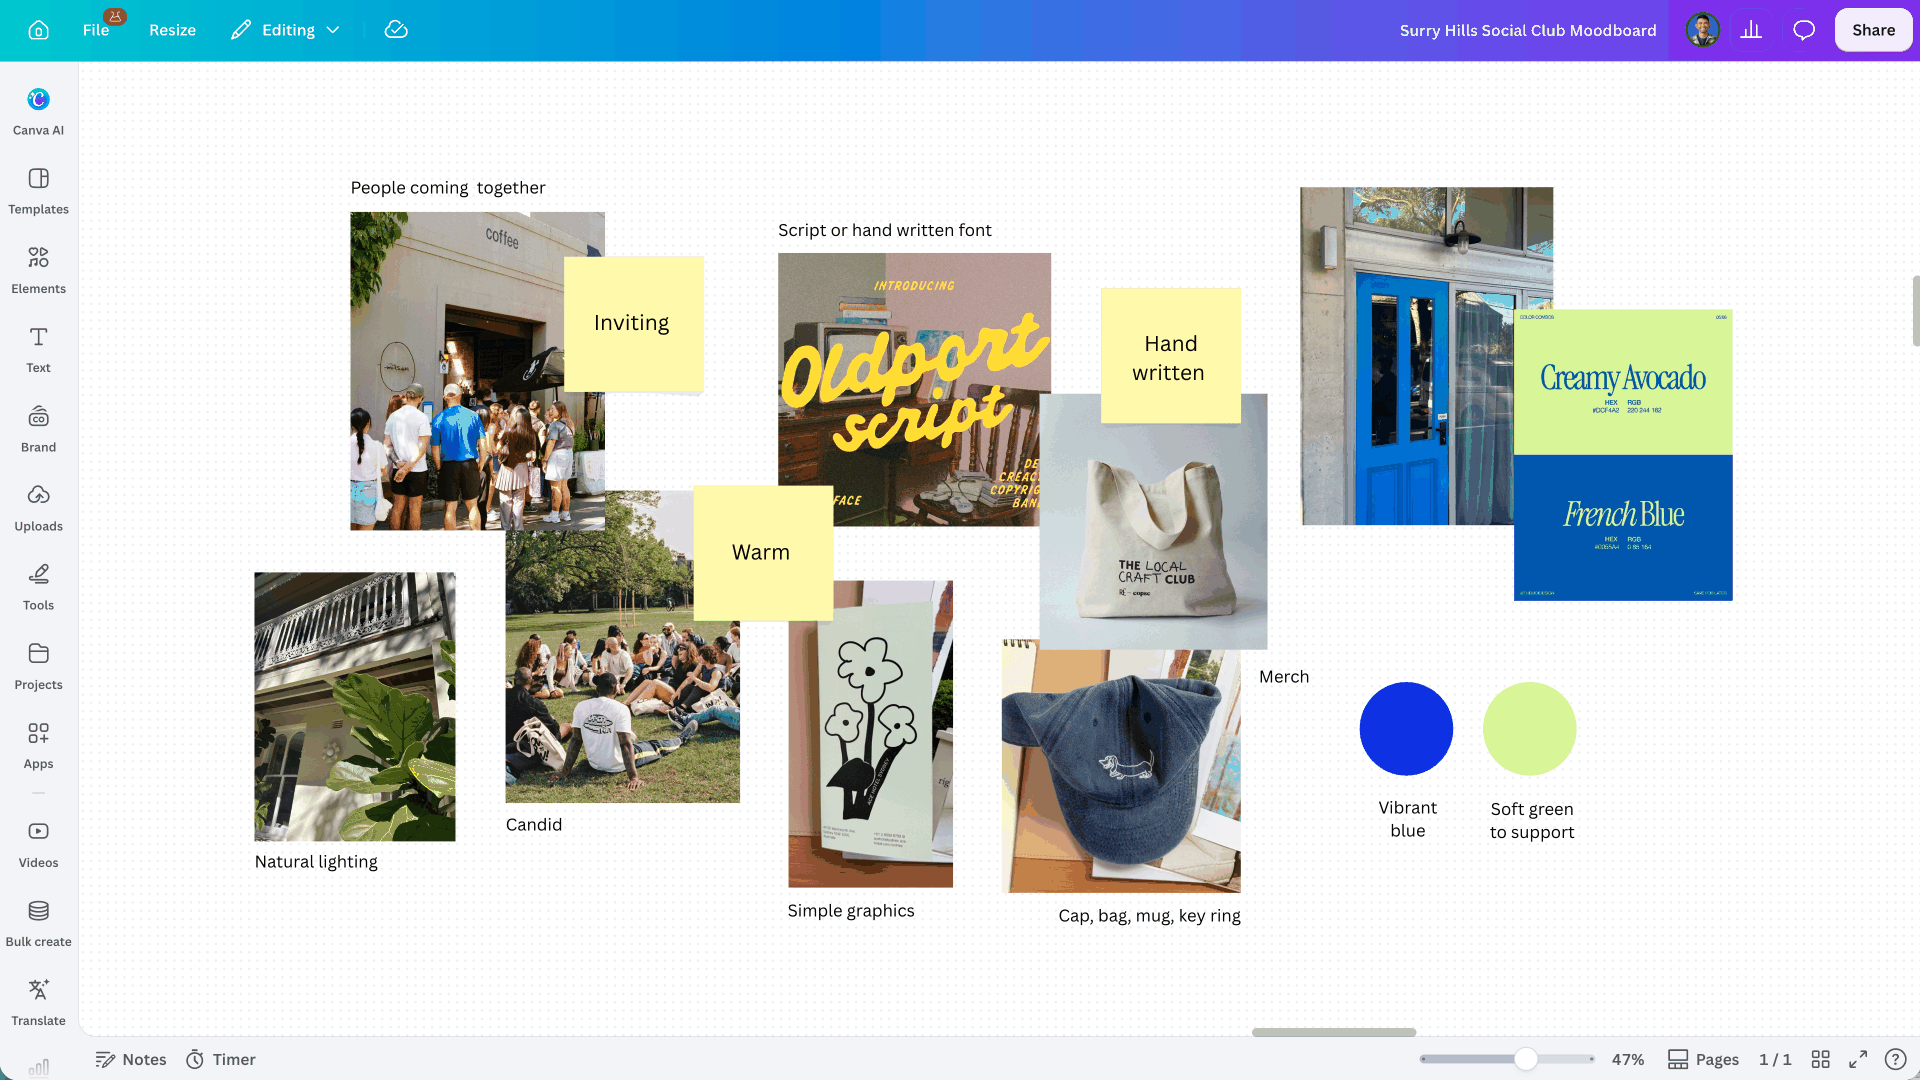
It's time to bring everything so far together into a final direction, because the better you understand what you're making, the more confidently you can build it. You're basically creating a creative recipe here: something you can use as you go, and keep coming back to and refining, rather than starting from scratch each time. It's easy to lose your sense of direction when you're creating, so it helps to have this handy guide to return to.
Like any partner Canva AI needs to understand your vision before it can help build it. The better you know what you're making, the better you can guide it from the very first draft, then give tweaks based on the direction you’ve explored.
Start creating
Let's start experimenting. Kick off with something clear, but achievable – that means skipping anything with lots of moving parts for now. If you're stuck for ideas: pick the first thing someone would actually see or hold if your idea existed – a flyer, a social post, a newsletter header – then think about the elements you need for that particular design. There's more than one way to start creating. Maybe you: Whichever way you choose to create – solo, with collaborators, or with AI – compare what you make against your direction rather than taking it as final. Keep asking yourself questions: Does it actually match the colors, images, and words you pulled? Use the vocabulary you've built up to figure out what's working and what isn't. This back and forth is the creative process – you’re refining a design over and over until it does what you set out to achieve. And because you’ve spent the time exploring and putting your taste to work, you’ve got your North Star to keep guiding you.
Knowing when you're done
We love creating, but at some point – you’ve got to stop tweaking and share your idea with the world! Here are some ways to know that you’re ready to go: Watch the video above for all the advice from our creative experts – and to see the process in action.
How to keep building your taste
As we’ve learned throughout this series, taste is something we all have: It changes with time, like our interests do. But when you’re in the practice of tapping into your taste, you stay alert to it and make choices that help you bring what only you can to your creative projects. So keep going, keep creating – and we’ll see you out there.
Key skills
Featured in these lessons
Share
Last updated 14 Sep, 2026