- Tips and tricks to improve your portrait photography
Tips and tricks to improve your portrait photography
Overwhelmed and over-exposed to visual content, we often spend hours a day consuming picture upon picture without much more than a second’s thought. While this digitally-centered existence can sometimes sideline the beauty and power of images, truly great photography can still stir and evoke us to think about life in a different way. Portrait photography can be one of these impactful mediums.
Portrait photography is photography that has human beings as its subject. It aims to capture and highlight the nuances of who people are and the secrets of their history; the conspicuous and the obscure, the obvious and the subtle. It takes an incredible amount of skill to tell the visual story of someone in one single, heartbeat of an image, which is why it’s crucial to follow some simple rules in regards to lighting, camera settings and location choice.
In the article below, we'll provide you with portrait photography tips.
How to adjust your camera settings for professional portraits
While it’s infinitely easier and incredibly tempting to leave everything on ‘Auto’ and get to shooting, you’ll have far more control and produce a better outcome if you configure the settings yourself, according to your immediate surroundings. Some elements of your camera settings have the power to drastically alter the final product—here are some of the most important.
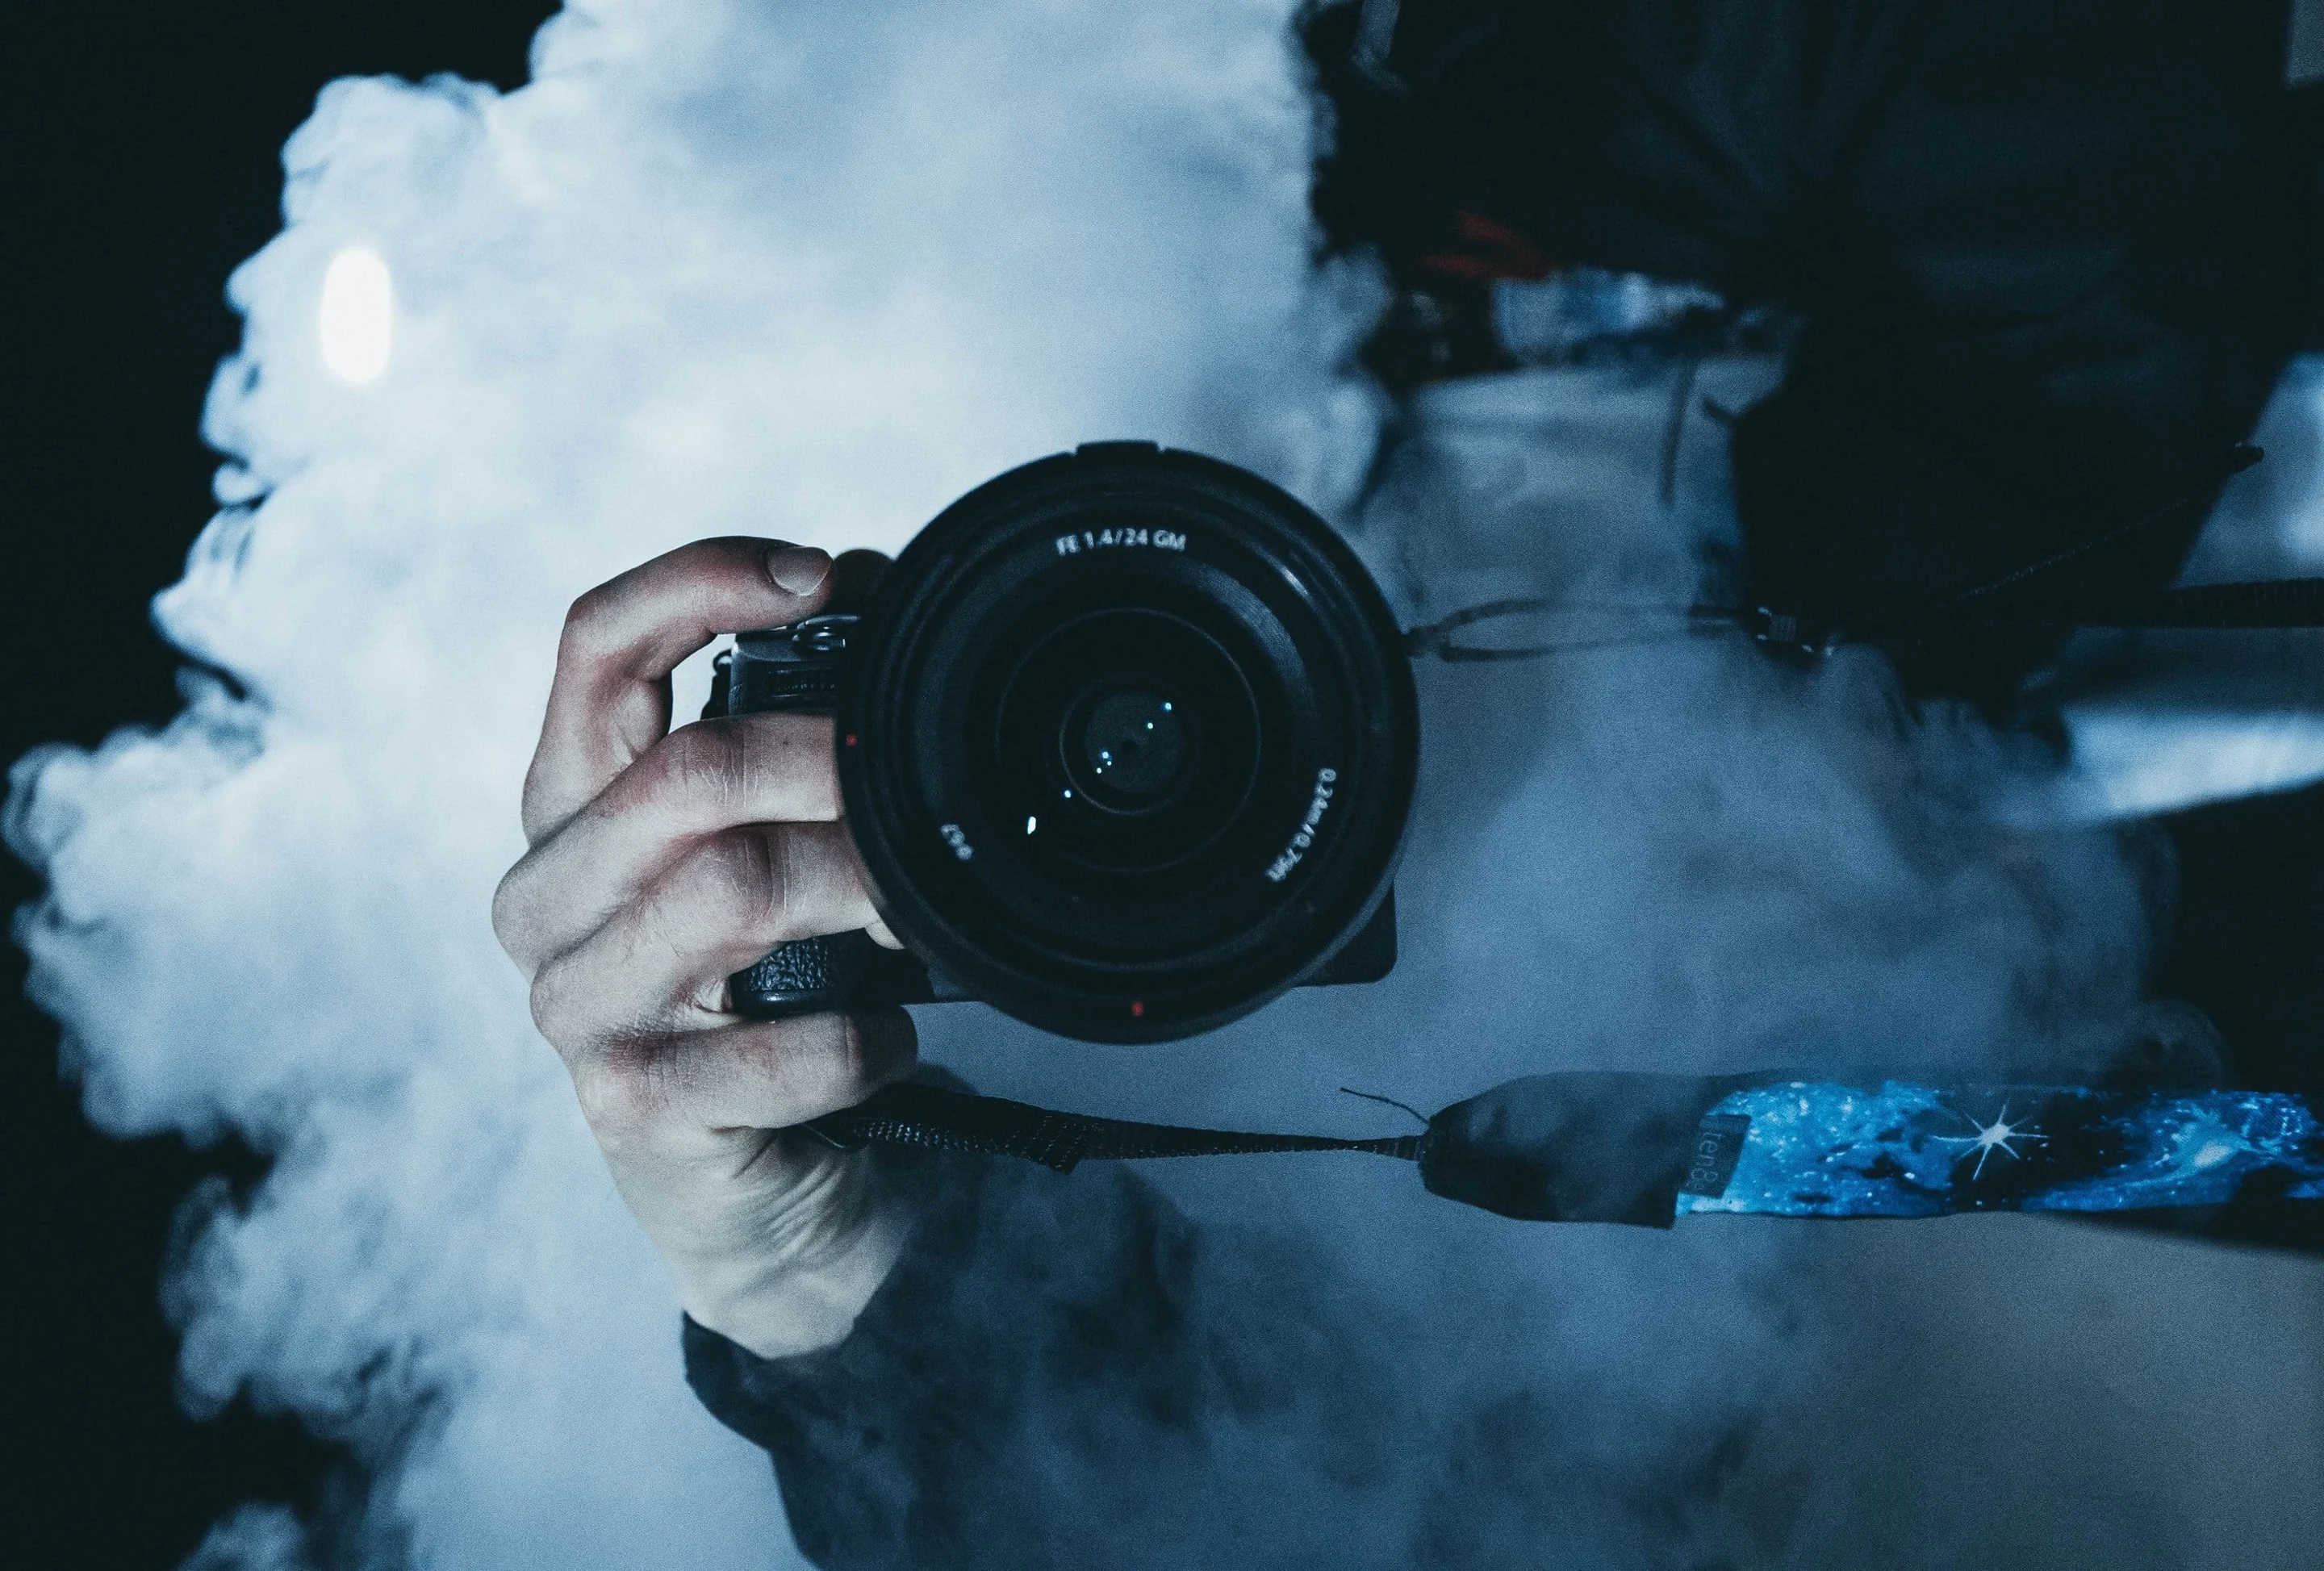
Aperture
Aperture refers to the amount of light let through your camera lens, determining the depth of field of your photo as well the brightness of the final image.
“I think the biggest mistake photographers make with aperture when it comes to portraiture is to choose an aperture that is way too shallow,” advises lifestyle photographer Gemma Pranita, who shares her work with 47,000 followers at @gemmapeanut(opens in a new tab or window).
As the technique of bokeh (the shallow depth of field that blurs out the background and focuses on the subject) spreads in popularity, photographers get a little too gung-ho about expressing it properly, explains Pranita.

Image by Nathan Guzman via Unsplash.
“The rule of thumb is thatthe more blurry your background is, the more your subject pops but the problem is when you shoot with a super super shallow aperture, you run the risk of having the eyeballs in focus but the nose out of focus because they’ve gone too shallow,” she says. “So for me, my preference for aperture is I like to do portraits on an 85mm lens and I will stick around the f3.5 for aperture.”
Shutter speed
Shutter speed is an important factor in photography, as it dictates the amount of time your camera's shutter is open. A faster shutter speed will freeze movement in an image, while a slower shutter speed will allow you to capture motion blur.
If you want to take a clear shot of a moving subject, you'll want a shutter speed that, at a minimum, matches the focal length of your lens. For example, if you are shooting a 500mm lens, you’ll want to ensure your shutter speed is set to 1/500, or higher to freeze action. For subjects like nascar, you would want shutter speeds of 1/5000 or higher.
“Shutter speed for me is almost entirely secondary and depends solely on what aperture I’m set to,” Pranita explains. “Whatever aperture I’ve decided on, my shutter speed will obviously vary depending on the lighting on the day.”
Increasing your shutter speed can result in underexposed images, so make sure to shoot in good lighting or adjust the aperture and ISO accordingly in your portrait photography.
ISO
Keep your ISO settings low to minimize noise (the grainy veil of a photograph that often obscures details). When the lighting is good, go for ISO 100 or 200. In low light conditions, try to keep it as low as possible regardless of whether you can go up to ISO 25,000 or more. Consider using a wider aperture or a slower shutter speed to compensate for the exposure.
White balance
Make it a habit to check your white balance (WB) before shooting. This setting ensures that all white objects in real life are rendered white in your photos, even if your light source casts a different hue. For portrait photography, this setting is crucial in reproducing accurate skin tones in photos. Most cameras choose white balance automatically, but like many automatic features, it doesn’t always anticipate the subject as accurately as you can with your manual adjustments. Many cameras make it simple for you by giving you a choice of presets that represent certain lighting conditions including incandescent, direct sunlight, and cloudy. You can customize the white balance further by selecting a specific color temperature in Kelvin (consider this a full manual setting for WB). Adjust the temperature incrementally until you find the right value. Remember that the lower you go, the more orange your photos will look; the higher, the bluer it becomes.
How to choose the right lens for portrait photography
Although the most common recommendations for portrait lenses are in the 35mm to 70mm range, you can take stunning portraits with a wide variety of focal lengths. It’s wise to get a feel of shooting with different lenses to see which ones match your style best.
Lenses with a wide aperture (such as f/1.4) are best for portraiture as you can work with a shallow depth of field to make your subject stand out from the background. These are also great options for low light situations to create a creamy, bokeh effect.
“85mm tends to be my preference for that more ‘headshot’ style, but to be honest, my nifty 50 - my 50mm lens - is generally my go-to, which also works well for portraiture photography,” says Pranita.
Wide angle lenses aren’t typically used for portraiture, but it doesn’t mean that you can’t experiment with them when taking photos of people. The field curvature caused by its focal plane can create interesting portraits but its unusual perspective makes the subject appear very close to the viewer while the background appears far and slightly distorted.
Keep in mind that wide angle lenses may distort the person’s body or facial features, however. If you want to keep your subject’s proportions natural, consider using either a 35mm or 50mm prime lens. These lenses closely match what our eyes see in real life and aren’t as susceptible to warped perspectives as their wide-angle counterparts.
How to choose the right location for portrait photography

Image by Ivana Cajina via Unsplash.
Although your subject is the focal point of your picture, there’s more to consider than just them taking their picture.
“I do think portraits have definitely changed over the last few decades,” Pranita observes. “Once upon a time, it was very much studio-style portraits with that sort of glamour lighting and it’s always sort of heads and shoulders but I do think today’s portraits have changed and people want to include a bit more of themselves.”
The background is crucial—her personal preference is a textured background for portraits, enhancing the subject—as is how it reflects the subject depicted.
“I think the color of what the background is sort of more of an indicator and representation of the brand or person I’m capturing,” she points out. “So for example, a brand that’s focused on more of a sort of ethical, sustainable practices, I’m going to for more natural tones and colors.” You’ll need to consider what the surrounds might say about that person; if you’re shooting environmental portraits at a workplace, home or studio, for example, look for a background that says something about them.
How to choose the right lighting for your portraits
You might have a high-end camera, the most scenic location and a super experienced model but if you don’t secure good lighting, you won’t get the best photos. Light will be constantly changing and some of these alterations will be outside of your control (weather or constraints with a non-negotiable indoor space) but some of them won’t be, such as the time of day or the final location you choose to stand your subject.
“I like all sorts of light states and different lighting will give a different mood to a photo,” says Pranita. “Personally, my favourite time to shoot is early morning or late afternoon, sunrise or sunset, I love the evening golden hour time and shooting backlit is my favourite because it gives that sort of soft wash to an image that I think is equally as flattering but it adds a sort of dreamy feel to a photo that I feel is very hard to manufacture.”
Here’s how to harness great light no matter what the circumstances.
Natural light
You don't need a studio setup to create high-quality portraits—often natural light is all you really need.(opens in a new tab or window)
“I like all sorts of light states and different lighting will give a different mood to a photo,” says Pranita. “Personally, my favourite time to shoot is early morning or late afternoon, sunrise or sunset, I love the evening golden hour time and shooting backlit is my favourite because it gives that sort of soft wash to an image that I think is equally as flattering but it adds a sort of dreamy feel to a photo that I feel is very hard to manufacture.”
Don’t despair if the weather looks cloudy, however. “There’s a general rule that overcast days are ideal for shooting and the reason people think this is because cloud cover conserve is almost like a giant softbox for the sky, which if you think about studio shooting softbox lighting is the most flattering so you don’t have to compete with heavy shadows which can be caused by direct sunlight.” For this reason, midday is Pranita’s least favorite time of day to shoot for this reason. As such, she’ll often search for full shade to avoid this issue.
If you’re shooting indoors and need access to more natural light, consider positioning yourself near a window. This light is diffused, casting a softer, more flattering light on your subject. If light is too harsh, soften it by blocking off sunlight from a window with a white bedsheet.
Artificial light
Another option is to shoot using artificial lighting. This involves everything from studio strobes to continuous lighting—the benefit of which is its even and consistent light throughout your entire shoot. If consistency is what you're after, try to stick to LED panels over regular light bulbs, as this creates a more uniform exposure for your portraits. To make the most out of artificial lights, you'll also have to use modifiers such as softboxes or studio umbrellas to diffuse the harsh beam the lights produce. Of course, you can always get creative and play around with other sources like neon lights, street lamps, or even the light from a smartphone if you’re shooting in the dark.
Flash

Image by Aiony Hurst via Unsplash.
You can also use an external flash to illuminate your model. This gives you the freedom to shoot just about anywhere at any time of day, regardless of the available light. Because it doesn’t provide a steady stream of light, however, you might need to take a few test shots before you get the results you desire. Additionally, you’ll have to attach a remote trigger to your camera and the flash unit to set it off wirelessly. It usually involves some trial and error to get things right, but once you figure it out, the results are just as interesting as those from other light sources.
What are the different portrait photography lighting techniques?
Lighting patterns are basically the shadows created on your model’s face depending on the type and position of the light source. It sounds simple but these patterns can dramatical change the mood of your portraits.
Loop lighting
Loop lighting is arguably among the most popular lighting pattern as it’s the easiest to create. Its name comes from the shadow this pattern casts on one side of your model’s nose. What differentiates this pattern from something like Rembrandt lighting (see below) is that the shadow on the nose and cheek do not meet.
To apply loop lighting, angle your light source about 30 to 45 degrees facing the model, and position it slightly above your model’s head. Make sure the light source is at the right height, so the loop doesn’t reach your subject’s mouth. If the light is too harsh and creates strong shadows, diffuse it by placing a reflector opposite the light source.
Butterfly lighting
Another commonly used pattern, butterfly lighting is distinguished by the butterfly-like outline it casts under the model’s nose. It’s often used for studio portraits because it lights up the entire face and produces the least shadows.
To set up your butterfly lighting, place your light source directly behind your camera. It should also be higher than your model, so that it can cast a butterfly outline under the nose. Furthermore, the angle needs to be between 30 to 45 degrees to prevent the shadow it casts from getting too long and reaching the mouth. Butterfly lighting tends to make the blemishes on your model more visible so retouching might be necessary post-shoot.
Rembrandt lighting

Image by Thought Catalog via Unsplash.
If you’re after a more stylized effect, then try Rembrandt lighting. As you’ve probably guessed, this technique is named after the famous Dutch painter who mastered the play between light and dark in his portraits. Its use of chiaroscuro produces particularly dramatic pictures and what makes Rembrandt lighting distinct from other patterns is the triangle of light it casts on your model’s cheek (on the side that’s in the shadow). To make it appear on your model’s face, place your light source about 45 degrees facing them and position it above eye-level. Make sure that the triangle doesn’t end up longer than your model’s nose or wider than their mouth. If you get it right, your portrait should resemble a classic painting—with both the light and the shadow working together to emphasize your subject’s features.
Split lighting

Image by Banjo Emerson Matthew via Unsplash.
Another specialized lighting pattern you can use for specific portraits is split lighting. This pattern's name is derived from the way one half of the model's face is fully-lit, while the other half is blacked-out with shadow and it achieves a discernible level of mystery and drama for a very specific mood. For split lighting, just place your light source directly beside your model, and you’ll see the effect right away. Position the light at eye-level to ensure that the beam doesn’t spill on to the other side of the face. If you don’t want the dark half of the face to be entirely in the shadow, use a reflector to bounce some light back to your model.
How to make your portrait subject comfortable
Many people find posing in front of a camera uncomfortable at best. A huge part of your job as a photographer is to help your subjects relax in order to capture them at their most natural (or stylized, depending on what you’re trying to achieve).
“The best way to build rapport with your subjects is to have a conversation,” says Pranita. “Have a chat, get to know each other. [The worst thing] for them is to exist in absolute silence. You always need that feedback. I find it also really helps to tell someone: ‘yep, that’s great! That’s perfect, give me a bit more.’ Direction. I think direction, when you’re having your photo taken, direction helps because it gives you something to focus on, rather than the fact you’re having you’re awkwardly standing in space having your photo taken.”
Making gentle suggestions followed by encouragement can help: ‘turn slightly to your left, that’s it!’, as can adjusting them gently if necessary; smoothing hair here, adjusting clothes there. The last thing you want to do is force your subject into a specific pose as the shot could end up looking stiff and staged—let them fall into position naturally.
How to capture candid portraits

Image by Toa Heftiba via Unsplash.
Not everyone you shoot for a portrait is going to be a model—in fact, most people don’t even know what to do in front of a camera. That rapport will go a long way towards being able to snap them in a way that feels far more natural.
Giving them a task or an activity can be a helpful bridge to candid photos. Go somewhere scenic like the park or the beach. Let them relax and enjoy the views. Silently follow them with your camera and wait for the right moment to happen.
How to shoot black and white portraits
Even in the age of color, the drama of black and white still hasn’t lost its charm. The lack of color makes monochrome images look classic, timeless, and mysterious. If you’re working with a digital camera, shoot in color and render the images in black and white during post-processing. Shooting in RAW also helps so that you can edit your files without any loss in quality later on. When editing, save your photo in black and white but keep the original color file. Having a color option will be helpful in case the image doesn’t work in black and white.
How to edit your portraits
Portraits can be enhanced with the use of filters and effects, adding vibrancy, color and uniqueness to your photos. By combining the right elements, you can completely transform your portraits and make them distinct and eye-catching. Whether it's for wall art, social media posts or simply to give your photos a more refined appearance, Canva offers a diverse range of editing tools.

Written by
Bridget de Maine


