- 10 simple ways to enhance your images
10 simple ways to enhance your images
There's a reason it's said that a picture is worth a thousand words. And when it comes to building your brand, images are a great way to communicate clearly within your audience. In this article, we look at 10 simple ways to edit photos(opens in a new tab or window), blur backgrounds(opens in a new tab or window), and enhance them so that you can put your best foot forward. Every time.
Science suggests that the human brain responds to and processes images faster than any other type of data. So, if you're looking for an effective way to communicate with your audience, imagery is the best way to do it. Experiment with it on your marketing collateral, photo books(opens in a new tab or window), or social media posts.
HubSpot(opens in a new tab or window) has collected some statistics that show how visual content is a powerful communication tool:
- Content with relevant imagery gets 94% more views than content without images.
- People remember information better when it's paired with images (10% retention of audio information vs. 65% retention of audio + visual information after three days).
- Visual content is 40 times more likely to be shared on social media.
Imagery is a vital part of the equation for most designs and can help make your projects more memorable and effective. But if you want your design to stand out among the flood of images your audience sees every day, then it had better look good.
Whether you're working with your own photography or pictures you sourced elsewhere, you can make sure your imagery is looking its best by paying attention to a handful of simple settings and techniques.
01. Cropping: Enhance focus and composition

There’s no easier way to completely transform a photo than by cropping it(opens in a new tab or window). Cropping can remove unwanted or distracting areas, improve the composition, or help emphasize a focal point.
A word a warning: If you plan on doing significant cropping, try to start with as large an image as possible. Because the more you crop, the more you reduce your image quality and resolution.
A good rule of thumb when cropping is to follow what’s known as the rule of thirds. This technique imagines that your photo is divided into thirds, both vertically and horizontally, with four lines (two vertical, two horizontal).
The four points where those lines would intersect form guidelines to place your focal point, or the most important area of your image.

02. Blurring: Enhance background images

There will be times you’ll want to highlight images as featured elements in your designs, but they don’t always have to be the center of attention. They can also work well in a more behind-the-scenes role. That’s right, we’re talking about backgrounds.
Photos can make for visually interesting backgrounds in a wide variety of designs. But, since most designs have text on top of at least part of the background, you’ll often run into a problem: The details in the photo make the text hard to read.
The solution? Apply some blurring to create a smooth, uncluttered background. With some light to moderate blurring, you can retain recognizable shapes or scenes in your background photos.
With a dramatic blurring effect, you can create a soft, abstract wash of colors and/or vague shapes. This could be a good option if you want something more dynamic than a solid-color background.
For a more thorough guide to using blurred backgrounds with real design examples, make sure to check out 10 expert tips for designing with a blurred background(opens in a new tab or window).
03. Saturation: Enhance or reduce color intensity

Photographers and designers will most commonly adjust an image’s saturation settings to kick up its colors a notch.
Saturation has to do with color intensity, so more saturated colors are bolder and brighter (closer to their purest form) while less saturated colors are more faded (closer to gray). Complete desaturation leaves you with a black-and-white photo.
While any photo editing technique can be overdone, too much saturation can look particularly strange and unnatural. So, unless you’re after a particular effect, be careful to go easy on the saturation, or else you’ll end up with an image that has an almost glowing, neon look.
04. Contrast: Enhance highlights and shadows

Increasing contrast is a good way to make your image pop and add a little drama.
Upping the contrast produces lighter lights, darker darks, and a wider range of tones in between—making your image look just a little better than what you’d see in real life.
On the other hand, reducing contrast can give an image a more flat, even tone.
As with saturation, too much contrast is usually not a good thing. Highlights can get blown out (too bright) and shadows can get too dark, which means you lose detail and dimension in those areas.
05. Brightness: Enhance overall lighting

Lighting can be one of the hardest things to get right, even for professional photographers.
While it’s best to start with an image that has been correctly exposed, sometimes you’ll end up with a photo that’s just a little too dark, and you may be able to improve it by manipulating the brightness setting.
Keep in mind that editing the brightness(opens in a new tab or window) will make everything brighter (or darker(opens in a new tab or window)). This should be done incrementally and with attention to not creating areas that are overly bright, and you can often improve and balance your results by adjusting the contrast at the same time.
The Canva Photo Editor also lets you adjust more image properties so you get the perfect photo. Try out image enhancement sliders for warmth, vibrance, clarity, highlights, shadows, and fade of an image.
06. Filters: Enhance and correct photos

Thanks to Instagram and other apps, filters have become a popular photo editing option. They can be used to add special or artistic effects to your images, but they can also serve as a shortcut to correct issues in your image.
For example, in the image above, the photo on the left had a yellowish tone to it. Change the color(opens in a new tab or window) to make the colors more balanced, Canva’s “Nordic” filter was applied to tone done the yellow.
When editing on the Canva photo editor, you can choose from a variety of filters to match your desired visual aesthetic and further enhance the picture quality. You can even transform your photos into your desired art style with Canva's AI filters(opens in a new tab or window). Plus, freely adjust each filter’s intensity for a more customized end result.
However, most images shouldn’t need filters. Try to only apply one if you’re trying to achieve a specific effect.
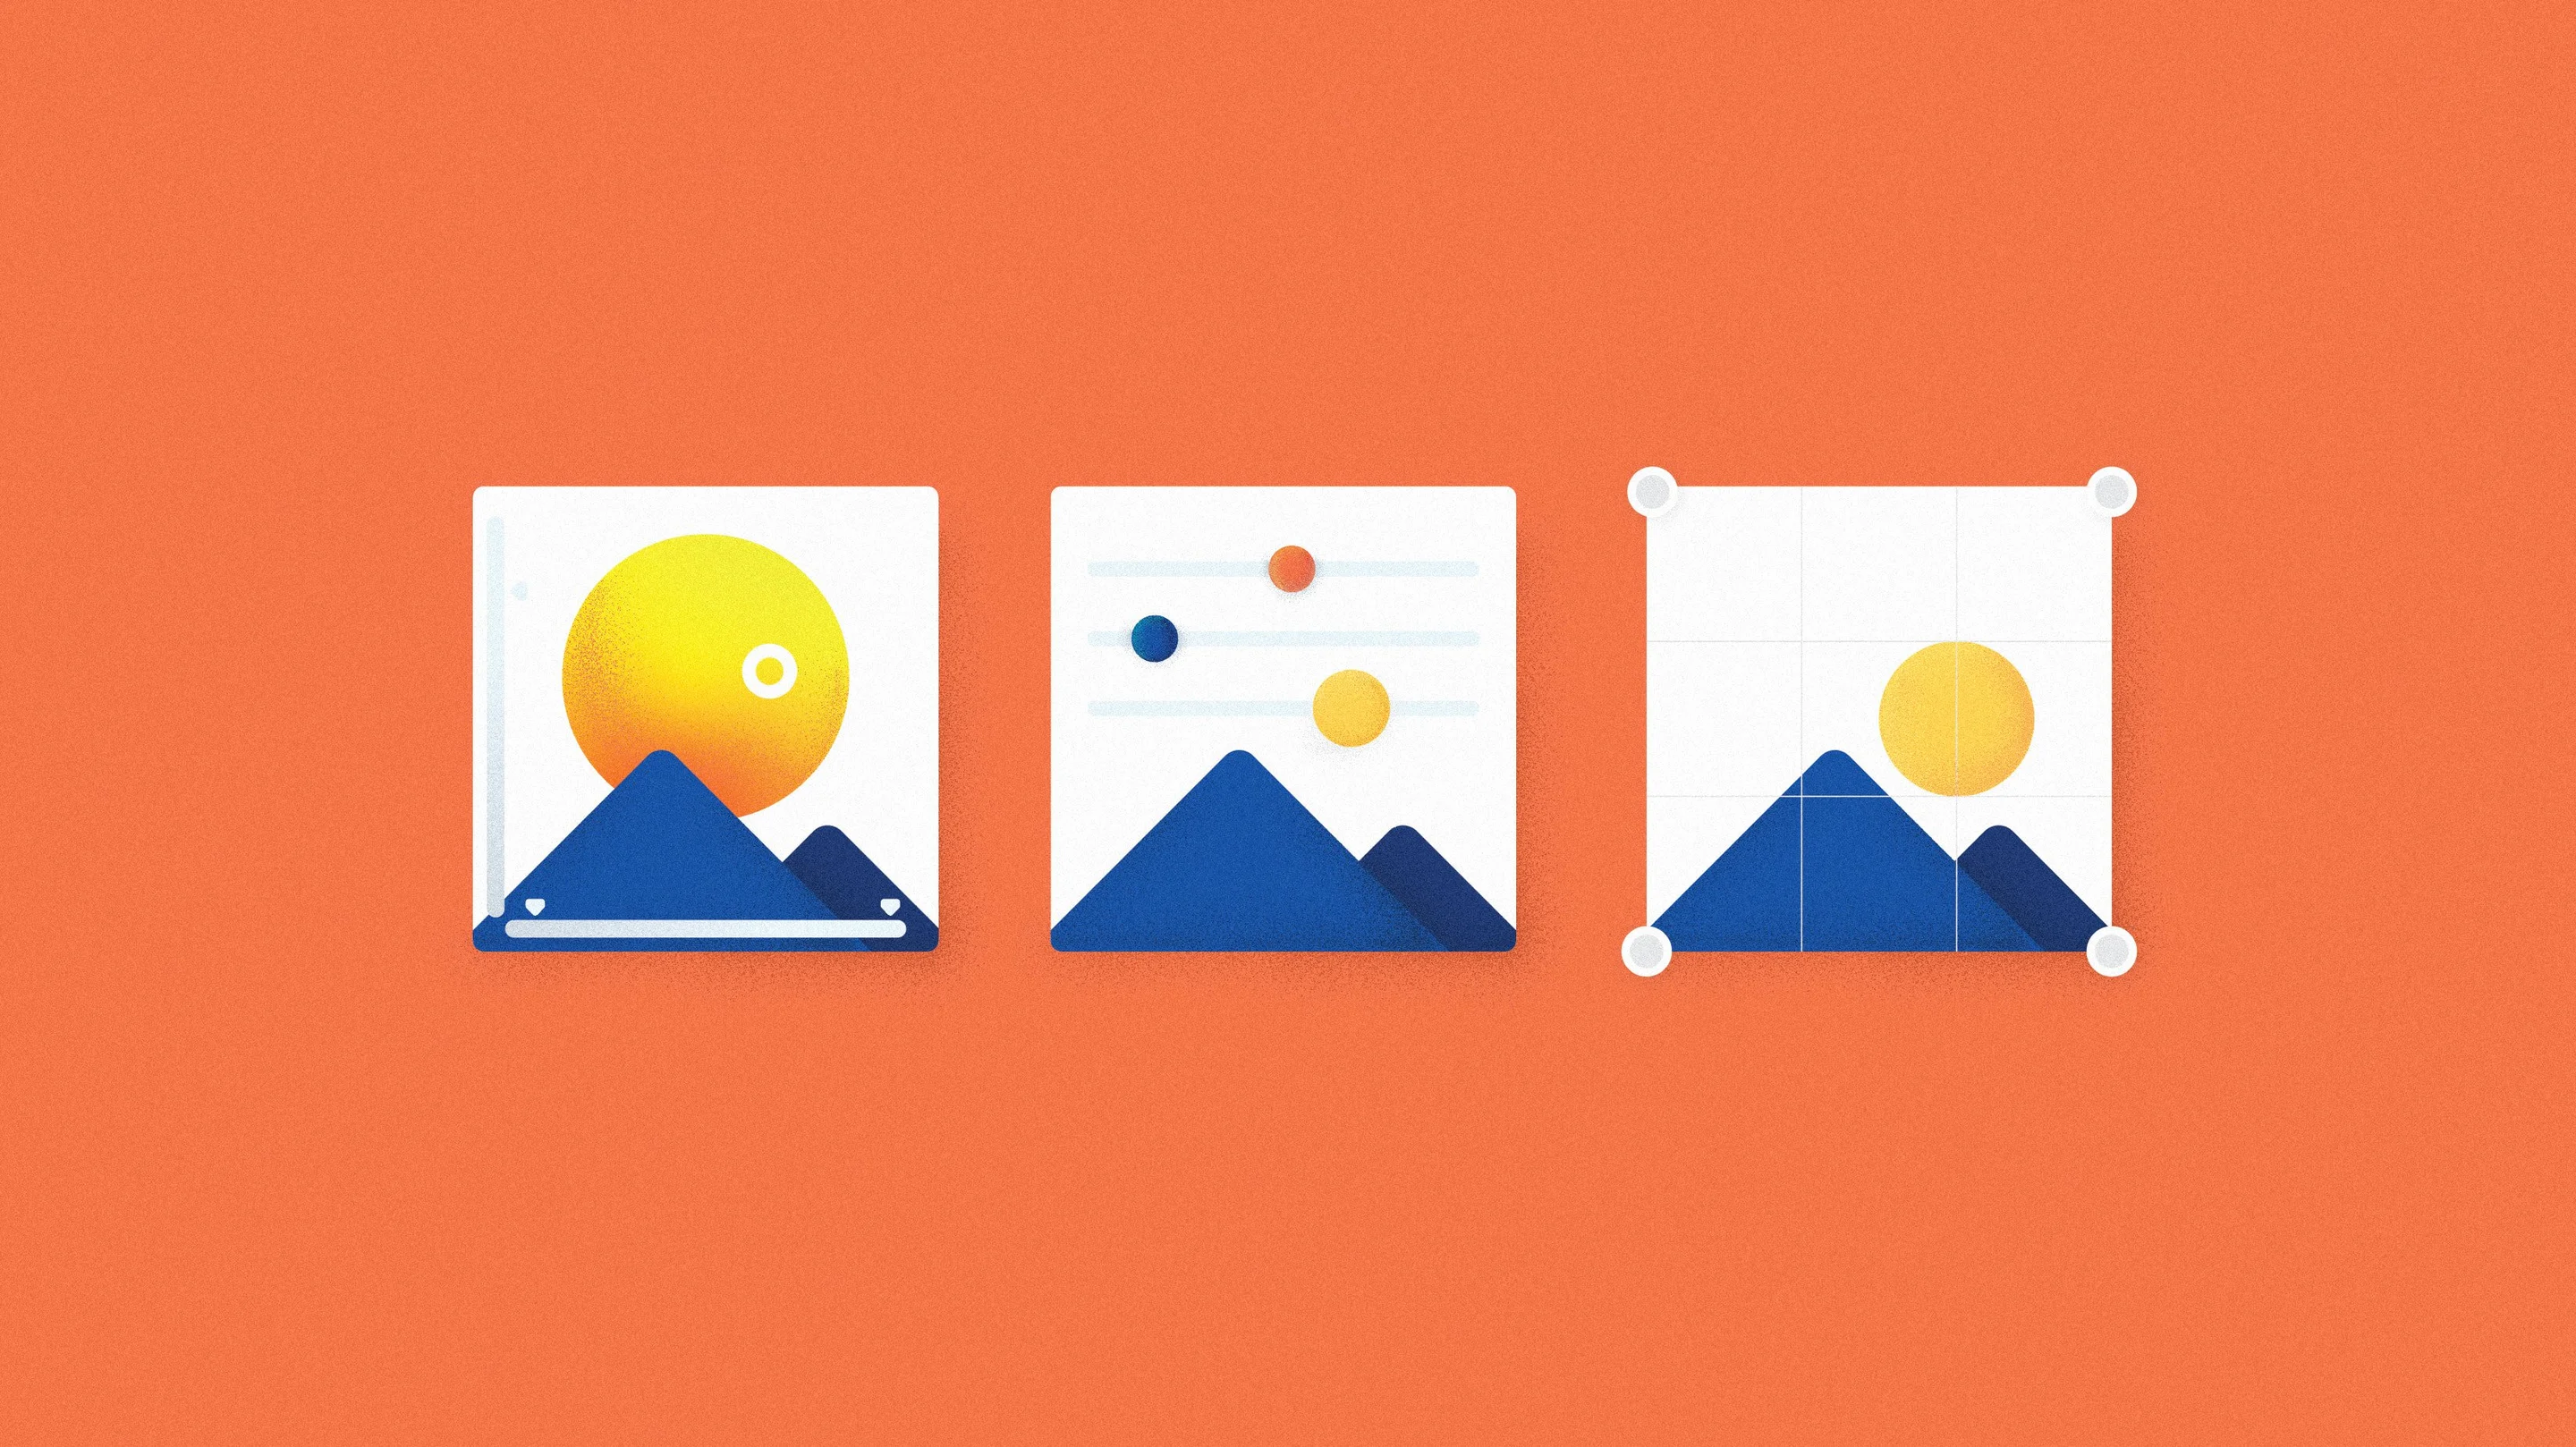
07. Arrangement: Enhance your layout with grids

A clean and organized layout is an asset to any design project. If you’re not sure where to start, aligning all your design elements to a grid is always a safe bet. Grids are also a nice way to showcase multiple images.
08. Frames: Enhance image shape and style

Like actual picture frames, you hang on a wall, framing images in design is traditionally used to draw attention to the image. Frames can be simple or decorative, a single line or an illustrated design, colored or not, depending on the style and mood of your project.
09. Layering: Enhance images with screens or overlays

Sometimes you’ll want an image to be a little less noticeable—often so text or other elements on top can show up better. While blurring is one way to do this (as we discussed at the top of the article), there are other ways that preserve the clarity of your photo.
Screens (also called overlays) are a common approach. They are transparent blocks of color that sit on top of your image. Adjusting the opacity of the screen determines how well your image will show through.
A more opaque screen provides a smoother, more even surface for your text but also conceals your image, so you’ll want to find a happy medium level of transparency that suits the purposes of your design.
You can try layering more than two elements, or making the image itself transparent and placing it on top of a background. Use “send to back” or “send forward” commands to experiment with different combinations of overlay images(opens in a new tab or window). (In Canva, click on a design element to access the “Back” and “Forward” buttons.)
10. Text: Enhance images with typography on top

Images and text are two foundations of graphic design(opens in a new tab or window). Combine them, and they're a powerhouse of visual communication. So try adding relevant information to an image by placing text on top (or picking an image that complements the subject of your text).
In photography, naturally open areas like sky or water provide nice, clear spaces to add typography. For more on this topic, visit our Complete guide how to combine text and images to improve visual design and communication.(opens in a new tab or window)
On the Canva editor, adding pre-formatted text combinations is quick and easy. Look for the Text pane on the left sidebar. Clicking it will showcase multiple font combinations you can select and add text behind image(opens in a new tab or window) or on top. Then, type in your text, adjust the font sizes or colors, and drag and drop the text box to your preferred location in your photo.
11. Auto Enhance: Automatically correct and enhance photos

Save time and effort with the Auto Enhance(opens in a new tab or window) effect. With a single tap, easily adjust the enhancement level. From correcting a dark image and making a picture clearer to fixing a photo’s brightness and adjusting to your desired color aesthetic, the Auto Enhance effect lets you make these changes quickly.
Use this photo effect alone, or combine it with other image enhancement filters and adjustments to create the perfect photo or photo-based design.
12. Photo Effects: Magically enhance photos

Go for a more delightful photo editing experience with Canva's library of photo effects. From the premium Background Remover(opens in a new tab or window) photo effect for easy background corrections to free Auto Focus, Face Retouch, AI Photo Editor(opens in a new tab or window), Magic Eraser(opens in a new tab or window), Mockups(opens in a new tab or window), Shadows, Glitch, BadTV, Frames, ColorMix, Style Transfer, Duotone effects, and more.
Use the Mockups effect to easily create professional product mockups. Or play with the AutoFocus, ColorMix, Duotone, and Style Transfer effect apps if you're going for artsy or unique photo enhancements.
Play with different photo effects, filters, and adjustments by uploading images directly from your camera roll or device. Unblur images(opens in a new tab or window) or start photo editing(opens in a new tab or window) on Canva today!

Written by
Janie Kliever


")


