- Everything you need to know about web design
Everything you need to know about web design
Ready to infuse your social feed with a sprinkle of design magic? Web design isn't just a decorative touch—it's the headliner! It's what sets your brand apart from the crowd, and etches it into people’s memory.
Over the decades, web design has morphed from simple text interfaces to vibrant blogs, and interactive websites(opens in a new tab or window). But its core purpose remains the same: to captivate and communicate. After all, web design is about more than just aesthetics. It's about crafting a welcoming digital environment, which prioritizes user experience and accessibility.
With Canva, everyone has the power to design. Regardless of your skill level, or background, Canva empowers you to create stunning visuals like an industry professional.
Let’s get started.
Table of Contents
Defining web design

Web design allows you to talk without words. Using colors,(opens in a new tab or window) shapes, images(opens in a new tab or window), and text(opens in a new tab or window), web designers create visuals to tell stories or send a message.
It's not just about creating attractive graphics. It’s also about the whole aesthetic appeal of a webpage, ensuring a seamless user experience, and prioritizing usability across mobile and desktop devices(opens in a new tab or window).
If users can’t find what they need easily, then an app or website design isn’t doing its job.
Whether it's printed on a flyer, or lighting up your screen, good design can inspire, inform, and even change minds. That's why it's a big deal for any business.
So, what do web and graphic designers do?
They're the artists behind:
- Your favorite brands' logos and color schemes
- The easy-to-navigate apps and websites you use every day
- The eye-catching covers of books, magazines, brochures, and newspapers
- The cool packaging that makes a product irresistible
- The digital and printed ads that make you stop and look twice
- The signs guiding you around stores, stadiums, and events
- The immersive worlds of video games
Next time you see a design that makes you say "Wow!", remember there's a designer behind it. And, with Canva, you can become that designer.
The elements that make up a successful web design

Ever thought about what goes into making a design pop?
Great web design utilizes three or more of these elements(opens in a new tab or window) effectively:
- Color: It sets the mood(opens in a new tab or window) and grabs attention.
- Form: This gives depth to 2D designs(opens in a new tab or window).
- Line: From thin to thick, straight to curvy, lines can guide the eye or make a bold statement.
- Shape: Shapes are the building blocks of your design(opens in a new tab or window), be it circles, squares, or triangles.
- Proportion: It's all about the relative size of things, like a perfectly scaled model. Big or small, size can highlight importance, or create a sense of distance.
- Space: It's the 'breathing room(opens in a new tab or window)' around your elements.
- Texture: From smooth to rough, texture makes designs feel tangible(opens in a new tab or window).
Good design also follows these core principles(opens in a new tab or window) for a well-balanced composition:
- Contrast: Opposites attract attention, play with light and dark, or big and small elements.
- Emphasis: Draw attention to key points in your design by adhering to a visual hierarchy(opens in a new tab or window).
- Movement: Guide the viewer's eye through your design with elements to indicate directional movement(opens in a new tab or window).
- Repetition: Repeat elements to create a visual beat, like a pattern in a song.
- Symmetry: Symmetry creates visual balance(opens in a new tab or window), enhancing readability and guiding user navigation for an optimal browsing experience.
True magic happens when you use, or break, these rules to create something truly unique.

Get the template

Get the template

Get the template
Learn how users interact with your designs

It's essential to consider how your audience will interact with your design(opens in a new tab or window) after the heavy lifting is done. Will it be a printed brochure they can touch and feel, or a dynamic website with interactive elements?
Understanding the end-use and purpose of your design will help guide you through the design process.
Consider the following elements:
- Engage the Senses: Think about the senses you want to engage with your design. A printed piece might play with texture and shape to create a tactile experience, while a digital design could incorporate interactive elements like audio, video, or hyperlinks(opens in a new tab or window). Think about a beloved book with its rustling pages versus an e-book with animated illustrations(opens in a new tab or window), both have their unique charm and might appeal to different age demographics(opens in a new tab or window).
- Interactive vs. Static Designs: Unlike printed designs, which remain static, digital designs can be tweaked and updated regularly. This dynamic quality means you need to consider the functionality of interactive features like buttons, links, and forms(opens in a new tab or window). Your design should evolve with your audience's needs and preferences.
- Navigation: When it comes to web design, navigation can be a bit more complex(opens in a new tab or window) than simply turning a page. With a variety of devices and screen sizes, responsive design is important.(opens in a new tab or window) It's all about ensuring your design adapts to different viewing methods, and remains user-friendly no matter how viewers interact with it.
- Compatibility: As a web designer, your creations need to shine on every platform, from different web browsers to various operating systems. An iOS won't render Flash-based designs, and Internet Explorer (version 8 or below) can't display SVGs. Your designs must adapt to fit a range of devices, from computer monitors to smartphones. So, testing your designs across various platforms ensures you're delivering a top-notch user experience for everyone.
- Layout: Arranging your content nicely within the constraints of your medium is an art in itself. For print design, you're working within the limitations of your printing surface. While for web design, you have the freedom to organize and filter information dynamically. It's all about creating an engaging and consistent experience(opens in a new tab or window), whether it's on paper or a digital screen.

Get the template

Get the template

Get the template
Popular file formats used in web design

Deciding which file format to use for your design can seem like a daunting task. But don't worry, we're here to demystify it all, and make designing as simple as ABC.
First, let's break down the two main types of image files: raster and vector.
Raster images are made of pixels (think digital images), and their quality depends on their resolution. If you try to make a raster image bigger than its resolution allows, it can become distorted.
Vector images(opens in a new tab or window), on the other hand, are like magical shape-shifters. They're made up of mathematical equations, which means they can be scaled up or down without losing quality.
Here's a list of some of the more common file formats you'll encounter in design, and what they're best used for:
JPG (or JPEG): This is the go-to format for many digital cameras. Just remember to save them with the right resolution and color space (CMYK for print and RGB for web).
PDF: The chameleon of file formats, PDFs keep their original content and appearance no matter where or how they're viewed.
EPS: These are great for saving vector graphics and icons(opens in a new tab or window), and keeping them scalable. But, they're not always readable on PCs.
TIFF: This is a print-only format. It offers high image quality, and is commonly used when handing over to a printer. These are compatible with both Macs and PCs.
GIF & SVG & PNG: These three musketeers are web-only formats. GIFs are great for web usage, animations, and graphics with transparency effects(opens in a new tab or window). SVGs are a vector format, perfect for scaling files up or down in size, and PNGs offer high image quality(opens in a new tab or window) and transparency support.
PSD (Raster-based file) & AI (Vector-based file): These are editable files created in Photoshop (PSD) and Adobe Illustrator (AI).
If you're designing with Canva, it's easy to choose the right file format and design dimensions(opens in a new tab or window).
If you need to convert your images into different file formats(opens in a new tab or window), Canva has a handy image converter, which allows you to convert various file types in seconds.
If you're designing for the web, simply select "as an image," or if it's for print, select "PDF." With Canva's PDF Converter(opens in a new tab or window), you can easily convert PDF files to JPG and PPT, or convert an image file, such as JPG to PDF. You can also flatten PDFs(opens in a new tab or window) to merge all layers into a single image layer for easier sharing.
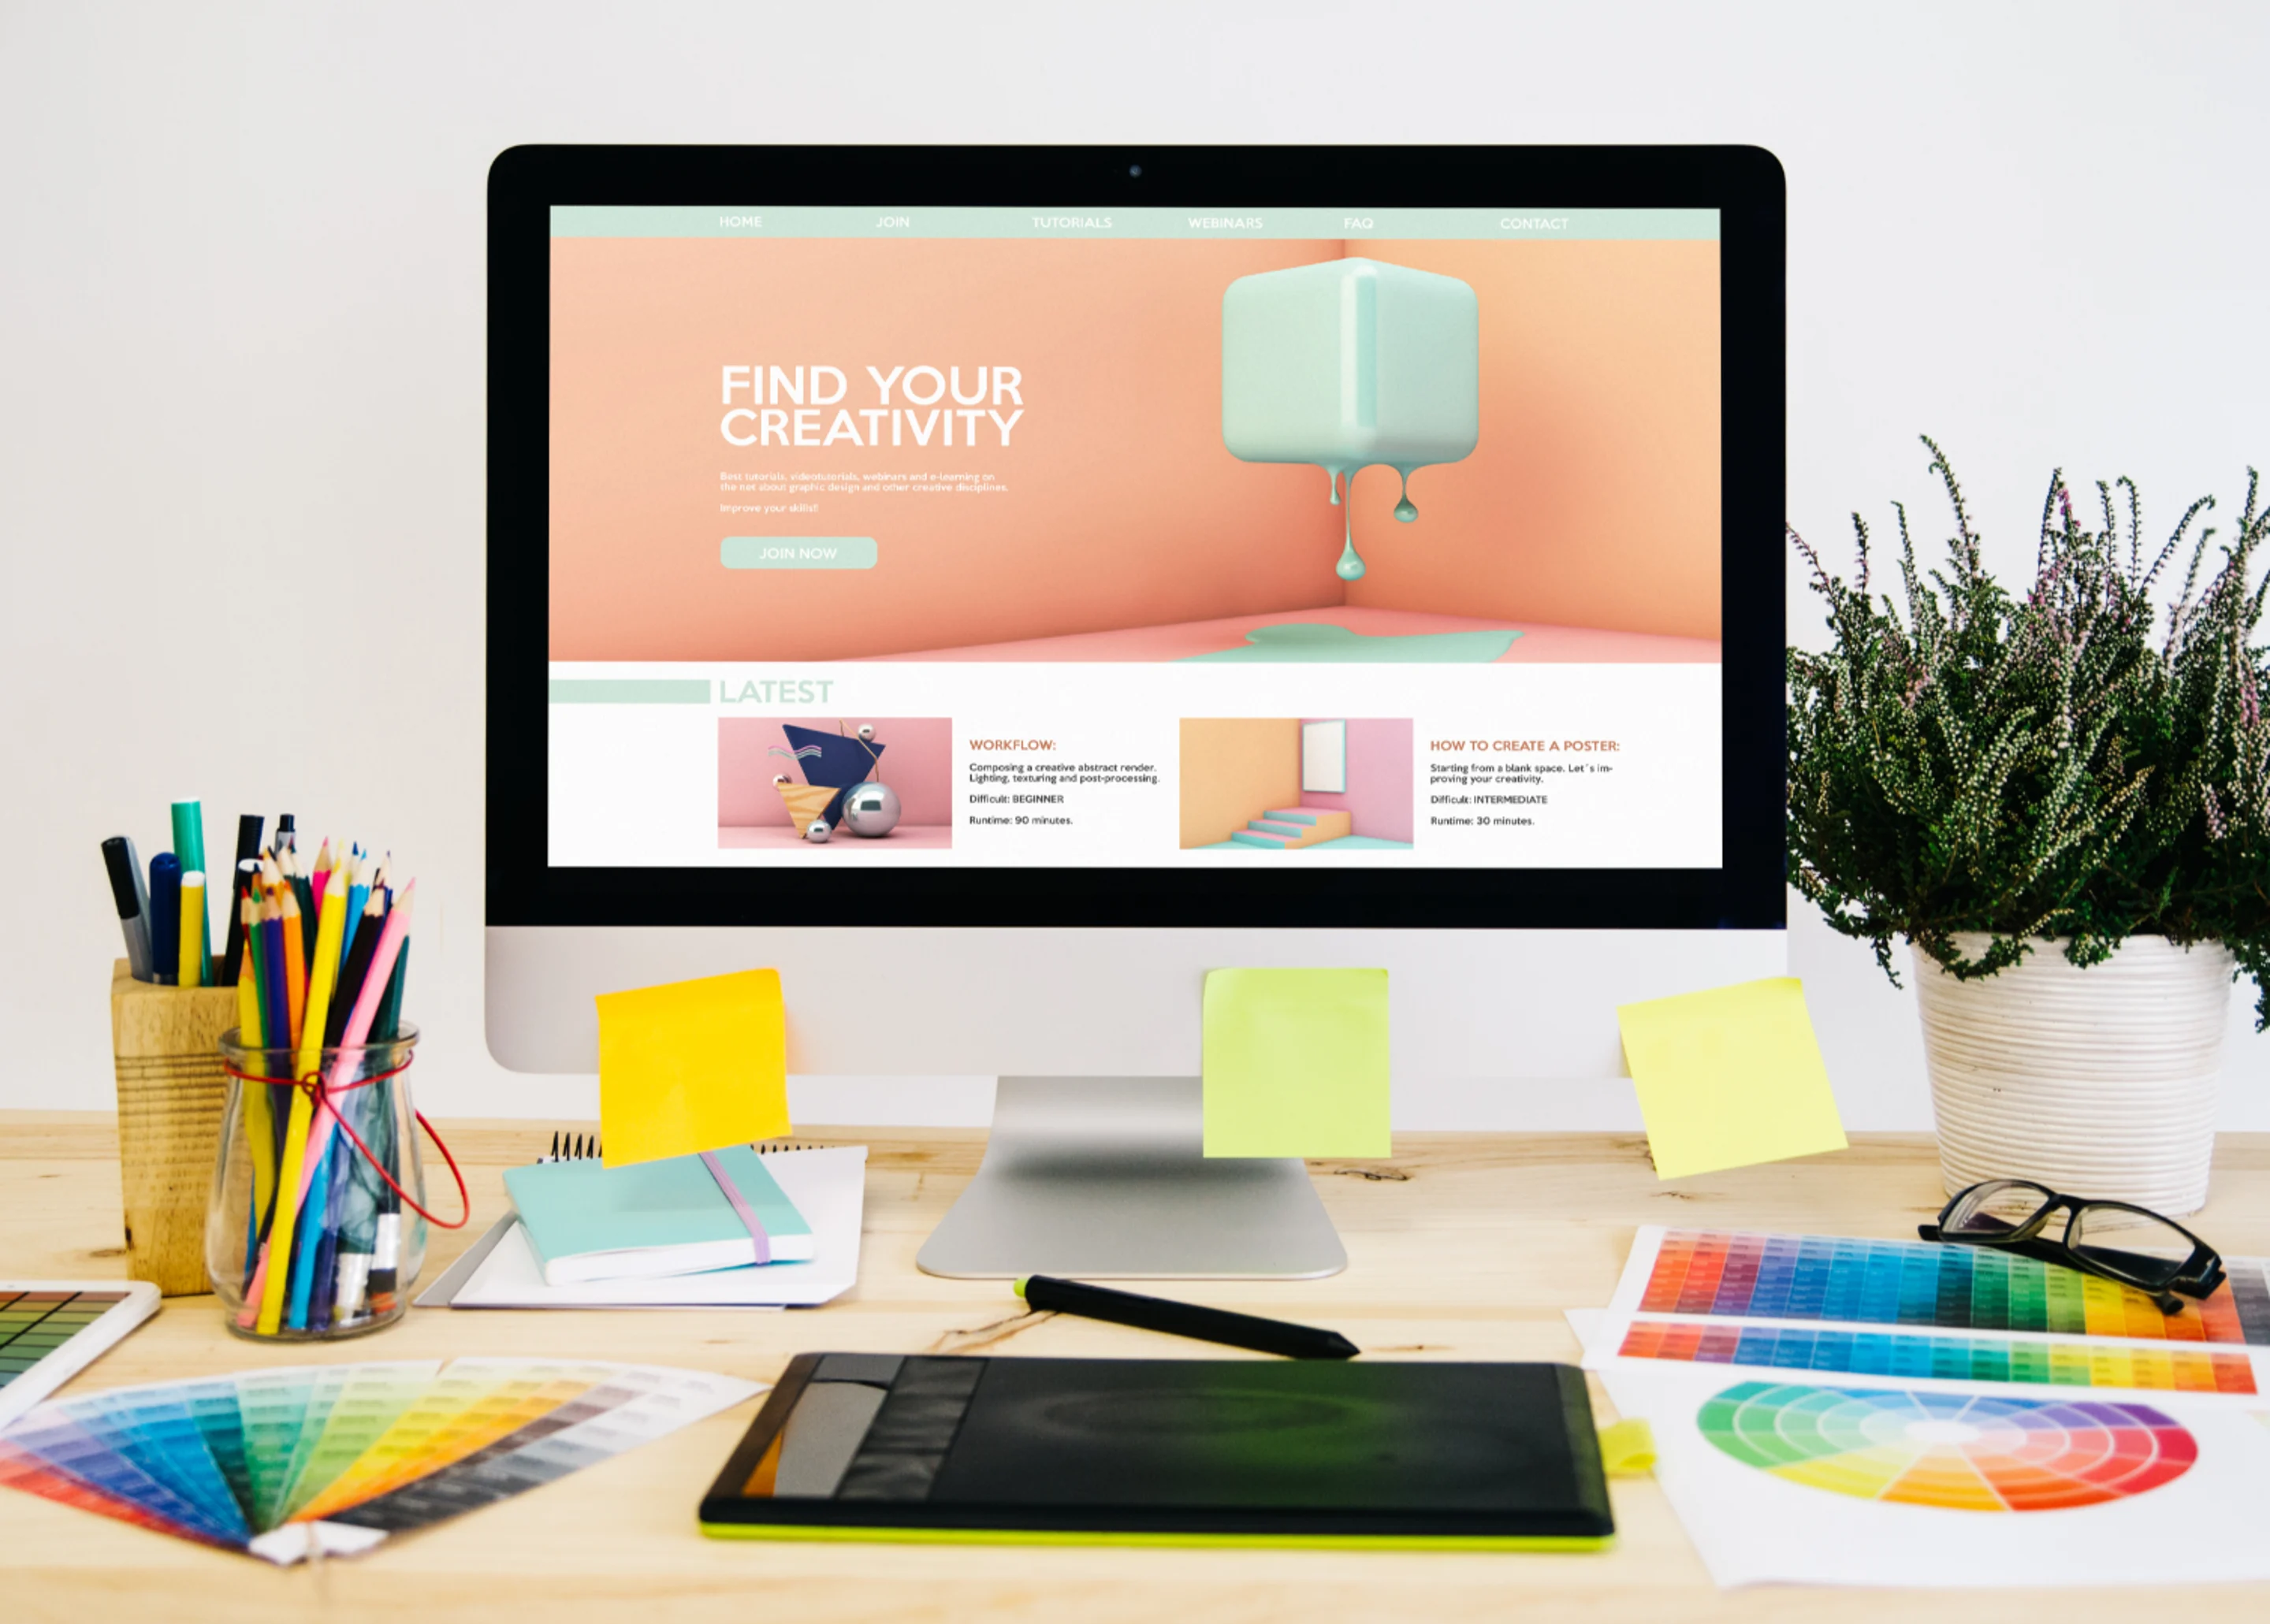
Choose the right imagery for your designs

A hero image is the first thing visitors see on your website(opens in a new tab or window), and ensures you make a powerful first impression, which immediately conveys what your brand is all about. Think of it as your website's main act, setting the stage for everything that follows.
When selecting a hero image(opens in a new tab or window), consider your target audience, and what will resonate with them. What aligns with their values or interests?
- Speak to your audience: Choose an image to reflect your audience's desires, interests, or problems you can solve(opens in a new tab or window).
- Reinforce your message: Images should communicate your value proposition, or the core benefits of your product or service.
- Evoke emotion: Images evoke emotion and can foster a connection with your audience and make your brand more memorable.
The placement of your hero image plays a role in guiding visitors toward your call to action (CTA)(opens in a new tab or window), be it signing up for a newsletter(opens in a new tab or window), or making a purchase. Ideally, your hero image should lead the viewer's eye to your CTA, creating a seamless visual journey.
Use Canva to create a mockup of your website(opens in a new tab or window) and see how different hero images will look. Experiment, refine, and review until you find the perfect fit.

Get the template

Get the template

Get the template
The difference between DPI and PPI

Resolution is your best friend when you want your photos and graphics to look top-notch in your final design.
You might hear terms like DPI (dots per inch) or PPI (pixels per inch) being tossed around when discussing resolution. While they might seem similar, they're very different.
DPI is important when we’re talking about the physical printing process, not web design. The more dots of ink on an inch of printing surface, the better the image reproduction. Although DPI doesn't affect the size of your print, it determines the quality a printer can achieve.
PPI is more relevant to web design, and refers to the number of pixels displayed in an inch of screen space. The more pixels per inch, the clearer and sharper your image will be. Pixelation (when your image is blurry or distorted(opens in a new tab or window)) occurs when the PPI isn't high enough for printing, or when a digital image is displayed online at a larger size than its original pixel dimensions.
For web design, it’s recommended to save your images and graphics at the accepted standard of 72 PPI (at a minimum), and 120 PPI (at a maximum) to maintain both the quality and manageability of file sizes.
When saving your designs, first consider their purpose. If it's for print projects like posters(opens in a new tab or window) or brochures(opens in a new tab or window), go for a higher resolution. When preparing a digital image for printing(opens in a new tab or window), remember that a higher PPI value condenses the physical size of a print, but increases its quality. Remember, the human eye can't differentiate details beyond 300 PPI. For the web, a lower resolution should suffice. The standard is 72 PPI for social media and blog posts(opens in a new tab or window), but this might change as devices with higher-resolution displays emerge.
Color can affect how your designs are viewed on the web

Color behaves differently in print and on screen(opens in a new tab or window). Understanding this will help you create designs which look their best, wherever they're displayed.
When you’re designing for print,(opens in a new tab or window) think CMYK - Cyan, Magenta, Yellow, and Black. These are the four ink colors used in most printers. Each color you pick for a print design comes with a unique code which tells the printer the percentage of each ink to mix. For example, the famous "Twitter Blue" has a CMYK code of 70/10/0/0, which means 70% cyan, 10% magenta, and no yellow or black.
But, what you see on your screen isn't an exact match for how your design will look when printed.
When it comes to digital design, we leave CMYK behind and embrace RGB - Red, Green, and Blue. Each RGB color has a unique code(opens in a new tab or window), which tells your digital screen how much red, green, and blue light to use. The "Twitter Blue" in RGB is 85/172/238, with the blue light being dominant.
Just as with print, colors can vary between different monitors due to differences in display settings. It’s a good idea to check your design on a few different screens to ensure accuracy.
If you're designing on a deadline, Canva makes your life easier by automatically optimizing your designs for both print and web. Simply choose your colors from the color wheel,(opens in a new tab or window) and when you're ready to download, select ‘as an image’ for web designs or ‘PDF’ for print.

Get the template

Get the template

Get the template
The importance of typography in web design

Typography sets the tone, communicates your message, and adds a visual appeal(opens in a new tab or window) to your design.
When choosing fonts, you'll typically come across two types: desktop fonts and web fonts. The difference? It's all about where and how you can use them.
Desktop fonts are licensed for individual users to install on their computers. While web fonts are specially created for websites(opens in a new tab or window) and managed using CSS.
When it comes to web design, readability is your best friend. Easy-to-read fonts, often sans-serif(opens in a new tab or window) or simple serif, are your golden ticket, because they display cleanly across various devices, making your content accessible and enjoyable for everyone.
It’s important to be selective with your fonts, regardless of their type. Choose two or three that compliment each other, and stick to them(opens in a new tab or window). This will create a visually appealing layout that's easy on the eyes. You can play around with different font sizes and styles to establish a visual hierarchy, as well.
Keeping your font in the same family also creates a harmonious look and feel in your design. Just like in a real family, each member has their own unique traits but still shares a common DNA. Pick a typeface, or font family, which offers a variety of styles, like bold, italic, or condensed to give you plenty of options to play with.
Remember, less is more. Avoid filling your design with big chunks of text. It's like attending a party where the music is so loud you can't hear your own thoughts. Instead, let your graphic elements do the talking.
When in doubt, reference Canva’s curated fonts(opens in a new tab or window), with over 140 free fonts ready for you to play with.
Creating a landing page for your business

A landing page is a standalone space designed for one purpose: to get visitors to take a specific action(opens in a new tab or window). This could be anything from signing up for a newsletter to registering for an event(opens in a new tab or window), or even joining your online community(opens in a new tab or window).
In contrast, a website is designed for exploration and discovery(opens in a new tab or window), offering information, showcasing products, and providing customer support, among other things. While a homepage can serve many purposes, a landing page is laser-focused.
A homepage can sometimes distract or overwhelm your visitors. While a well-crafted landing page can direct your visitor's attention to a clear call-to-action (CTA), increasing the likelihood of conversions.
Now, you might be wondering about the cost and technical expertise needed to create a landing page.
That's where Canva Websites(opens in a new tab or window) comes in! It's free, easy to use, and doesn't require any coding skills. You can create mobile-responsive landing pages from scratch, or choose from our professionally designed templates.

Get the template

Get the template

Get the template
How to create your landing page in Canva

You can build and optimize a professional-looking landing page using Canva Websites(opens in a new tab or window) quickly and easily.
Sketch Your Landing Page Outline
Before you start designing your website(opens in a new tab or window), establish your goal. What action do you want visitors to take on your landing page? Once you've defined this, sketch out an outline(opens in a new tab or window) which includes a captivating headline, a concise explanation of your offer, a compelling hero image, and an irresistible call-to-action (CTA).

Get the template
Choose a Suitable Template
Log in to Canva and select a landing page template(opens in a new tab or window) that aligns with your goal. The key is simplicity. Choose a design that keeps visitors focused on your CTA.
Customize Your Landing Page
Now it's time to make the template your own. Use Canva's intuitive drag-and-drop tools to tailor the layout, colors, and fonts to your brand.
Remember to keep these tips in mind:
Create a visual hierarchy: Visual hierarchy is the arrangement of design elements in order of their importance. It guides users through a website, helping them navigate, and understand the content easier.

Get the template
To create a visual hierarchy, one should:
- Identify the most important elements you want users to notice first and design them to stand out using color, size, and position.
- Use typography to establish hierarchy(opens in a new tab or window). Bigger and bolder for headings, smaller and lighter for less critical information.
- Leverage whitespace to separate different sections and improve readability.
- Position key elements according to user reading patterns (top to bottom, left to right).
- Use compelling images(opens in a new tab or window) alongside your main message to draw attention.
- Place call-to-action buttons near the corresponding promotional messages.

Get the template
- Try a grid system: The grid system is a structural framework consisting of intersecting horizontal and vertical lines. These lines serve as guides to aid in the placement and alignment of elements on your webpage. Grids allow you to break down a page into manageable chunks, making it easier for you to plan the layout.(opens in a new tab or window) This is helpful for complex projects with various elements like images, text, videos, and buttons, which all need to be organized easily to lead the viewer back to your CTA. While grids aren’t suitable for every project, the benefits often outweigh the drawbacks in creativity.
- Count your columns: Responsive design ensures your web page adapts to the screen size and orientation of the device on which it's being viewed. Understanding how columns can affect the harmony of your designs(opens in a new tab or window) is key. On larger screens like desktop computers, you can afford to have more columns without compromising readability, or navigability. Four columns is typically a good number to start with. For medium-sized screens like tablets, reduce the number of columns to two. This maintains clarity and readability while still providing ample space for content. For small screens, like smartphones, switch to a single-column layout. This ensures your content is easy to read and navigate.
- Consider a scrollable design: Since a significant portion of users will access the site via smartphones, the design should be fully responsive and mobile-friendly. As soon as the user lands on the page, they're greeted with a large, visually appealing image. As users start scrolling, they reveal different sections. Crucial content, like the types of products available and purchase links, should be immediately visible without needing to scroll. This ensures users get the essential information immediately.
- Simplify your menu: A well-designed menu is crucial for user navigation. On desktops, the menu is horizontal, ensuring maximum visibility. On smartphones and tablets, it switches to a vertical layout. The menu isn't always visible on smaller devices like it is on desktops. Because of this, you need to be strategic about how much space it takes up and when it’s displayed to viewers. To counteract the reduced precision of finger-based navigation on smaller devices, increased line spacing should be used on your menu. This creates larger clickable areas, improving usability.

Get the template
- Choose a banner or header image: A well-chosen header image can communicate your message faster than any text. A sticky header provides constant accessibility(opens in a new tab or window), remaining visible at all times as users scroll down the page. This constant accessibility provides a seamless navigation experience, enabling users to access key site areas without needing to scroll back to the top. Sticky headers enhance user orientation by keeping the brand logo and main navigation elements in sight. This helps users maintain a sense of location within the site, reducing the likelihood of confusion.
- Highlight your CTA: Use contrasting colors for your CTA button to make it pop. This draws the visitor's eye and encourages them to click. Your CTA should be five words or less, and employ action verbs, like download or register.
- Pass the blink test: Make sure your page loads quickly, uses clear and engaging language, and includes supportive imagery(opens in a new tab or window). You have 3-5 seconds to convince visitors to stay.
- Stay true to your brand: Ensure your color scheme aligns with your brand identity. This builds trust and makes your landing page instantly recognizable. Consider playing with opacity and background overlays(opens in a new tab or window) to make text pop.

Get the template
Publish and Optimize Your Landing Page
Once you're happy with your design, hit publish. If you're using a free Canva account, you can customize your my.canva.site subdomain. With Canva Pro, you can purchase a unique domain through Canva, or link to your existing one.
Don't forget to optimize your landing page for SEO by editing the tab name and page description. This will help search engines understand what your page is about and rank it accordingly.
Need creative inspiration before you start designing for yourself? Check out these brands' websites for ideas(opens in a new tab or window), or browse the portfolios of these graphic designers(opens in a new tab or window).

Get the template

Get the template

Get the template

Get the template
The critical role of website footers

A footer is an essential part of any landing page(opens in a new tab or window) or website. It houses crucial elements, like legal information (copyright, privacy policy, terms of use), contact details, and navigation links, providing transparency and building trust with visitors.
A well-organized footer can enhance the user experience(opens in a new tab or window) by making your website more navigable. It serves as a quick reference point for users to find important information.
Footer Design Best Practices:
- Simplicity: Keep footer design simple and clutter-free.
- Consistency: The footer should be consistent with the rest of the website to maintain visual harmony.
- Update: Keep the footer updated with the latest information about your company, products, or services.
- Mobile-friendliness: Ensure the footer design is responsive and mobile-friendly(opens in a new tab or window), as a significant portion of web traffic comes from mobile devices.
- Legal Protections: The footer should display legal protections, like copyright notice, privacy policy, and terms of use information to establish credibility.
- Contact Information: Include comprehensive contact information, like email, phone number, and physical address, in the footer so that customers can easily reach out to you.
- Social Media Icons: Incorporate social media icons in the footer to encourage visitors to connect with your brand on different platforms.
- Call to Action (CTA): Including a CTA in the footer, like subscribing to a newsletter or reaching out for more information.

Done is better than perfect

If you know your landing page or website is going to take some time to create, start small.
Create a '404 Under Construction' page, a 'Contact Us' page, and a 'Coming Soon' page for your website, these are essential elements in maintaining user engagement.
A '404 Under Construction(opens in a new tab or window)' page effectively communicates ongoing improvements(opens in a new tab or window) and reassures users that any current glitches are temporary. The 'Contact Us(opens in a new tab or window)' page keeps the communication lines open, allowing customers to reach out with queries or feedback, which is crucial for customer retention. And, nothing builds anticipation like a well-crafted 'Coming Soon(opens in a new tab or window)' page, which is your chance to create buzz around your services before your website launches.

Get the template

Get the template

Get the template

Get the template
Creating a visually appealing and user-friendly landing page or website is crucial for any business. By following these design tips and best practices, you can create a website which not only looks great, but effectively encourages visitors to take action.
Canva's YouTube channel(opens in a new tab or window) is a goldmine of information, making web design accessible and exciting for everyone. To continue learning how to optimize your designs, browse the vast library of resources, and give customizable templates a try or you can even see how your designs will look like on an actual screen using laptop mockups(opens in a new tab or window).

Written by
Susan Villemaire

")


